JimVonBaden
New member
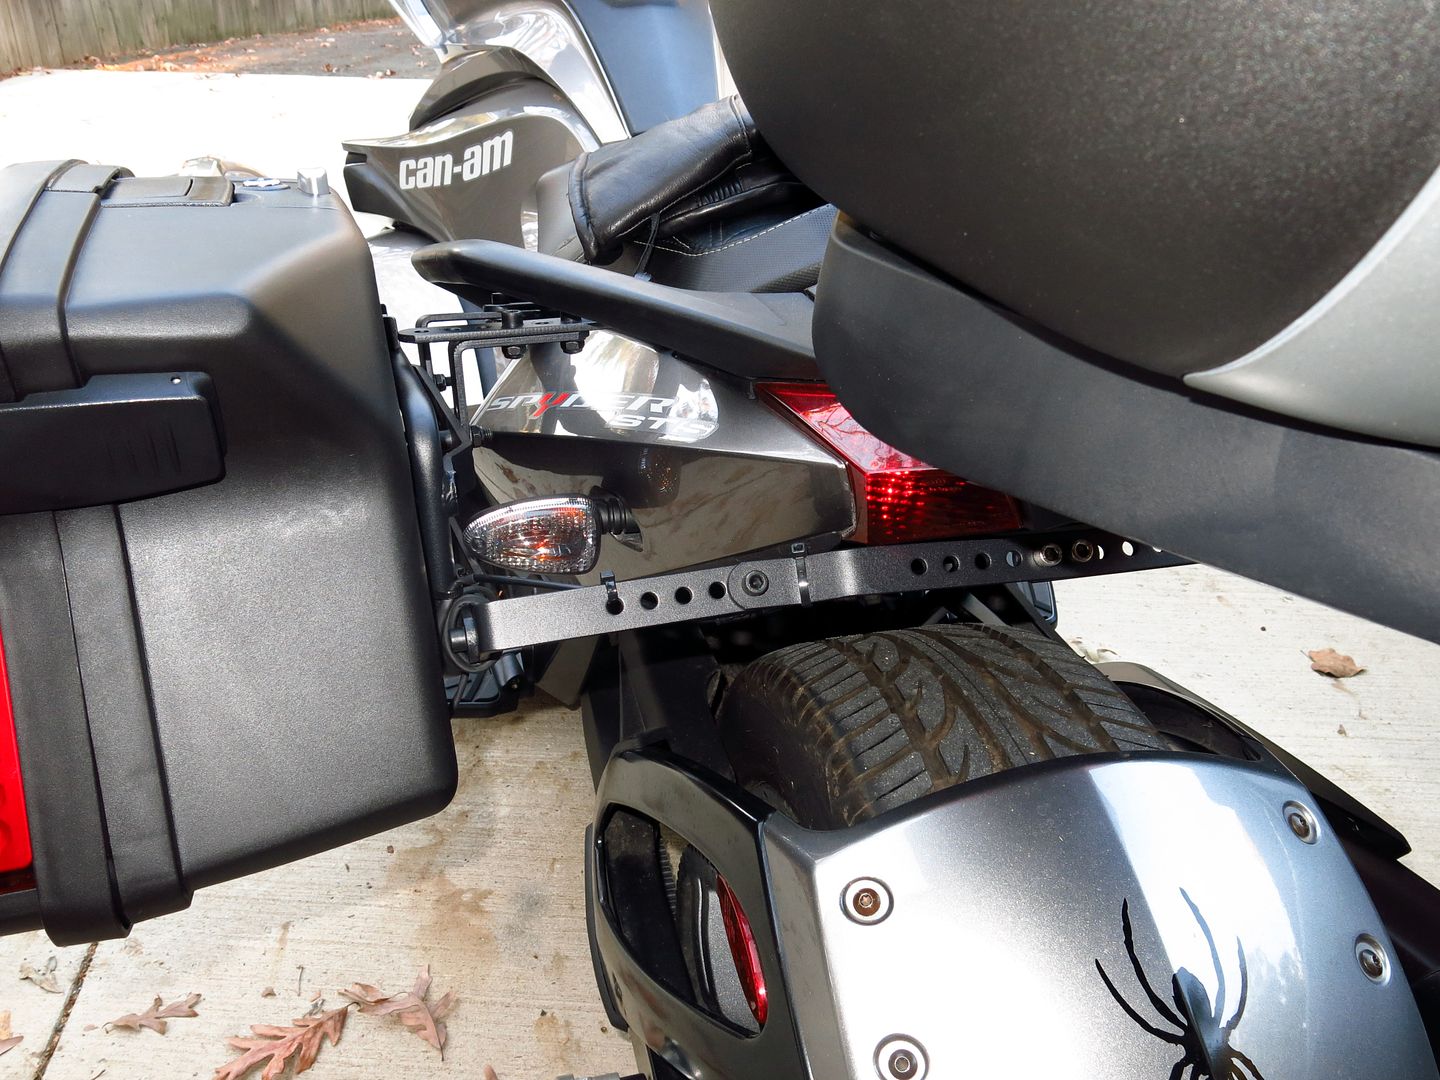
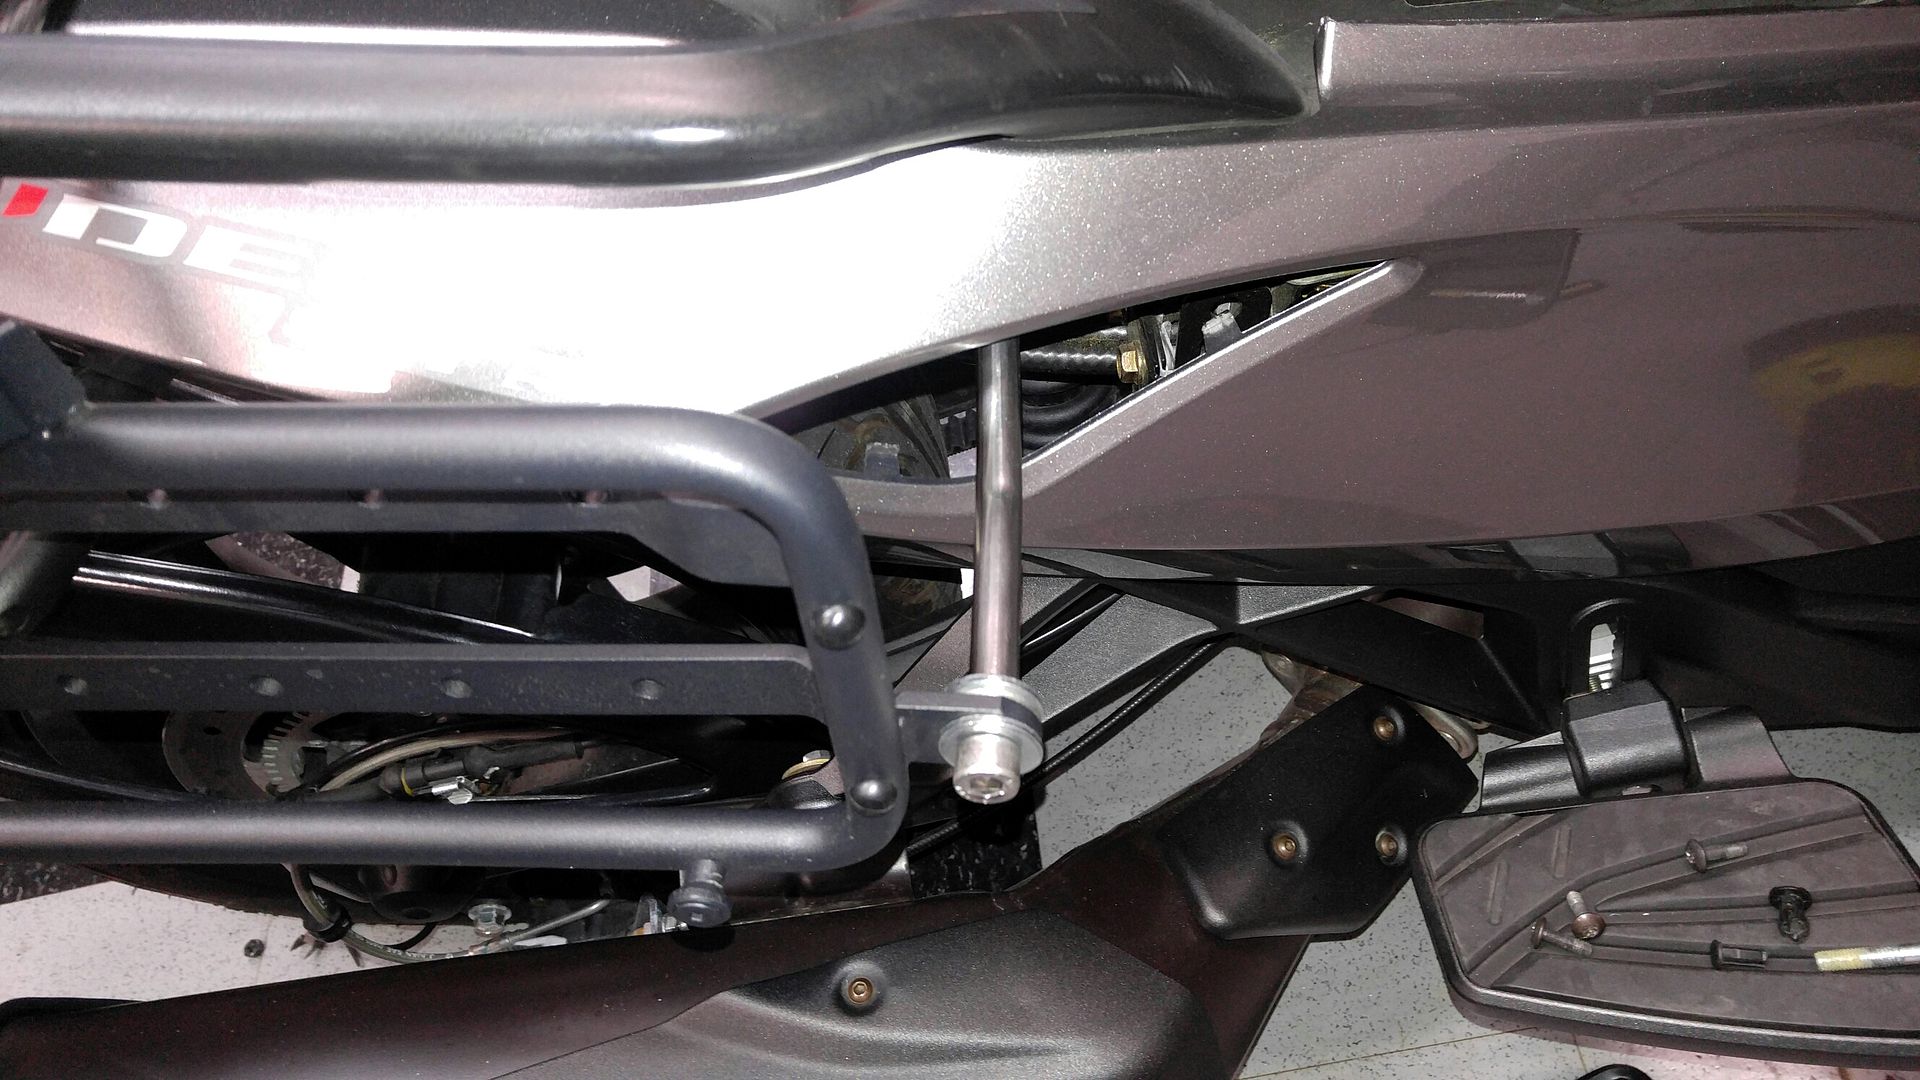
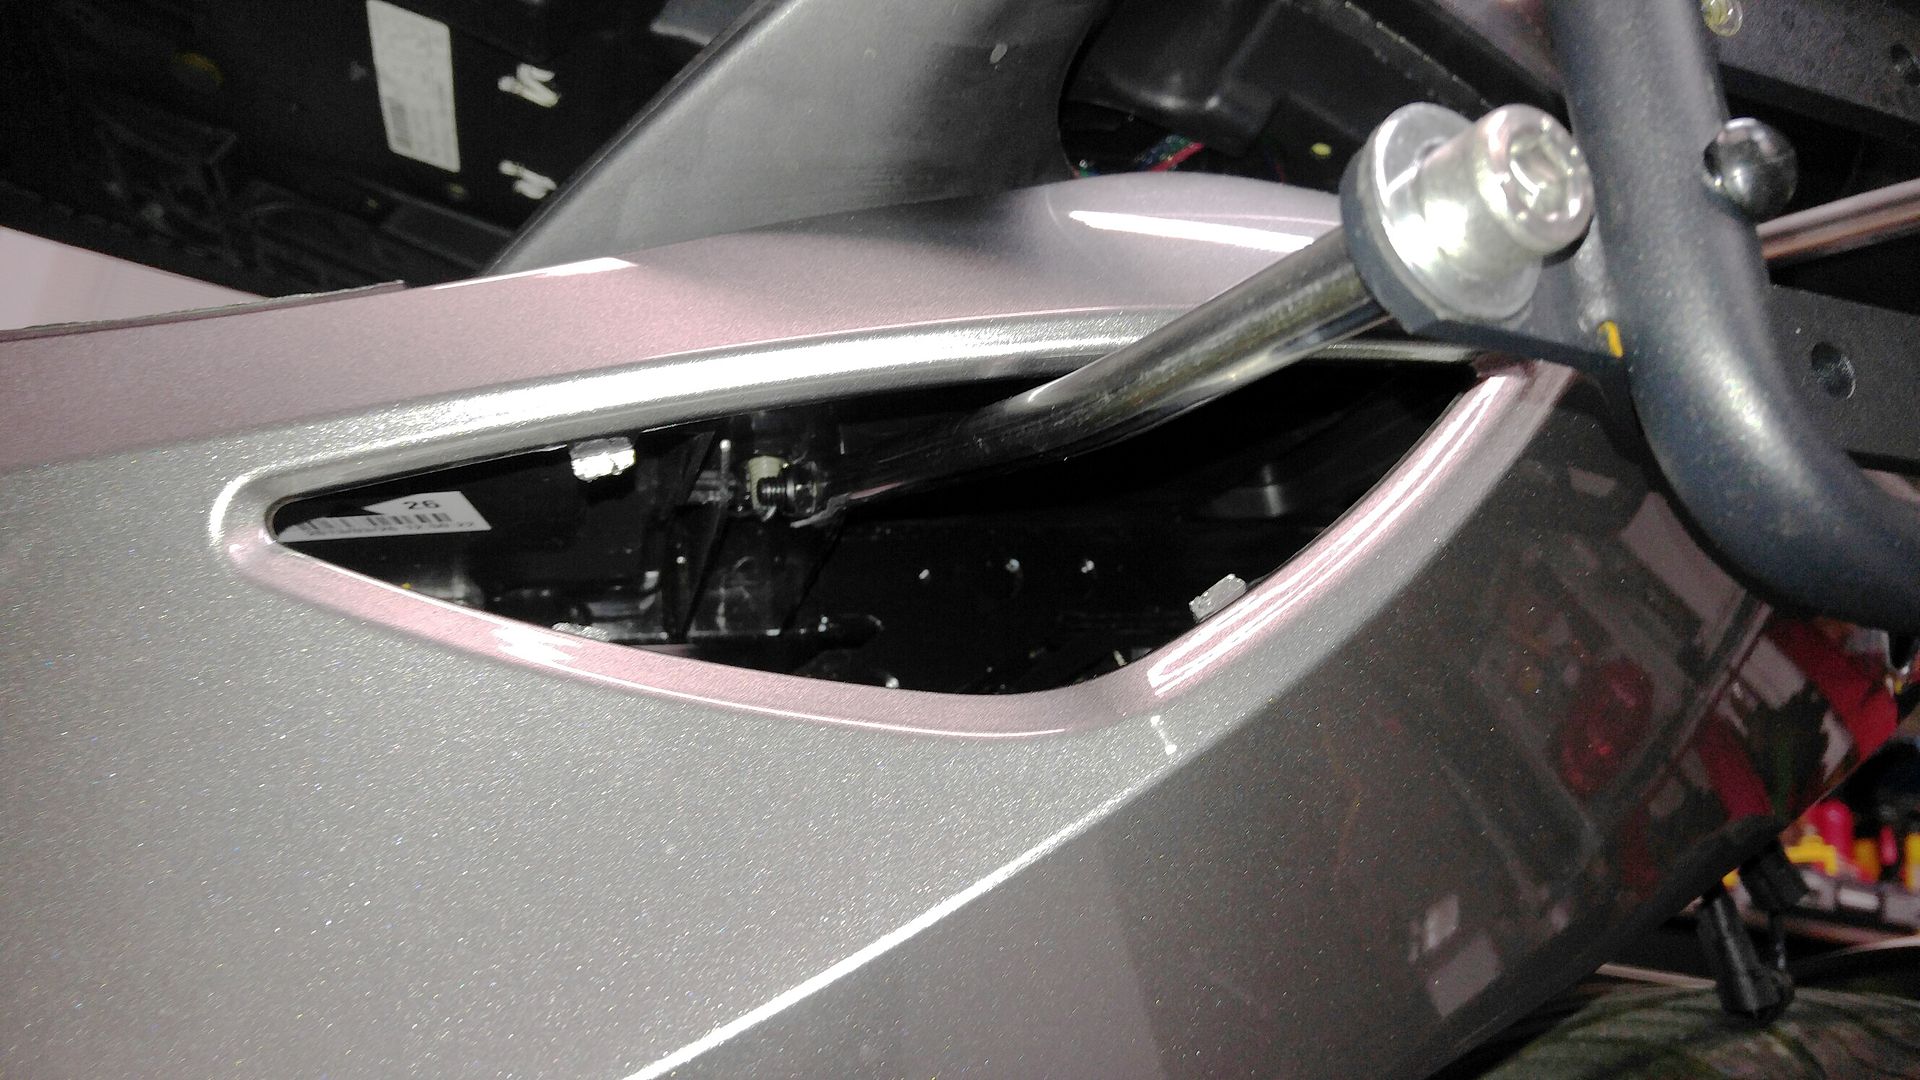
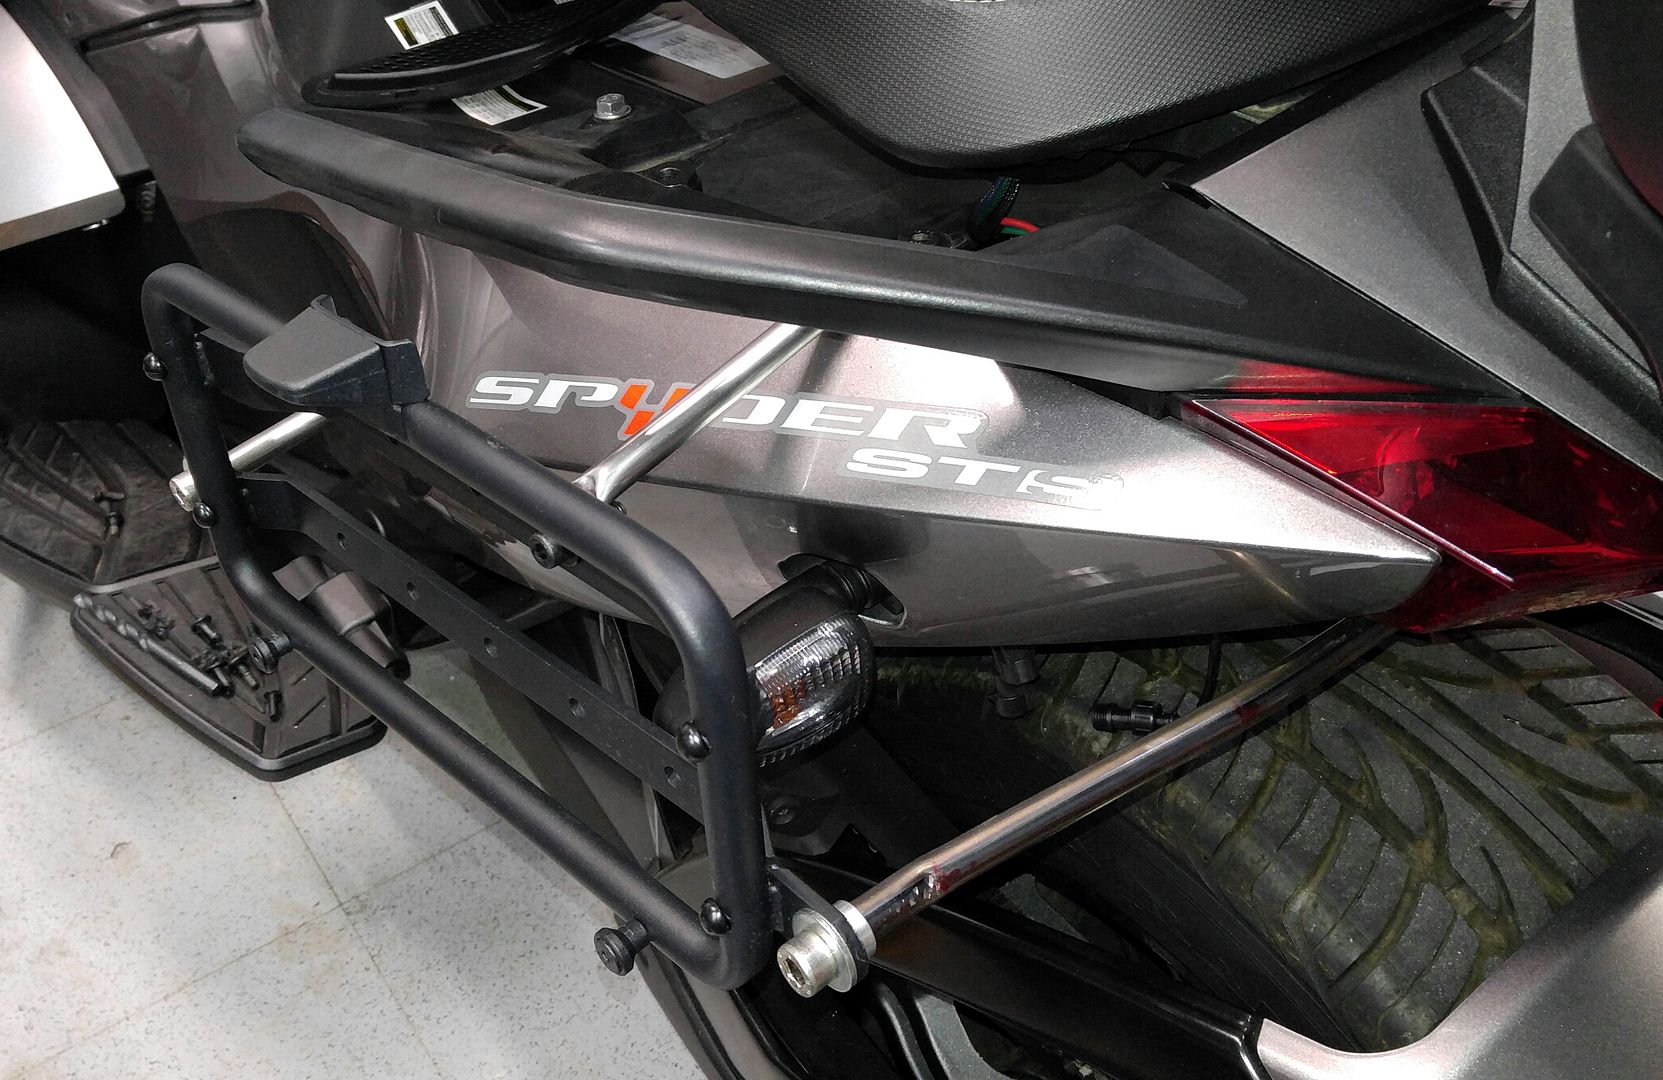
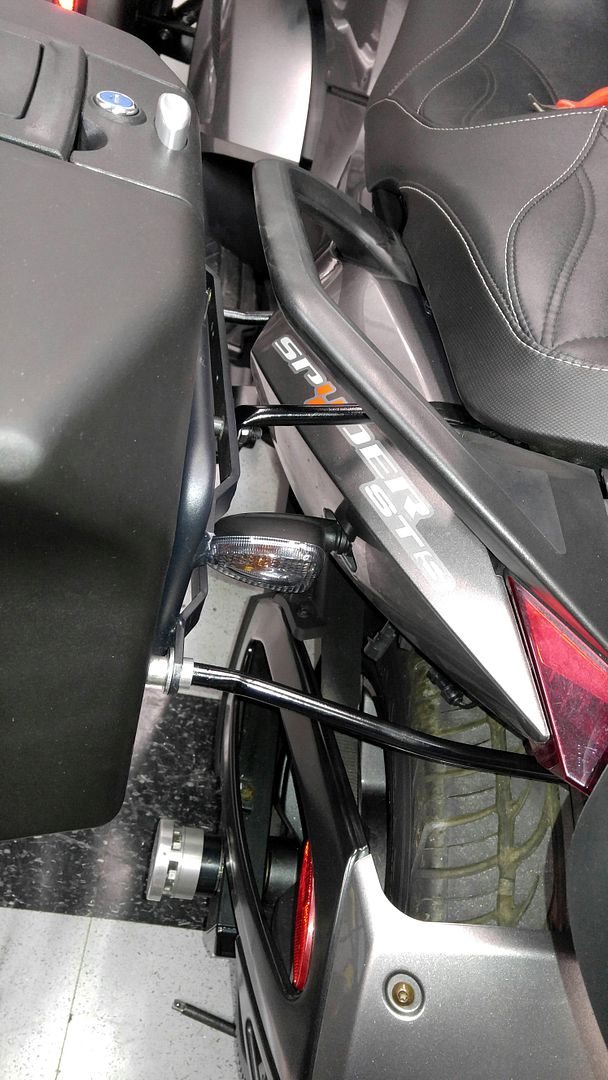
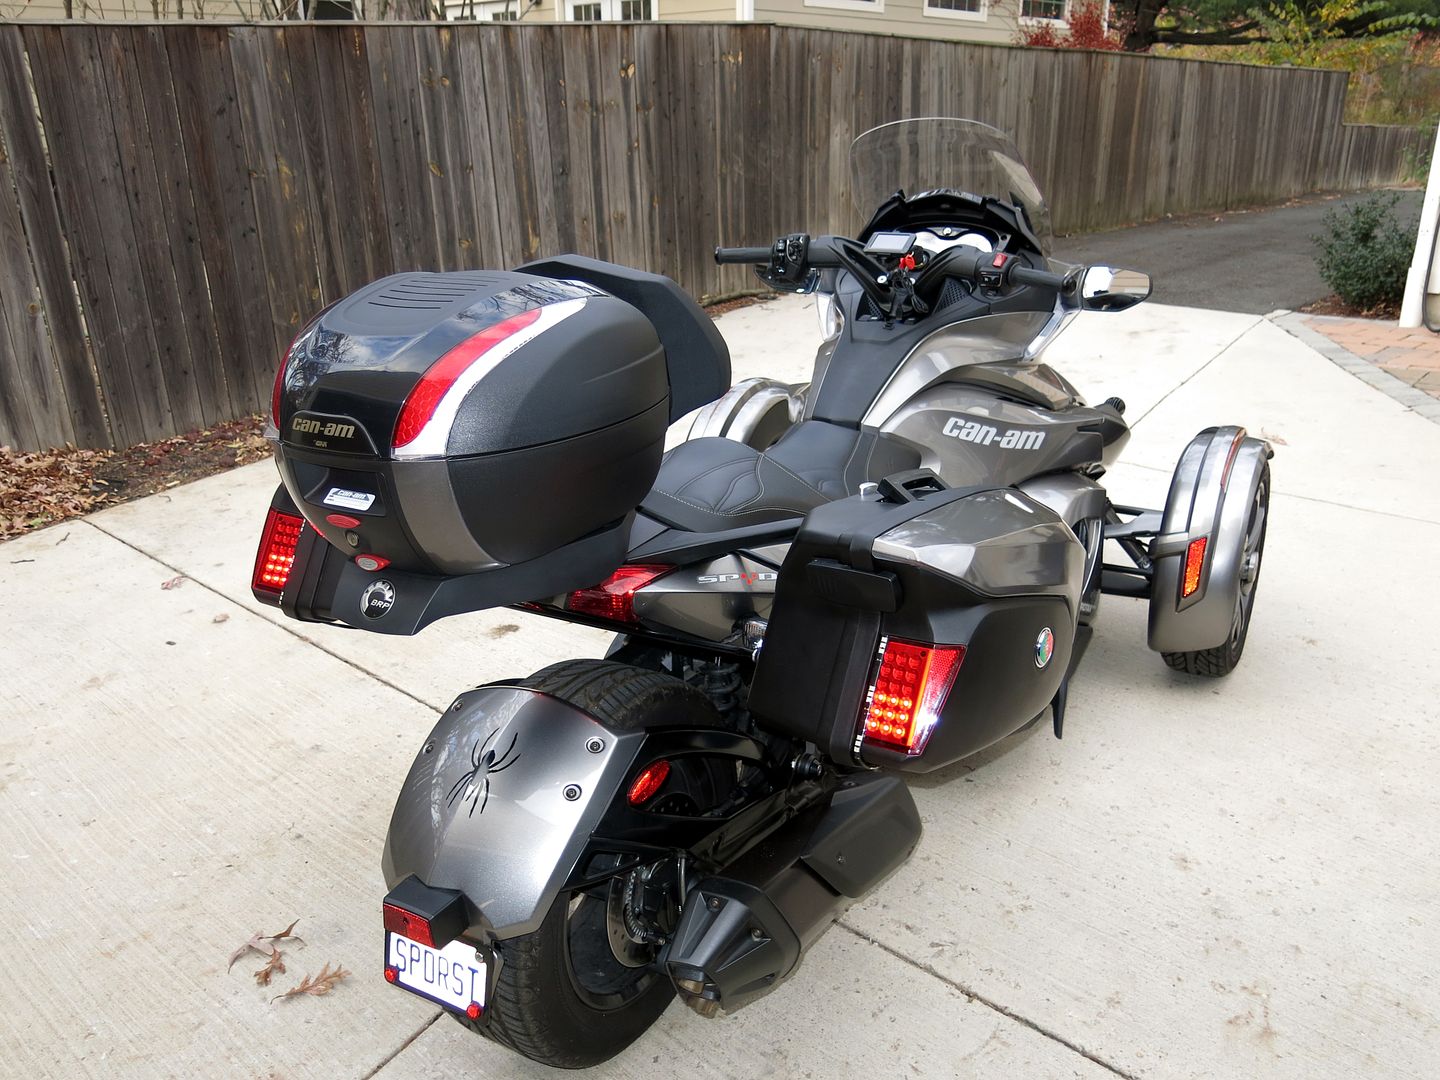
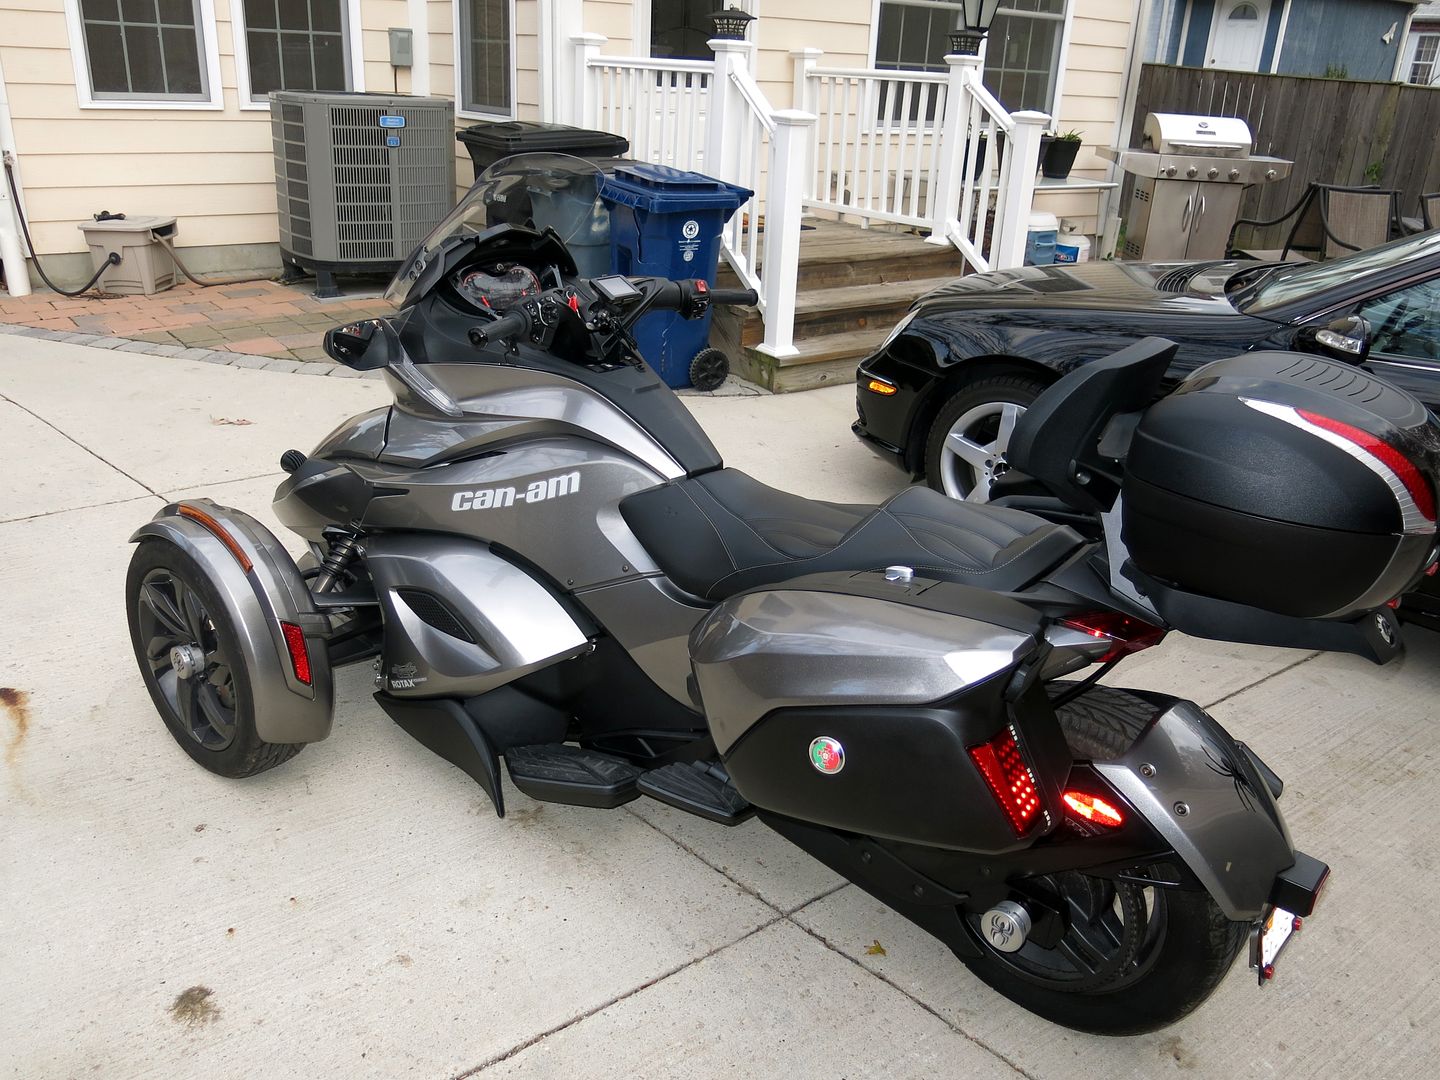
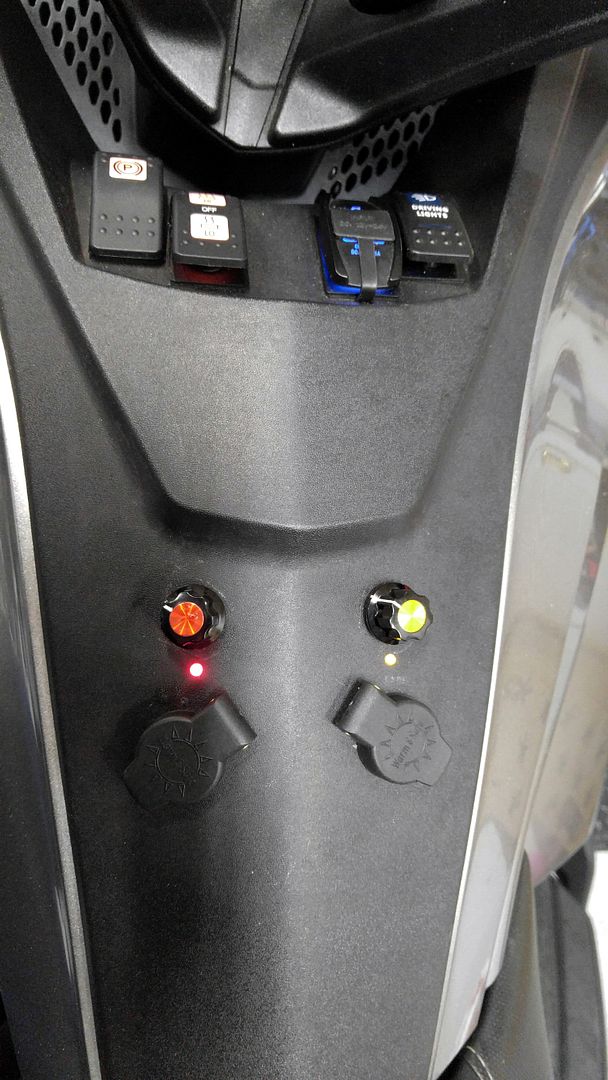
Thanks David,Very nice job on installing the driving lights.
I have the same lights mounted on the lower A Frames.
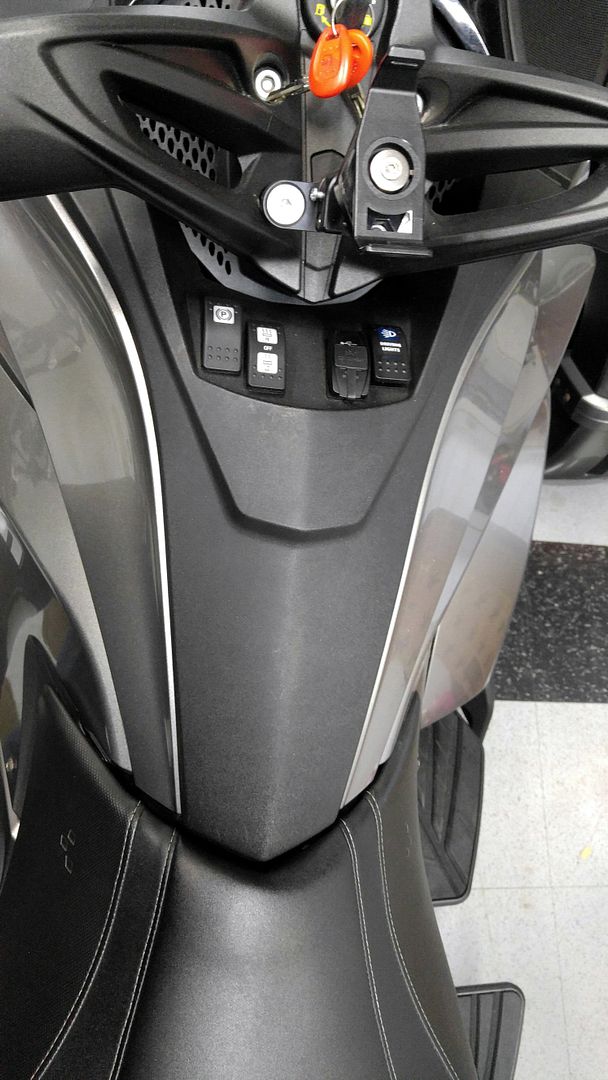
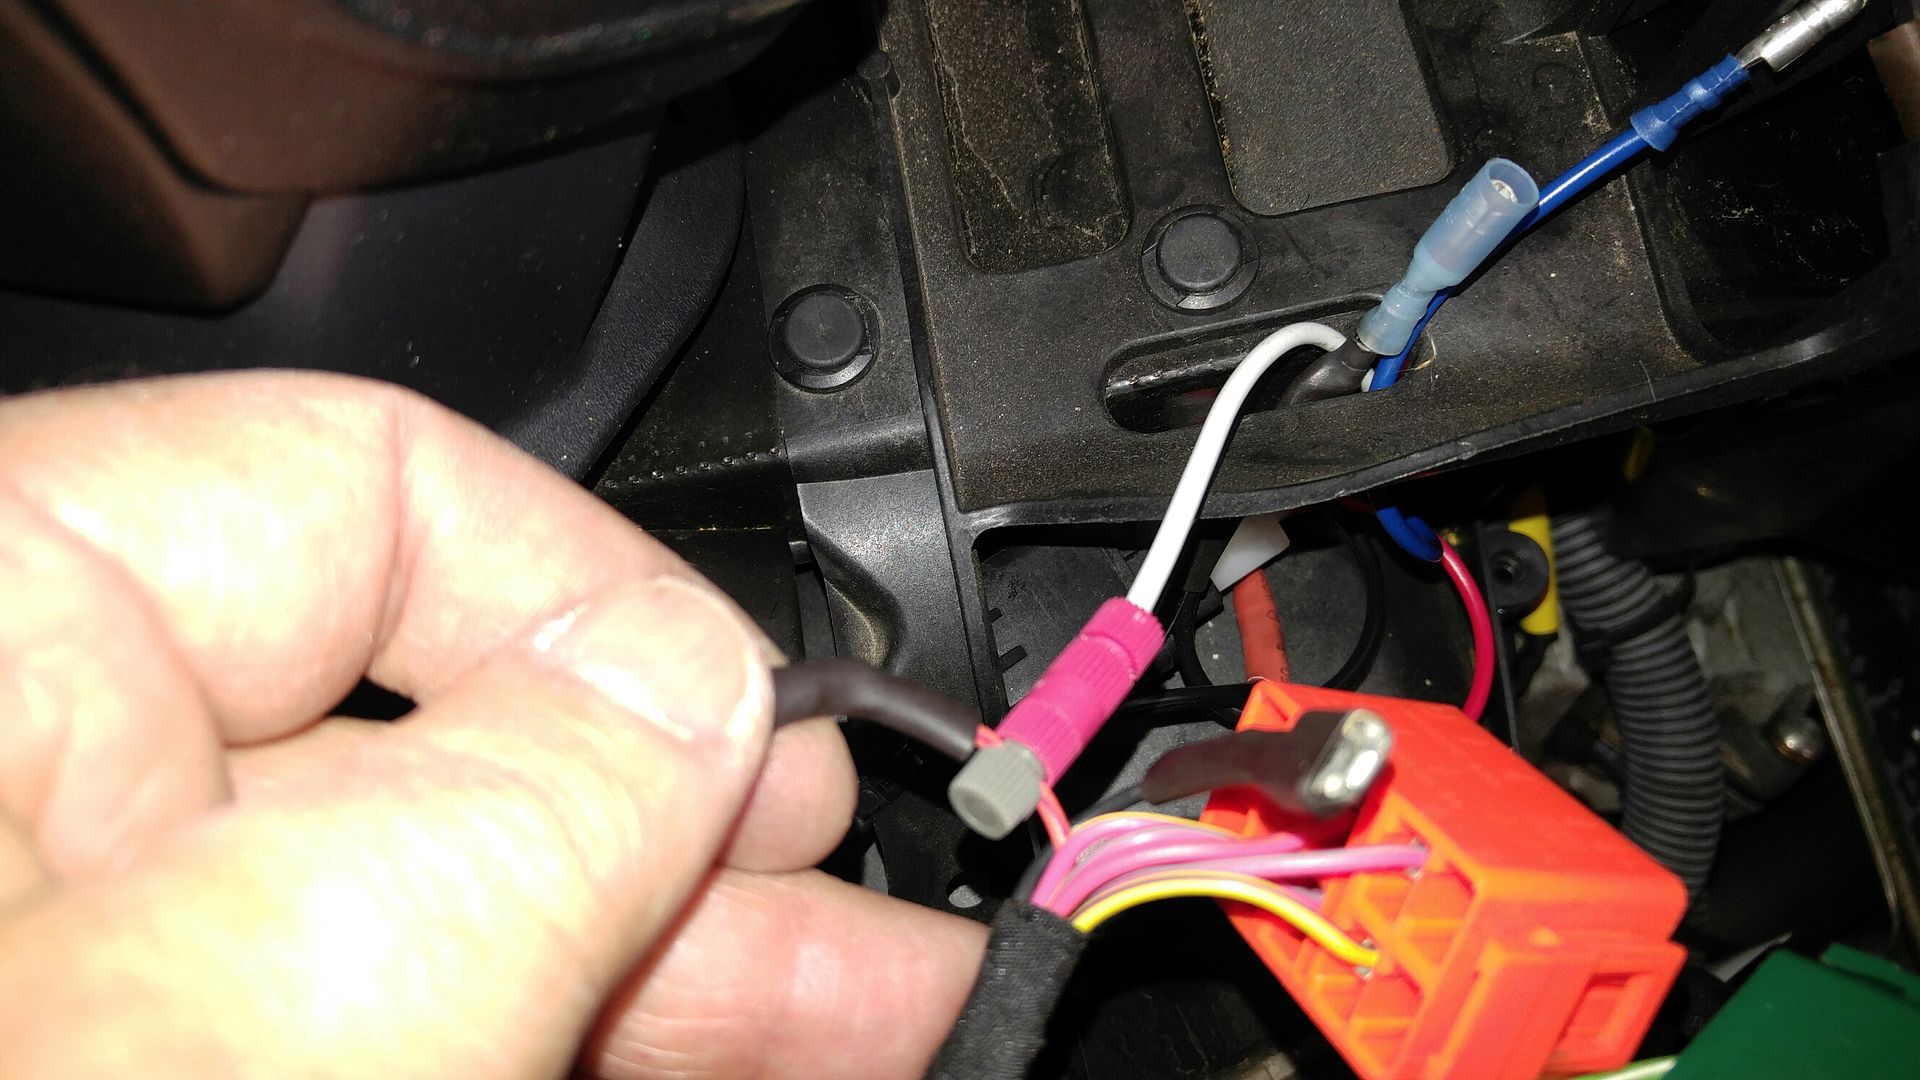
Did you have any issues with inserting the Amazon switch into the STS wiring harness?
I bought a similar switch on Amazon and found the pins on the back of the switch were spaced a bit different from the Spyder socket.
Required a bit of custom wiring to prevail. Maybe I bought the wrong switch. :banghead: My switch is not lighted.
Cheers, David C
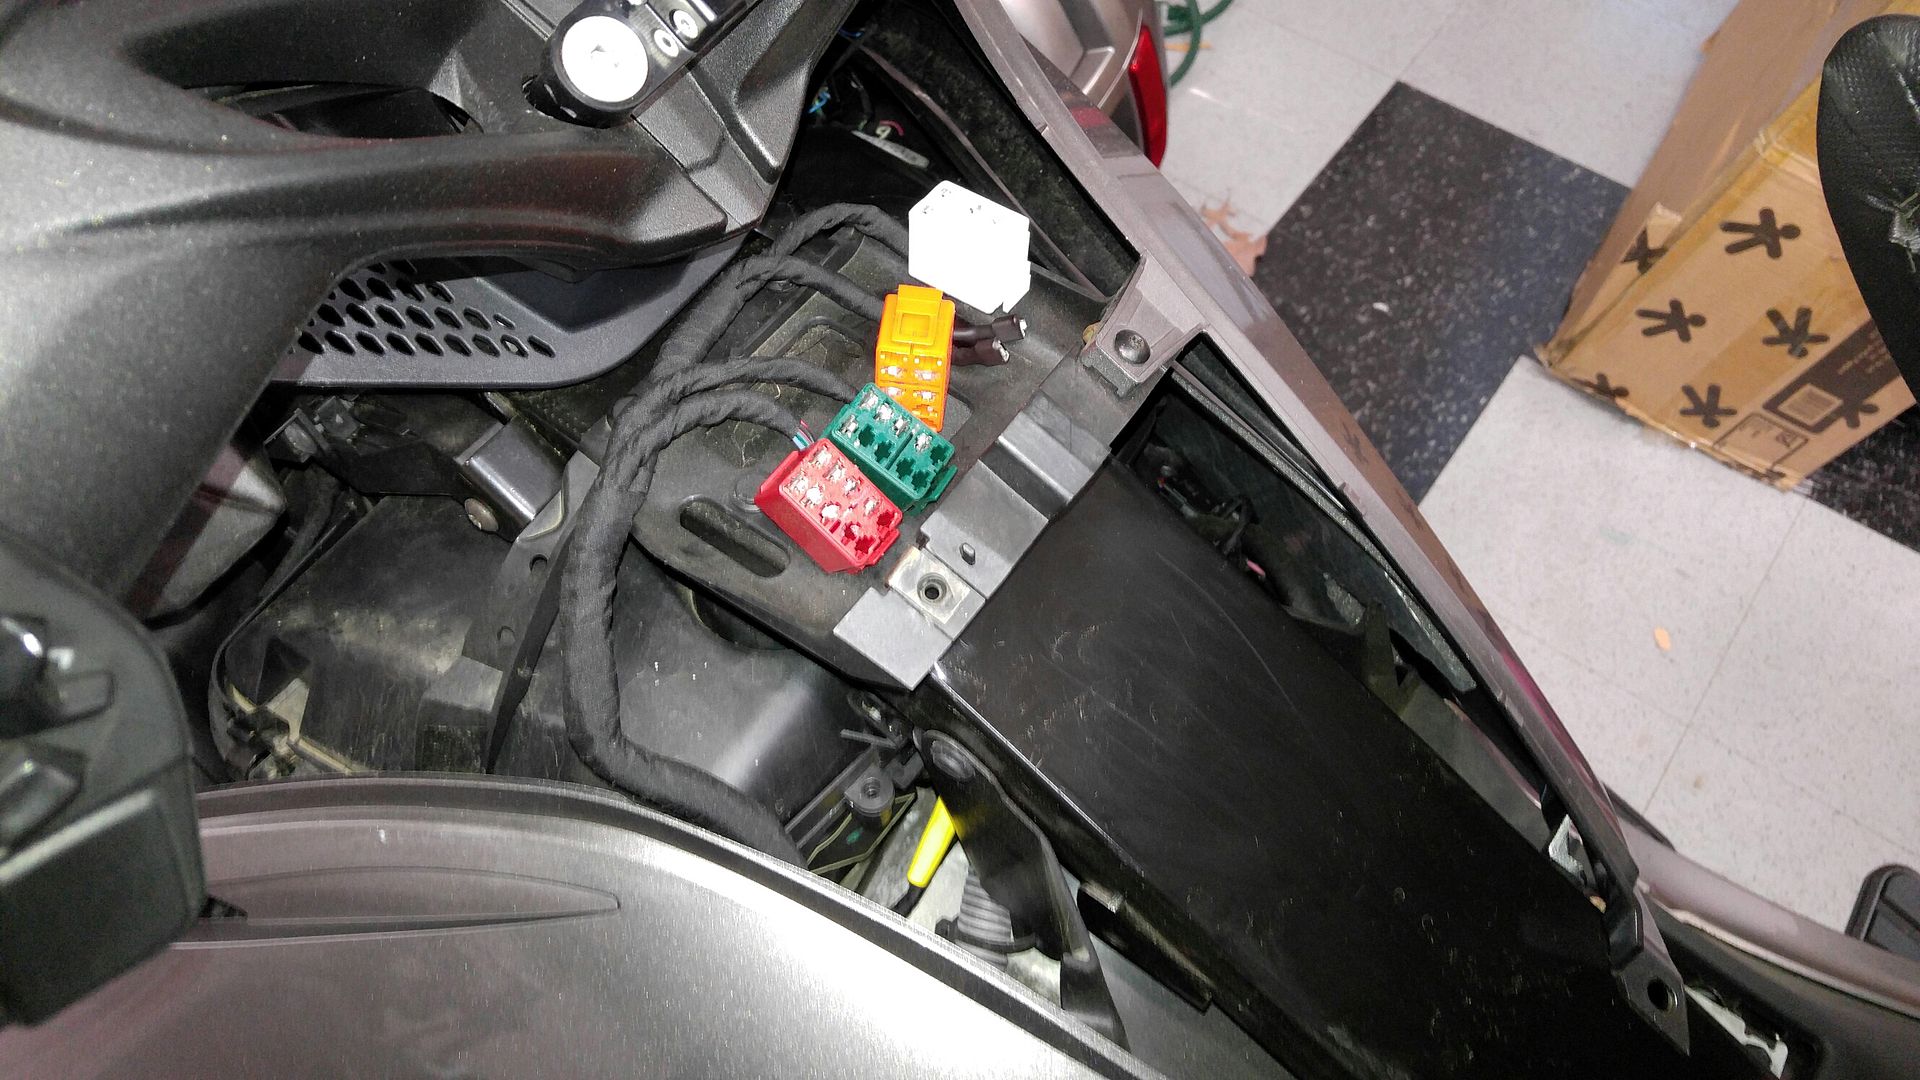
My switch was completely plug and play, once I broke off the plastic post between the pins. The only issue is that it is not lit. I may mess with it, or may not. Either way, it works the lights just fine.