• There were many reasons for the change of the site software, the biggest was security. The age of the old software also meant no server updates for certain programs. There are many benefits to the new software, one of the biggest is the mobile functionality. Ill fix up some stuff in the coming days, we'll also try to get some of the old addons back or the data imported back into the site like the garage. To create a thread or to reply with a post is basically the same as it was in the prior software. The default style of the site is light colored, but i temporarily added a darker colored style, to change you can find a link at the bottom of the site.

New Mods for my wife's 2013 ST-S.

JimVonBaden

New member
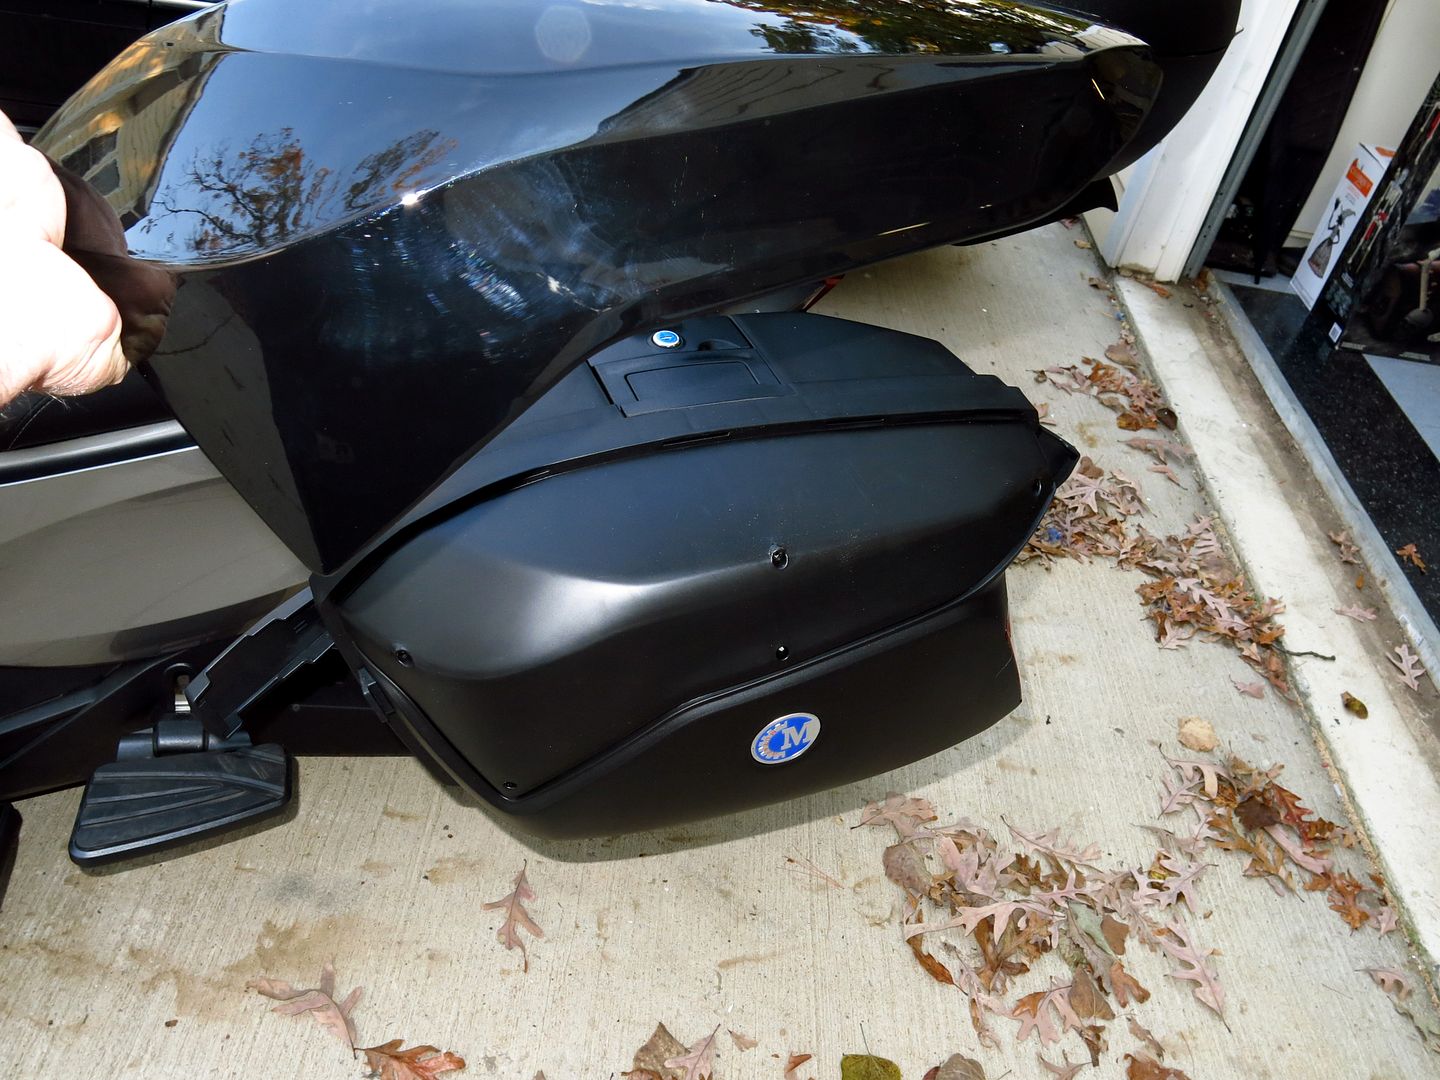
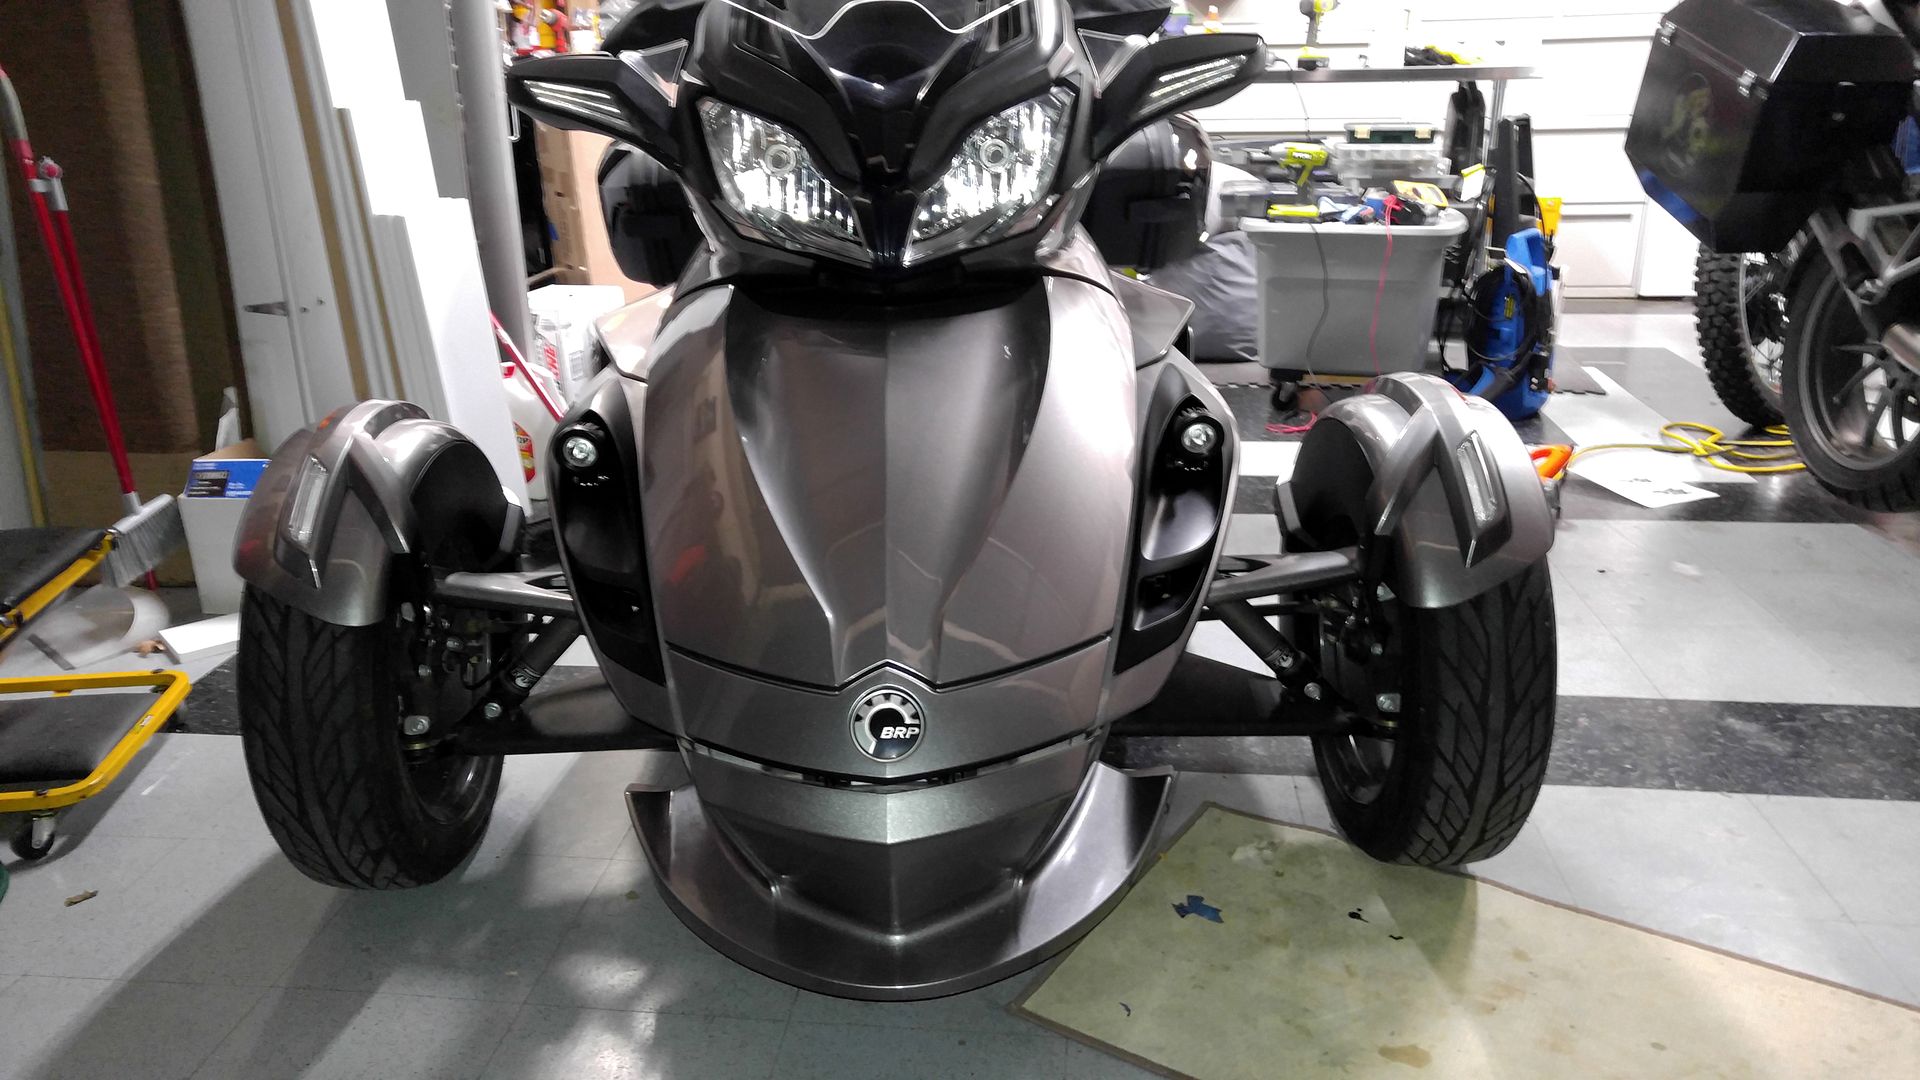
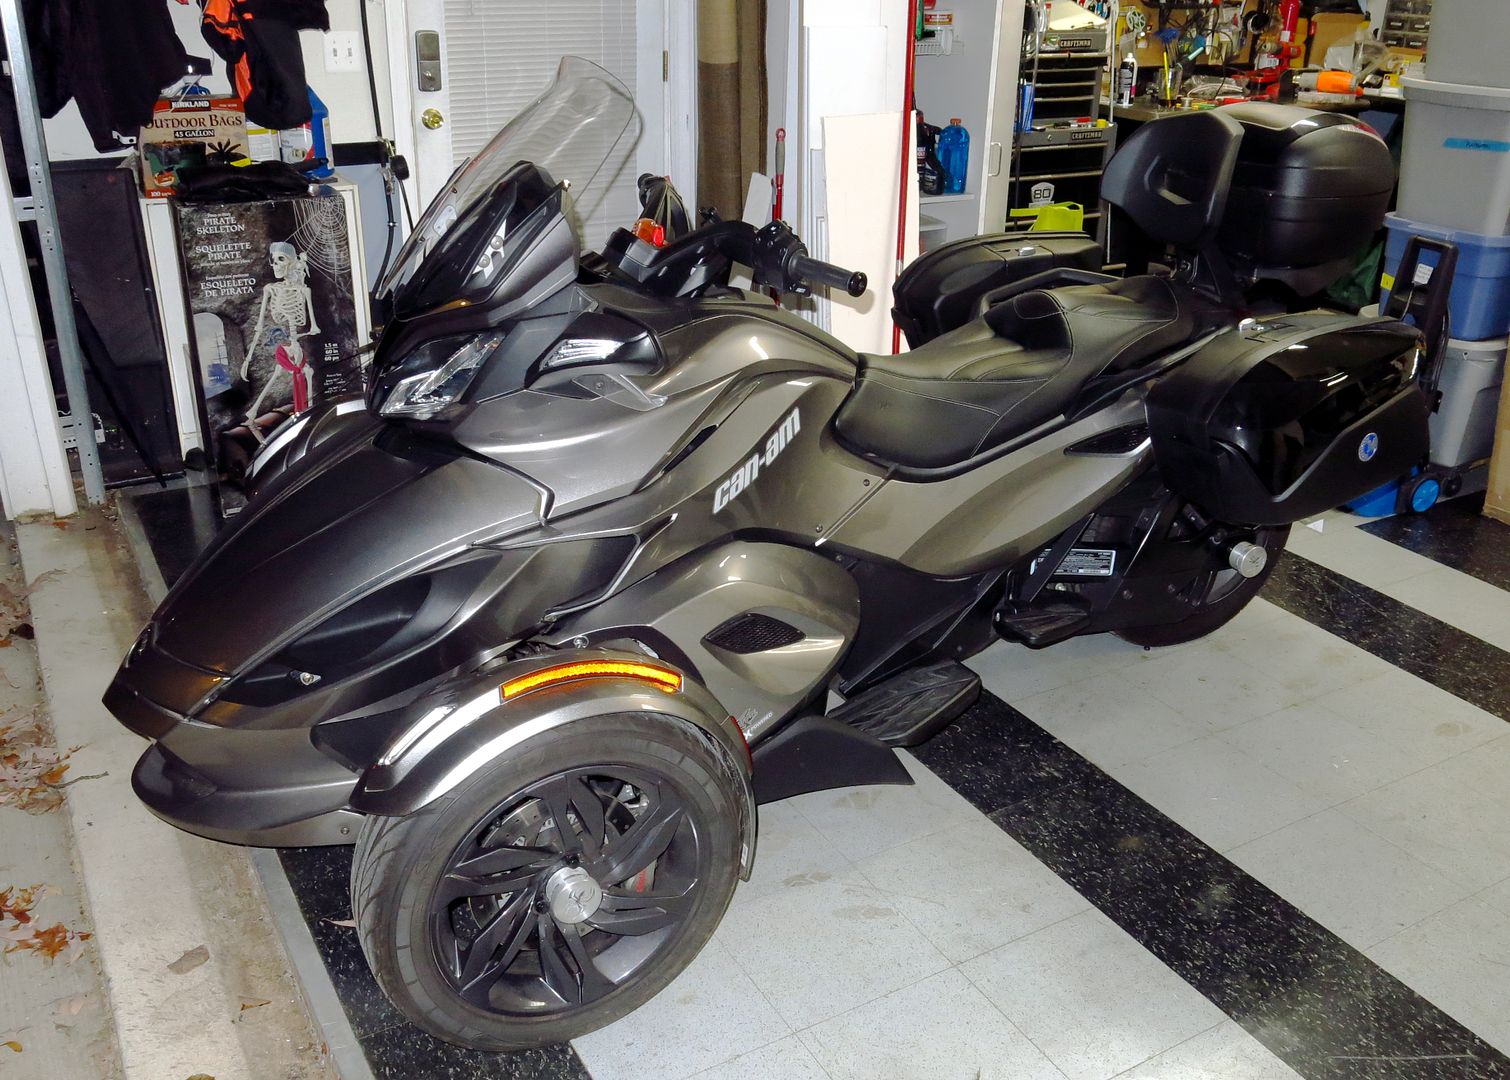
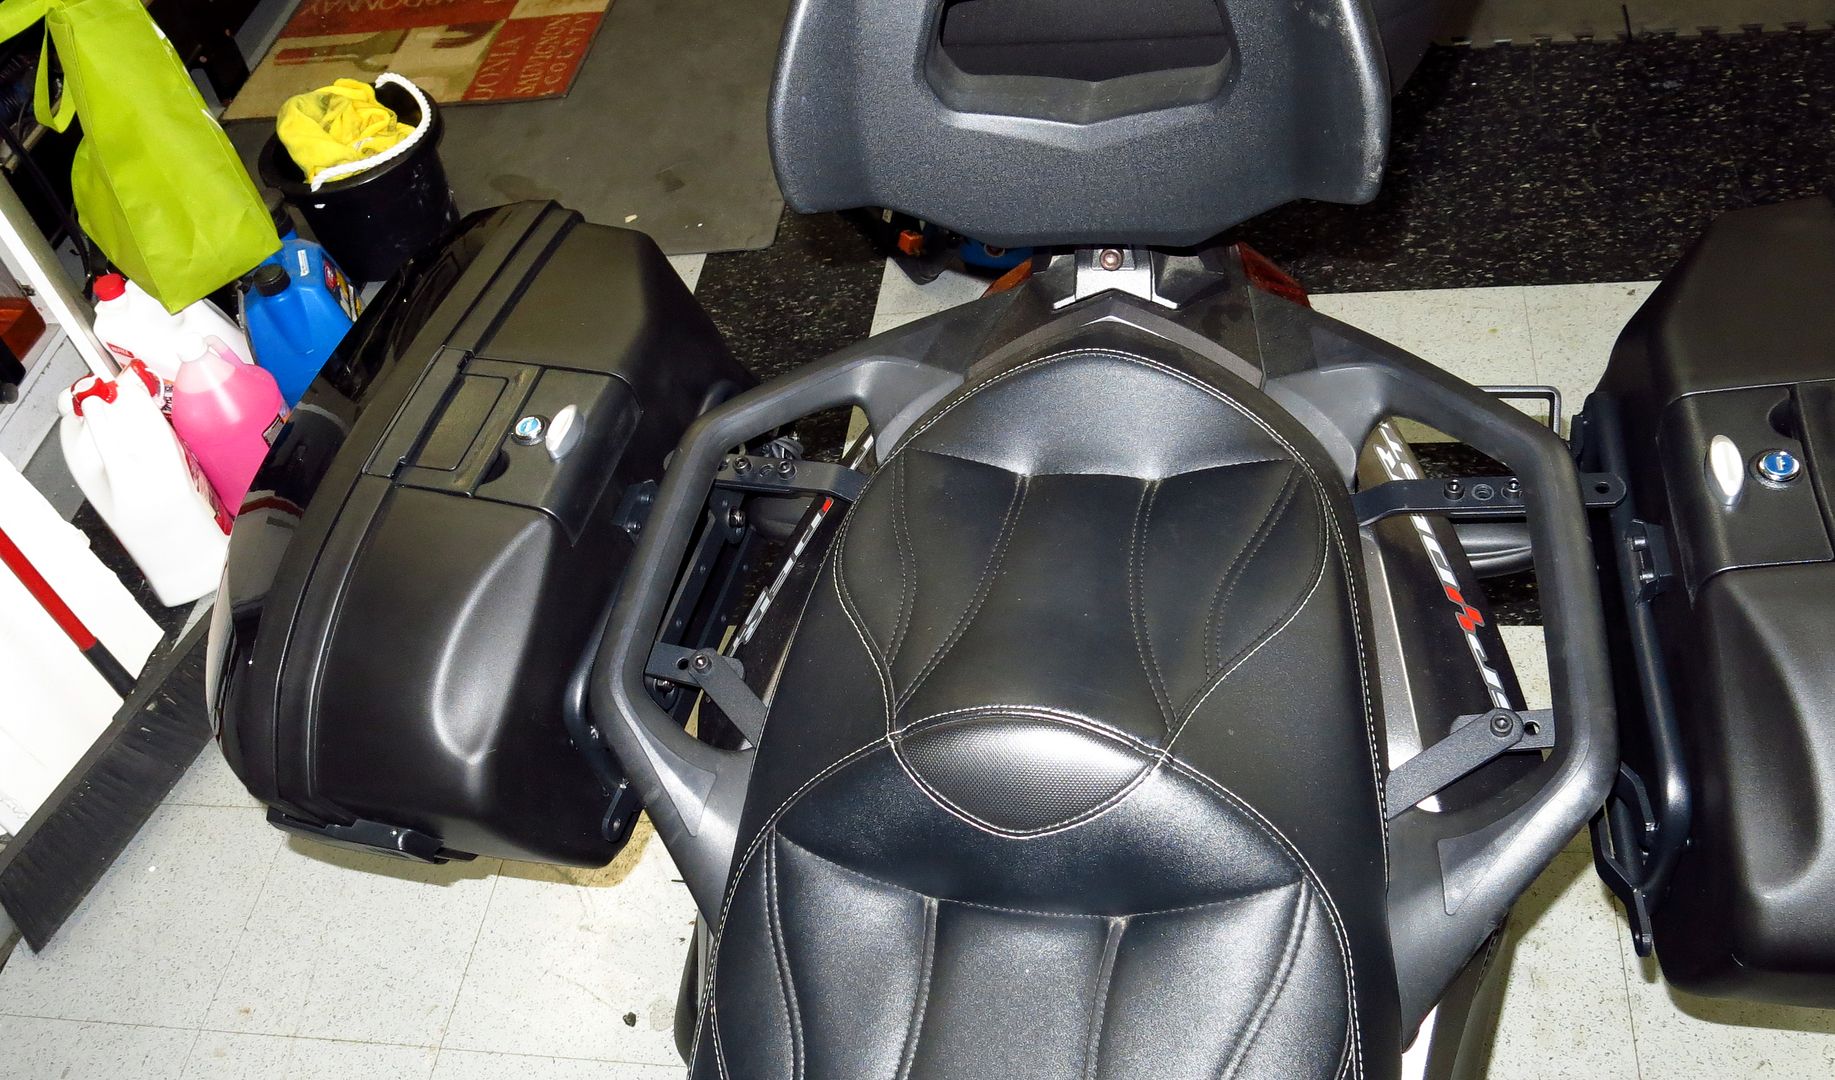
I ordered a set of universal fit panniers from E-bay, yes, yes I did.

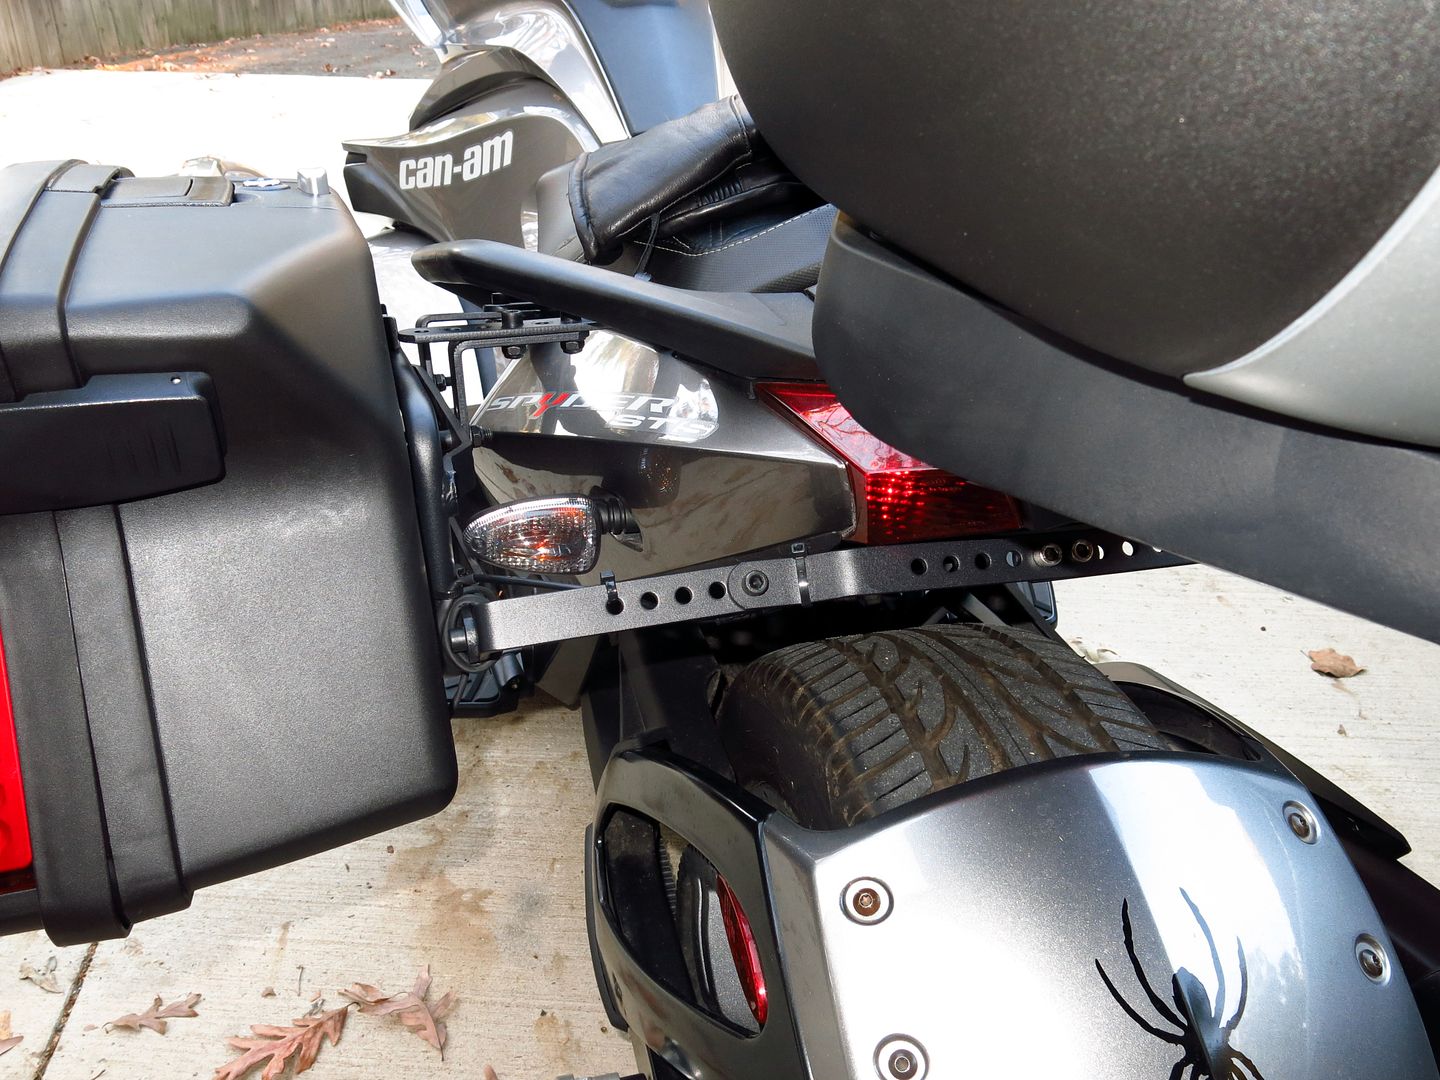
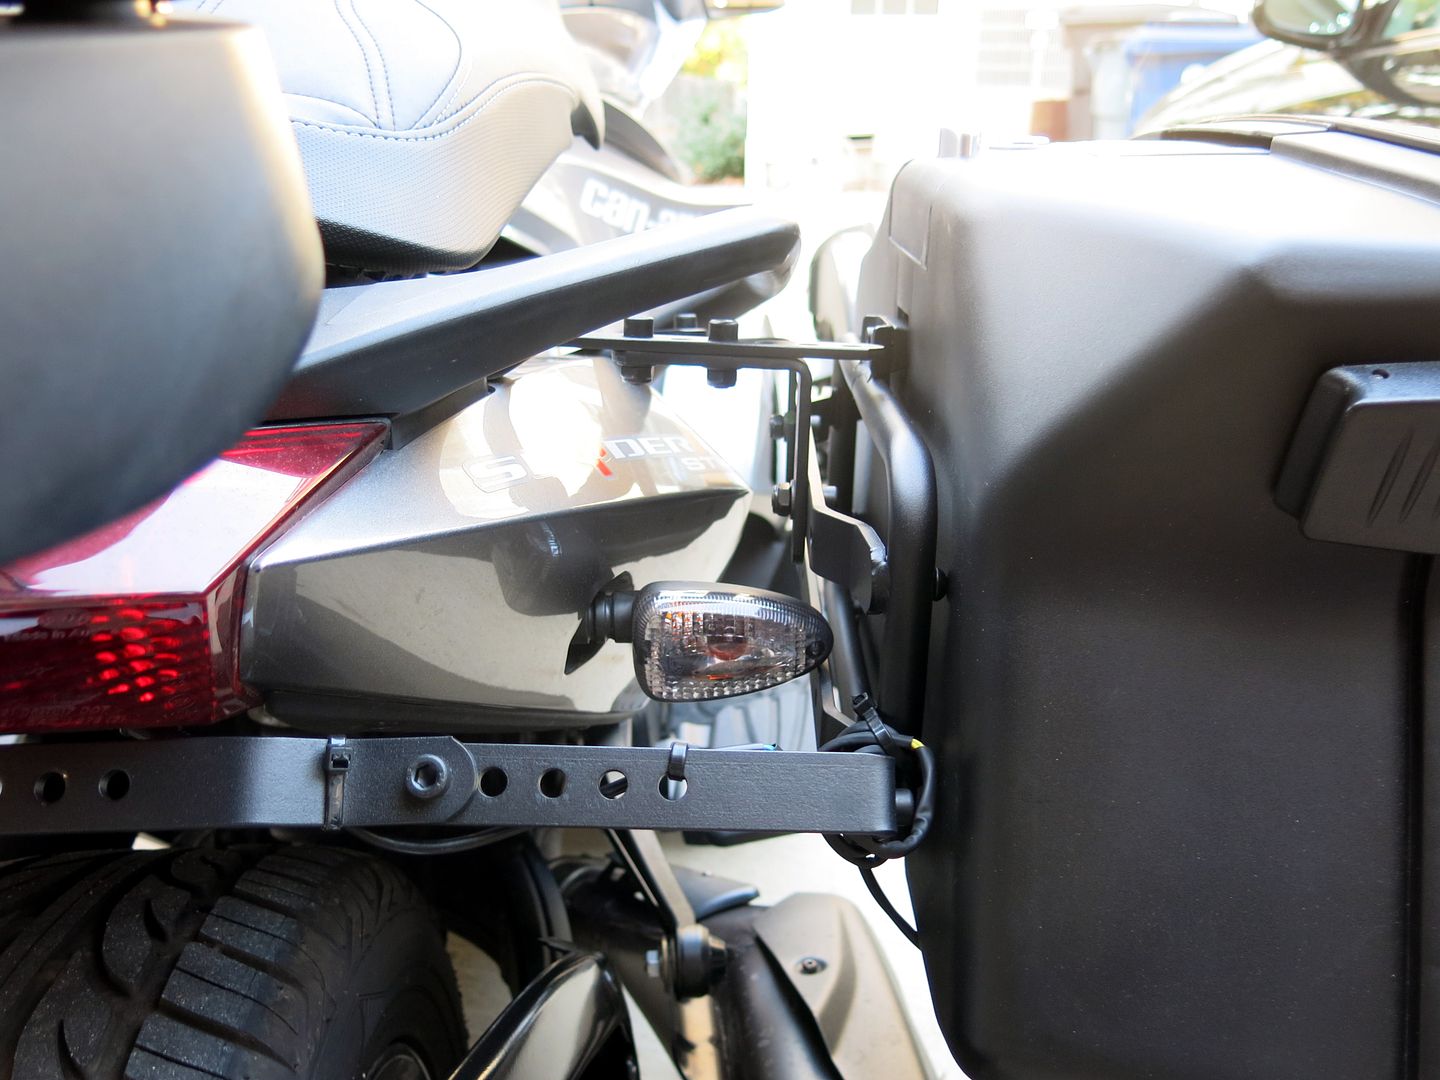
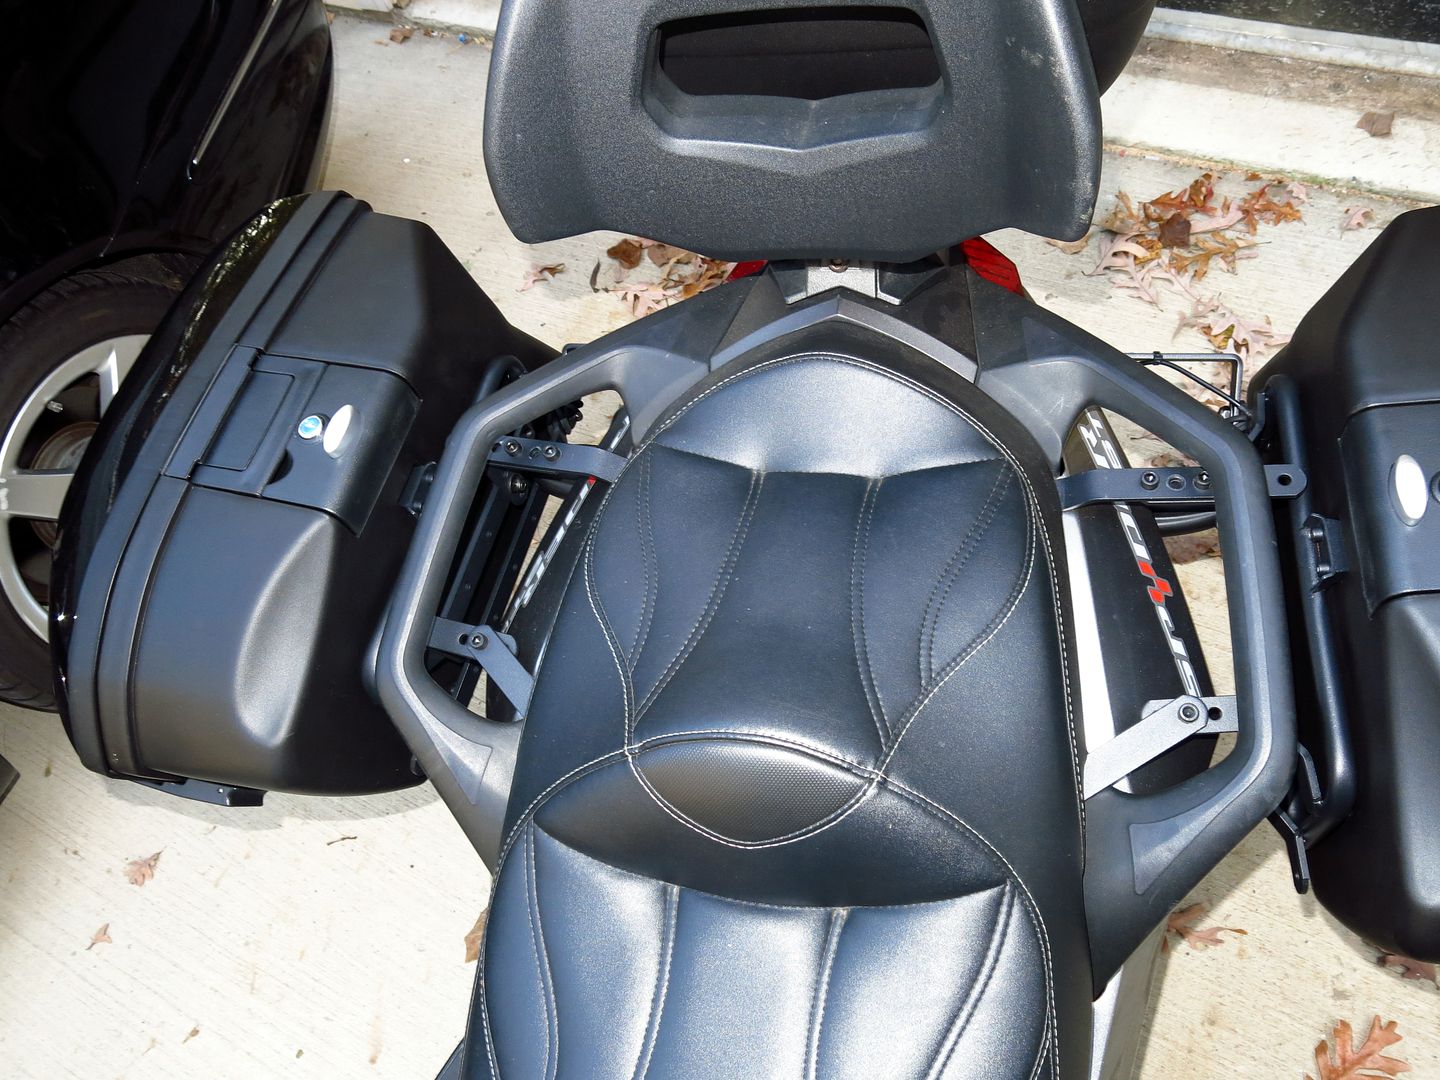
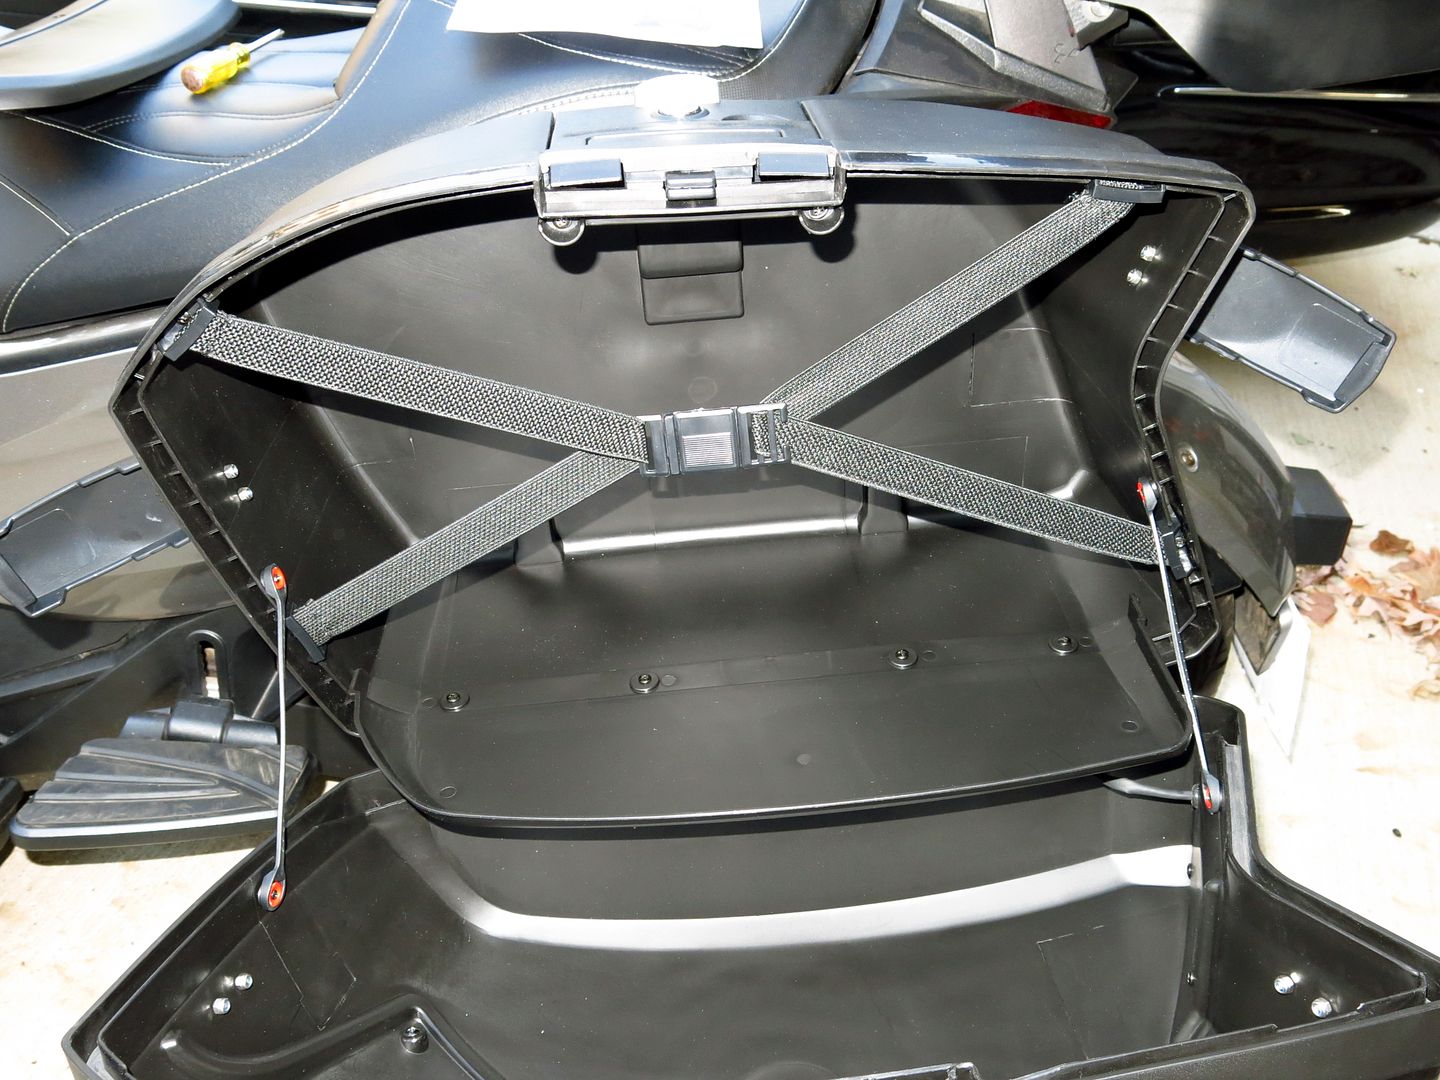
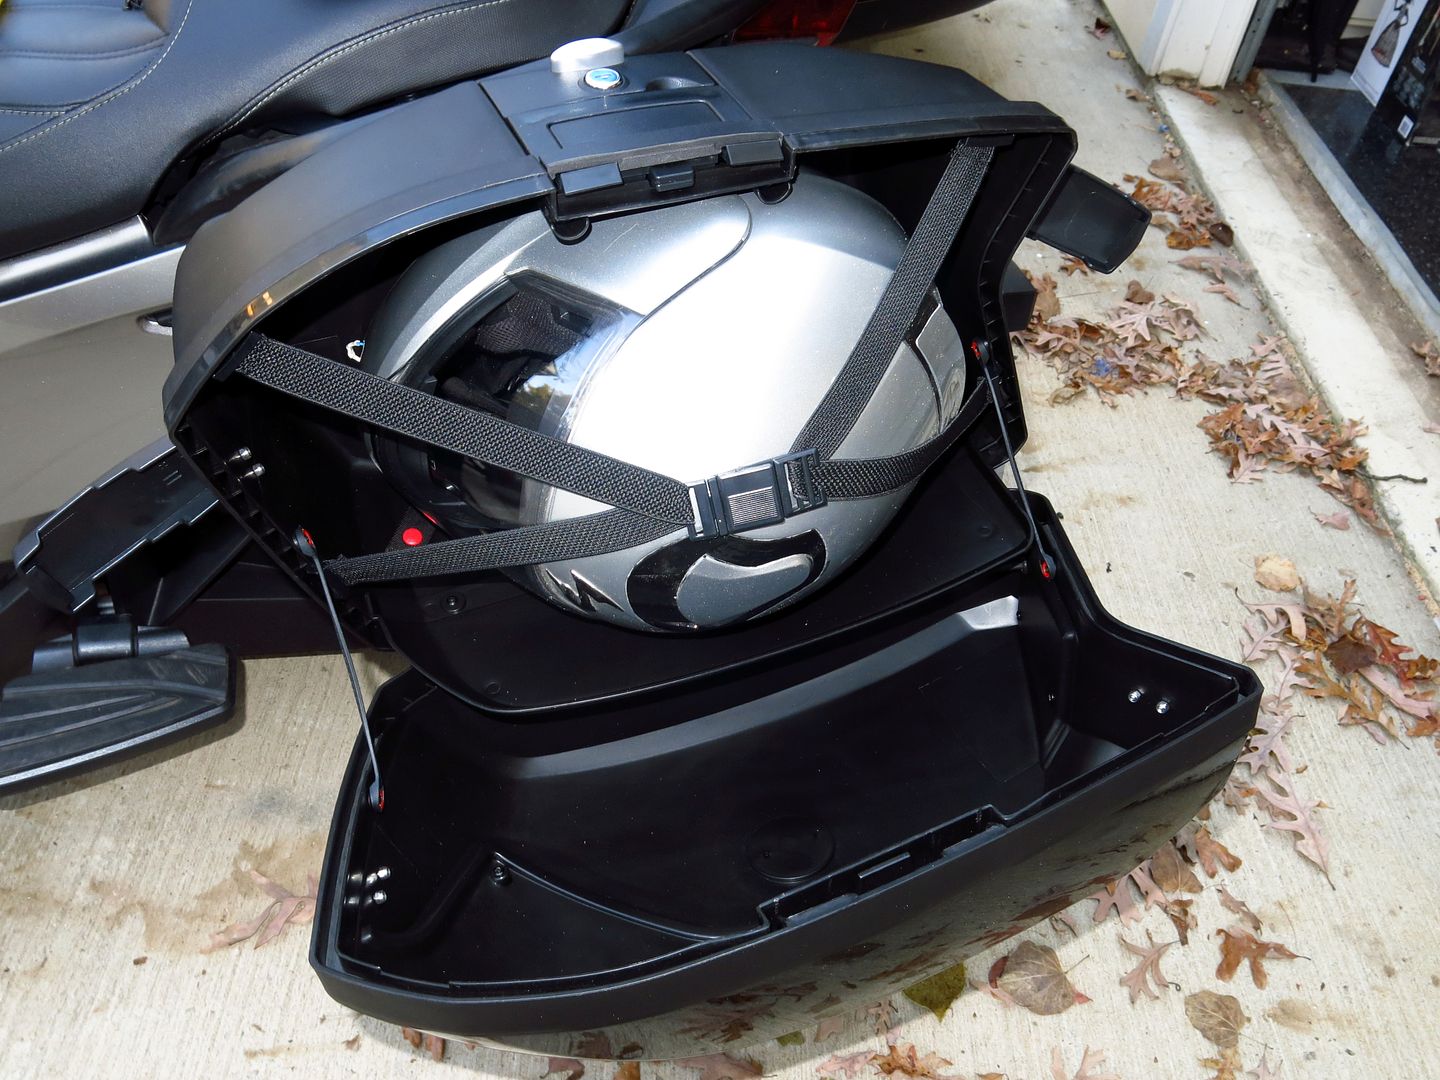
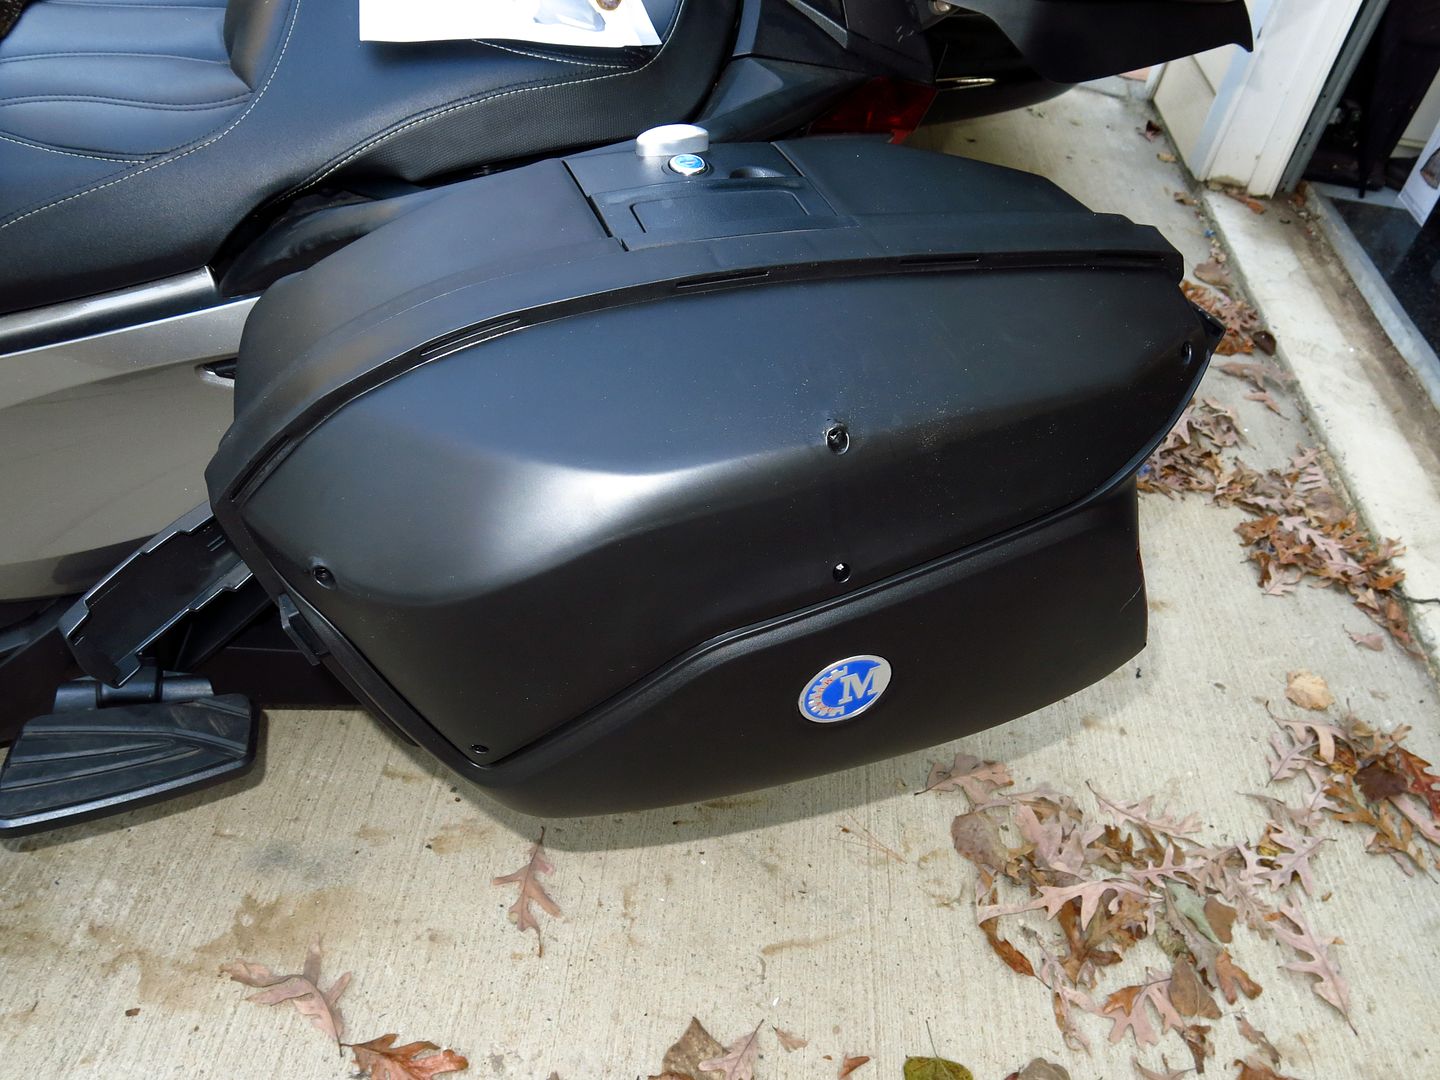
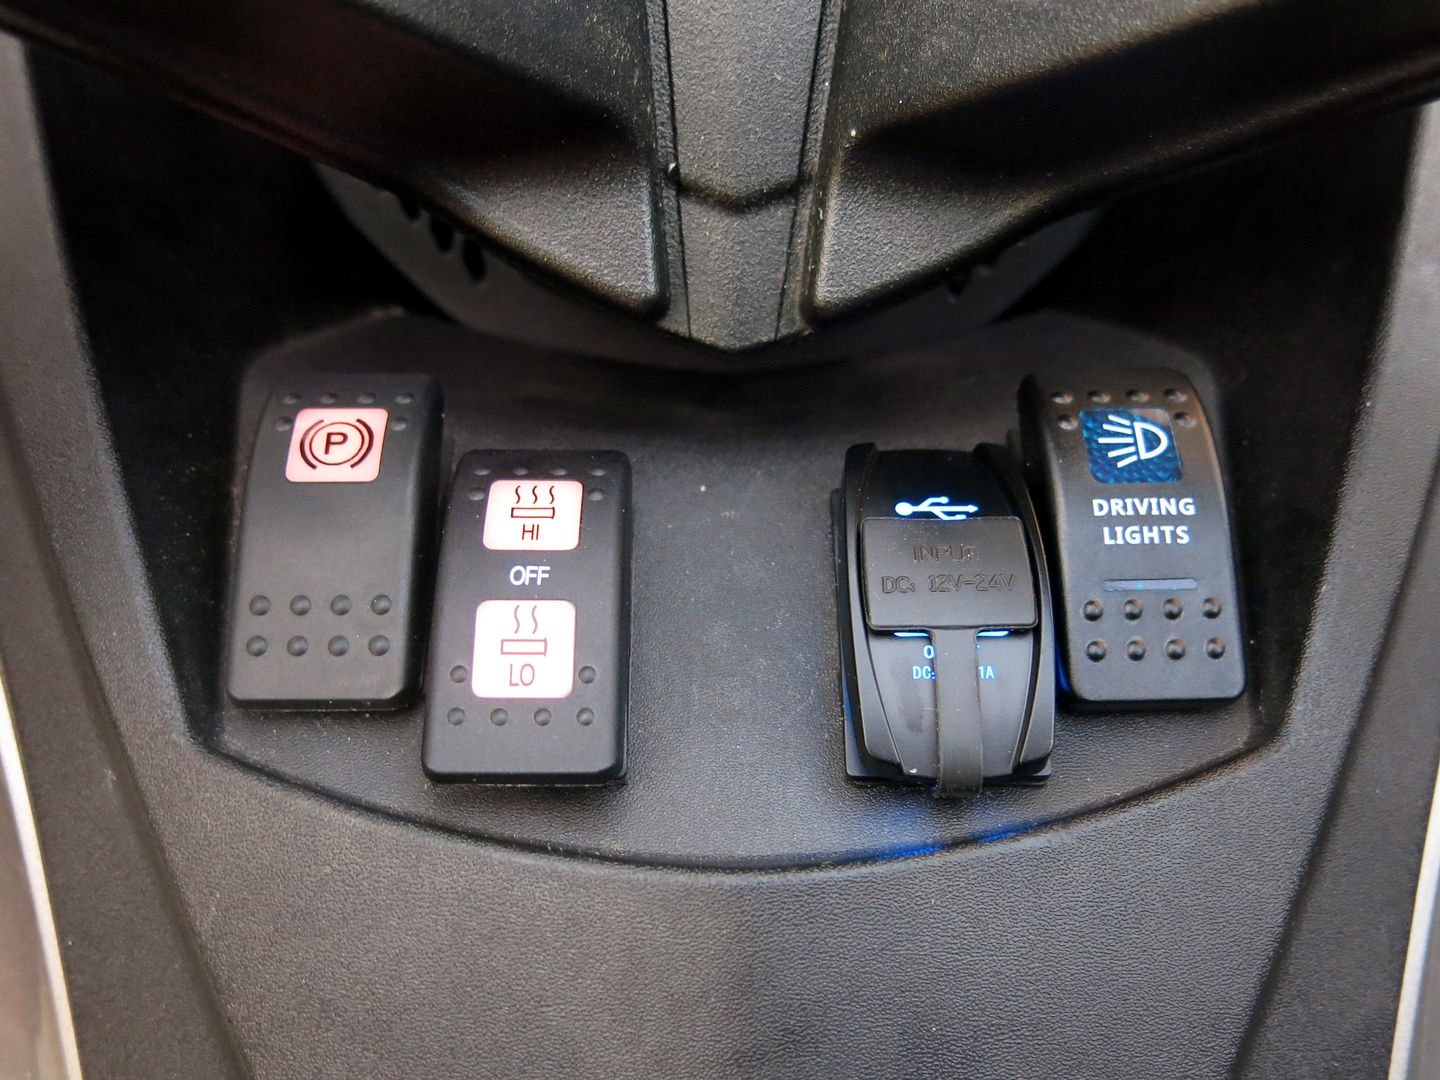
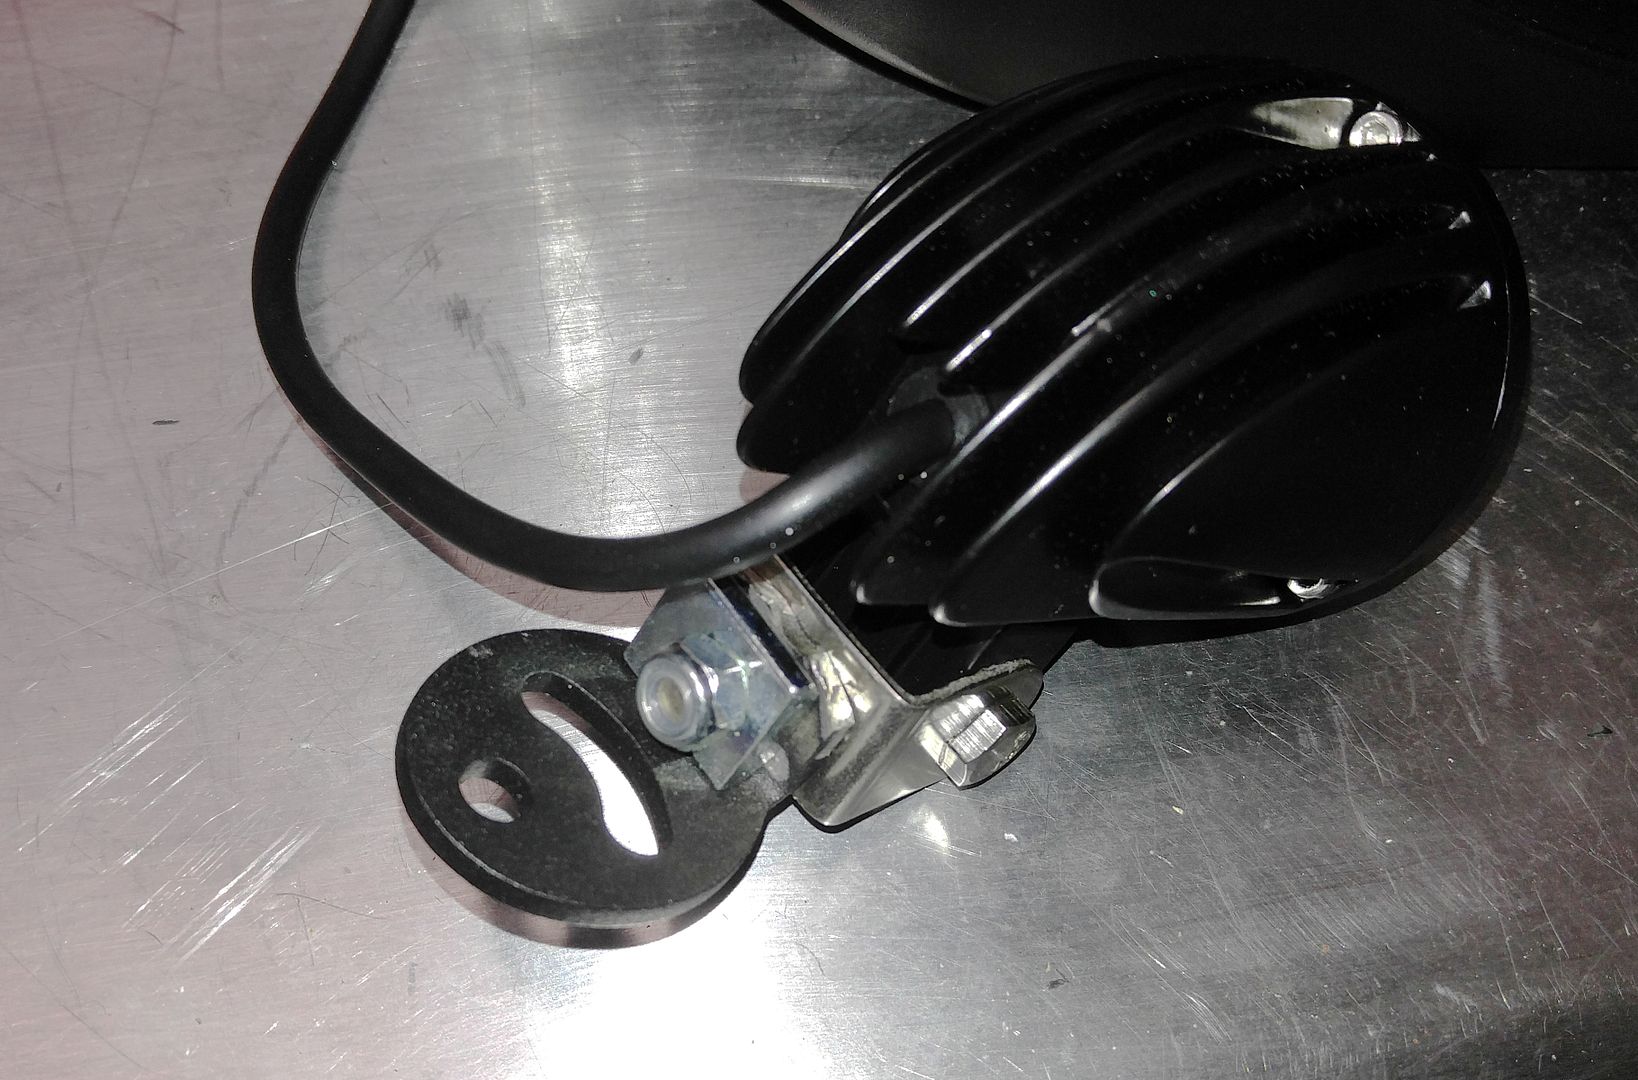
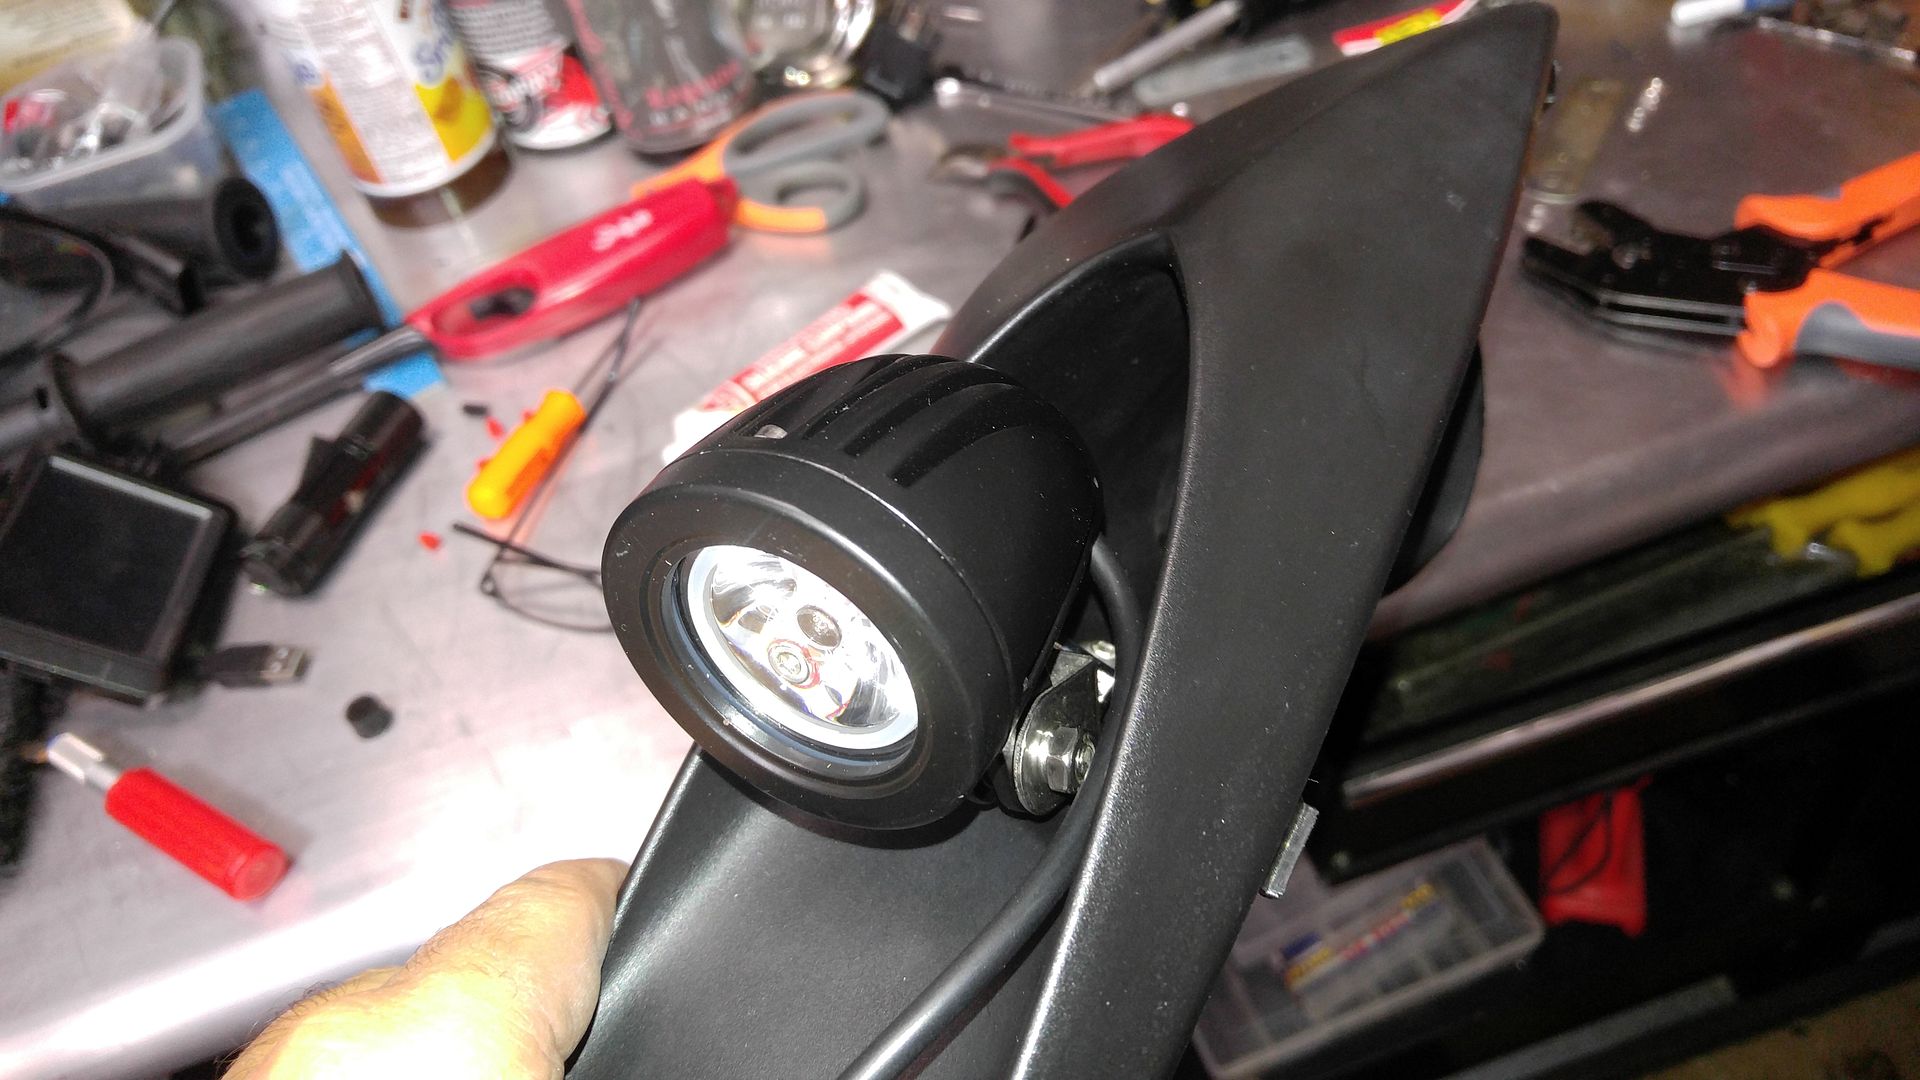
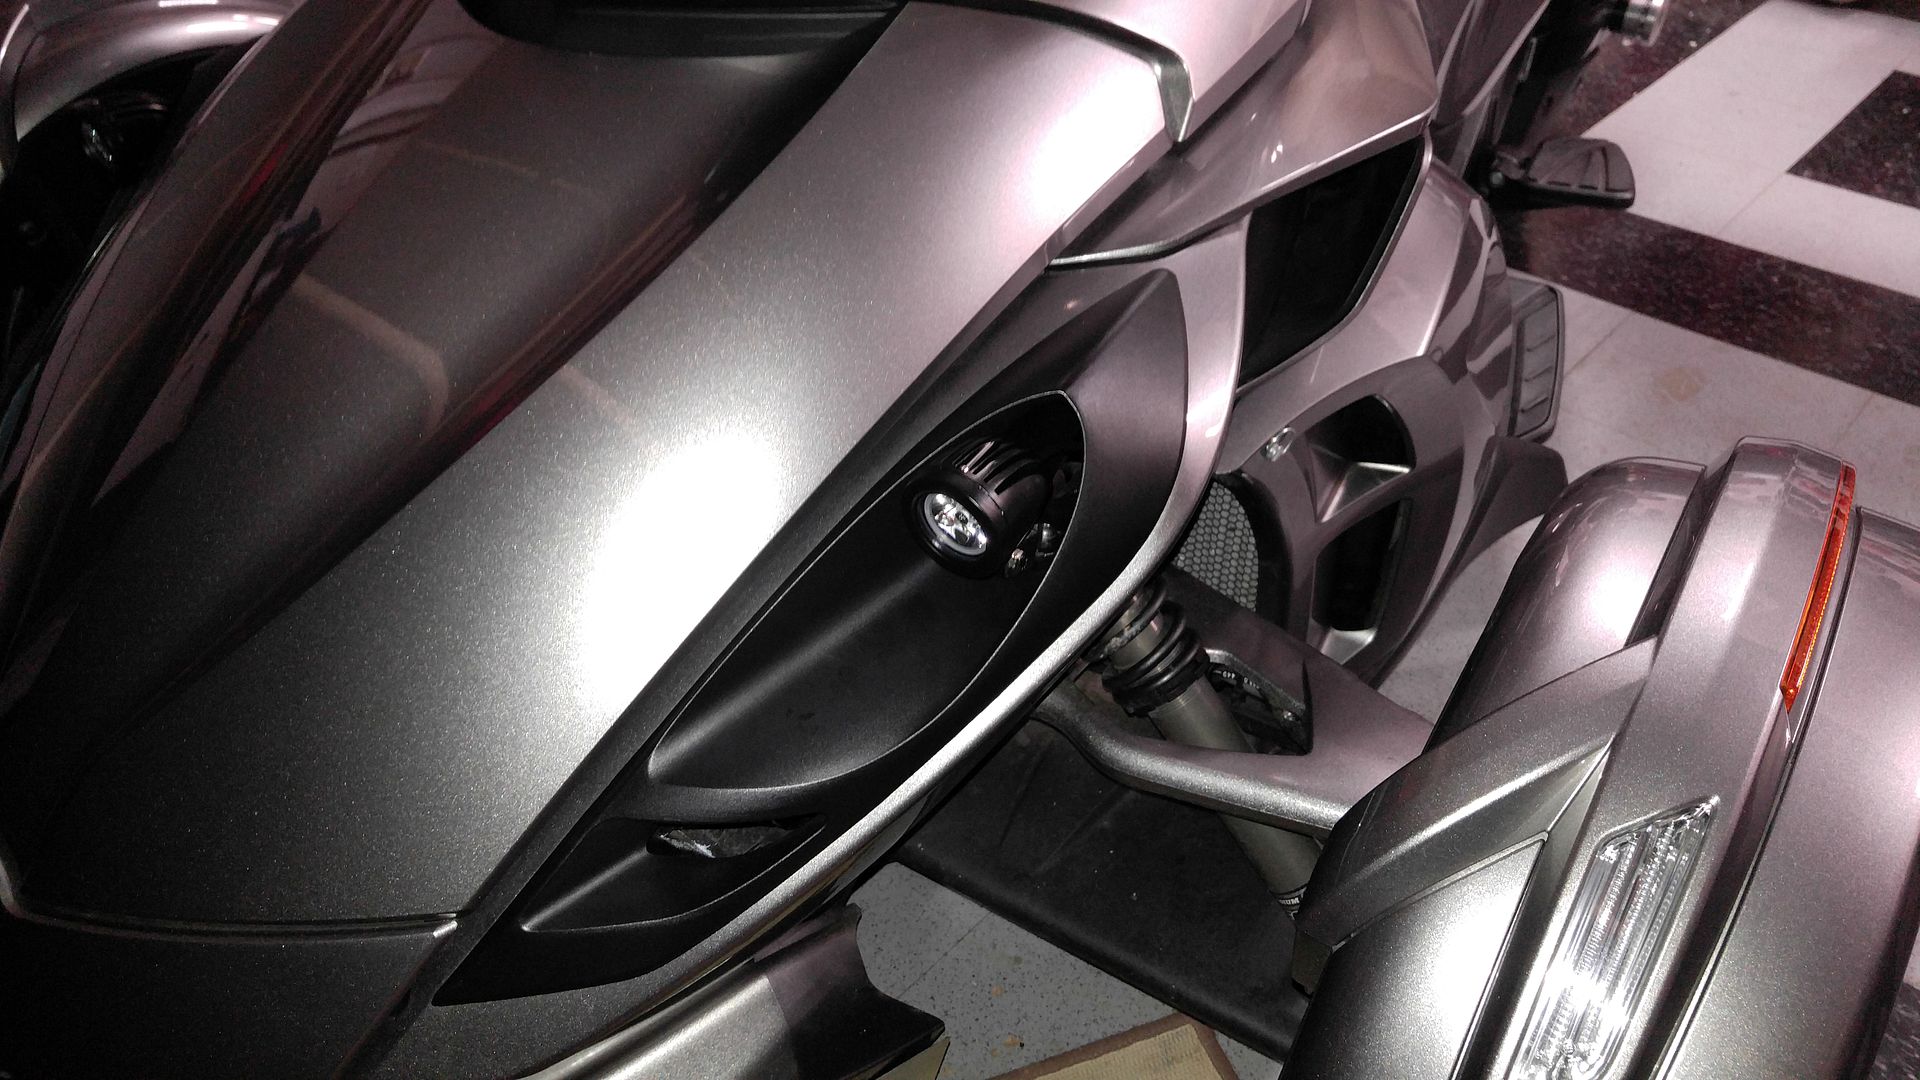
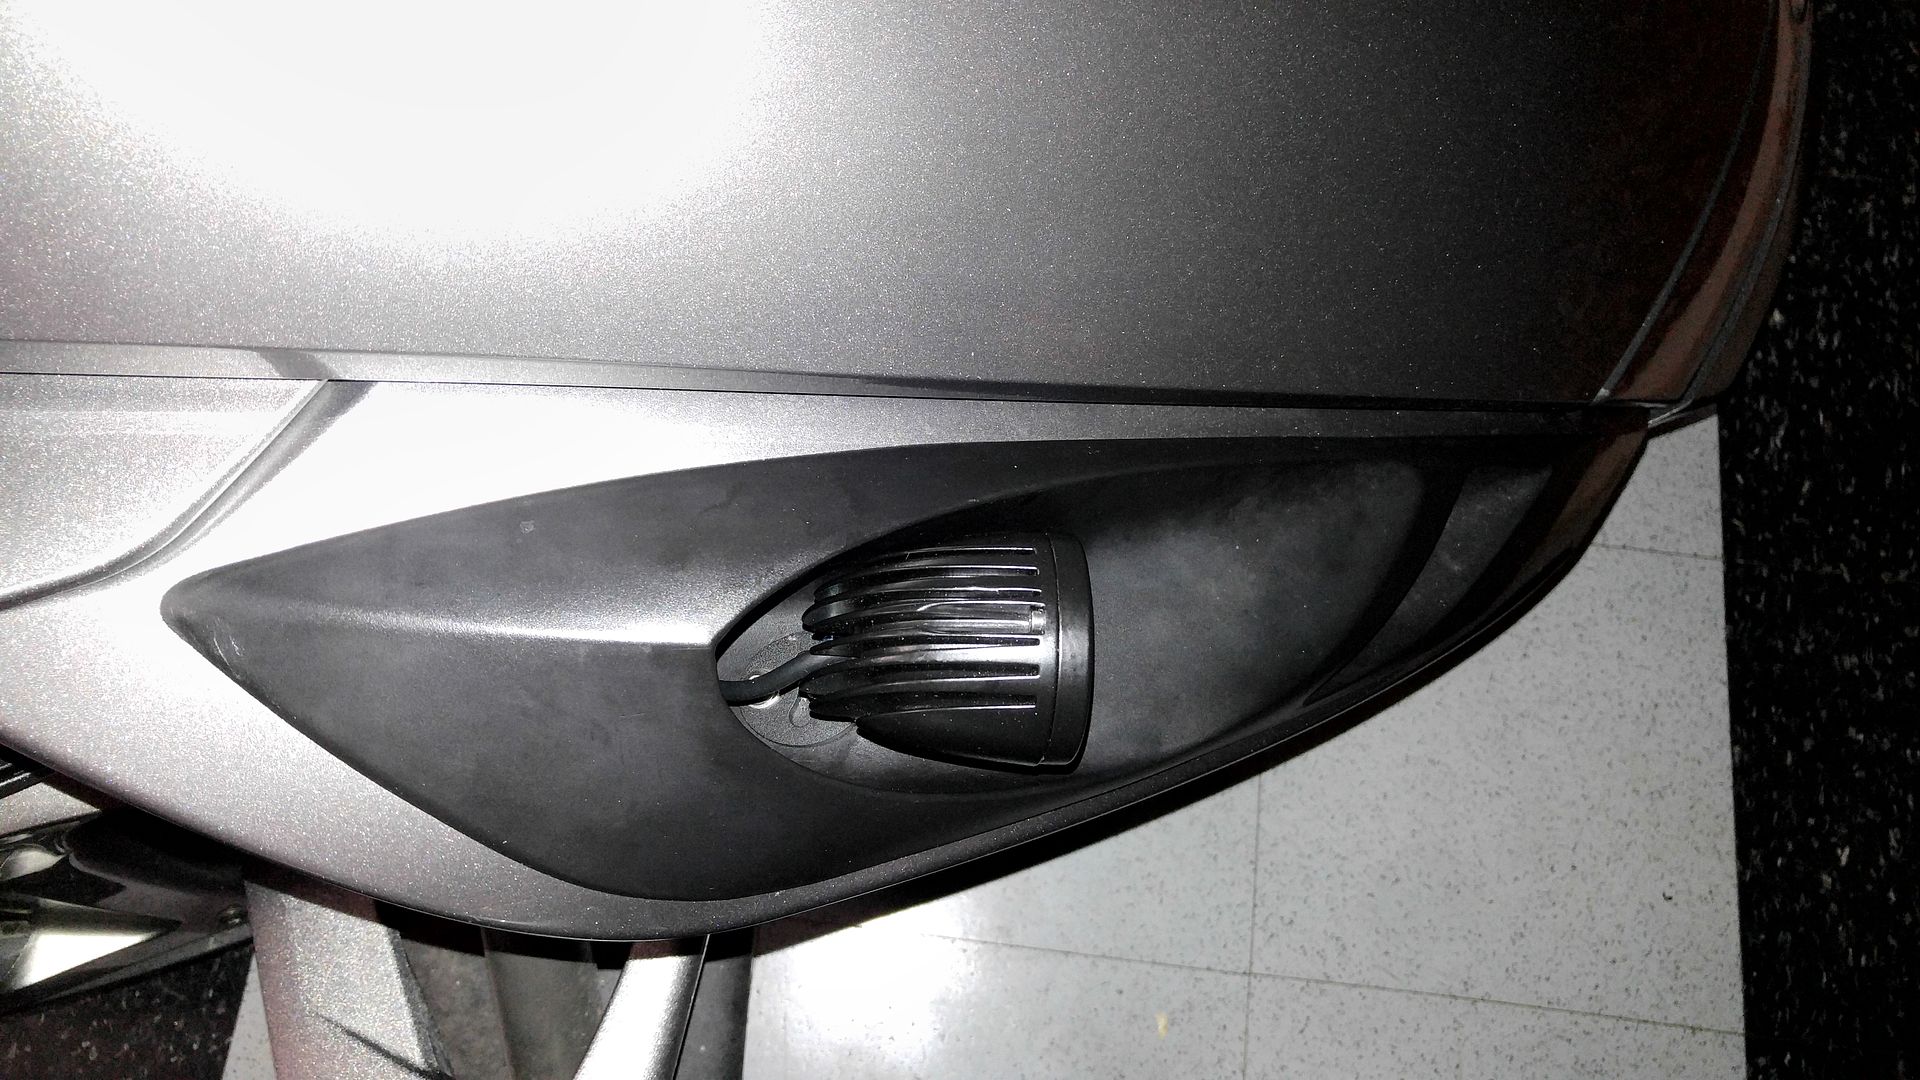
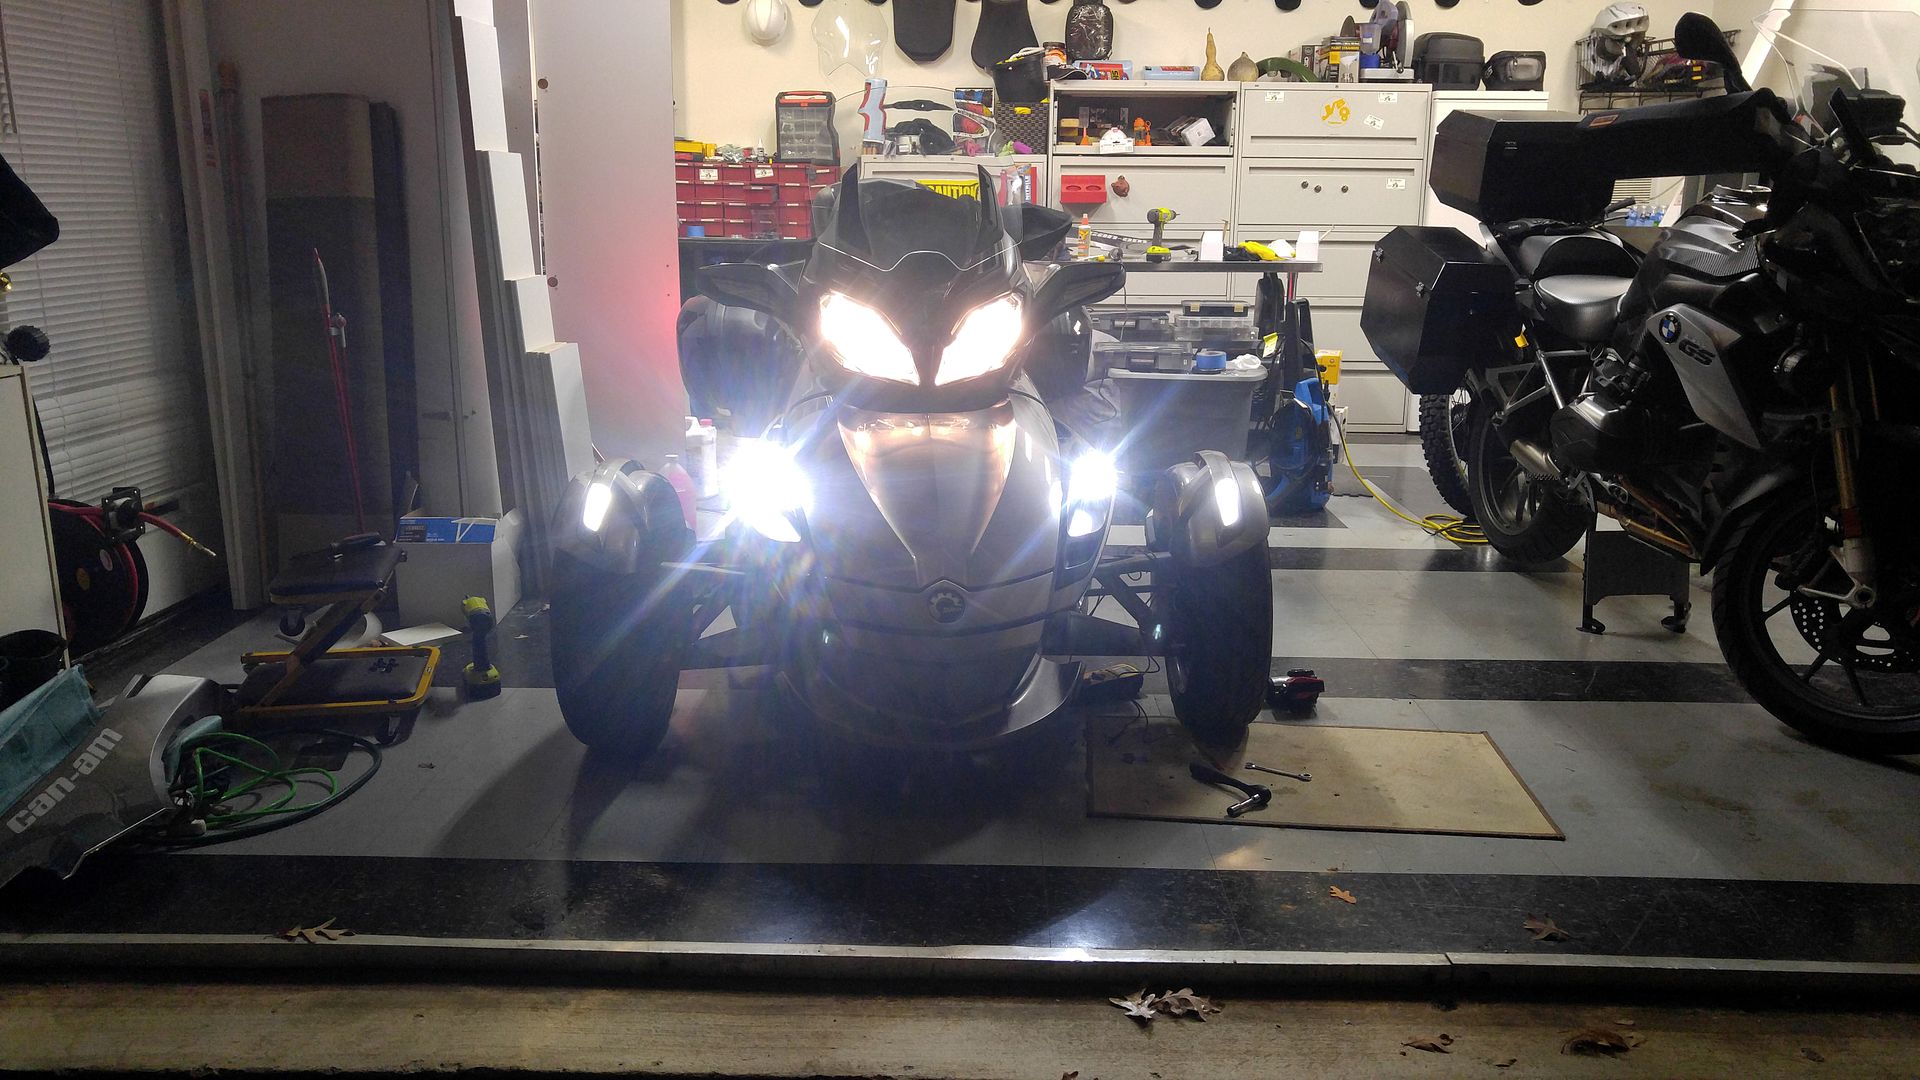
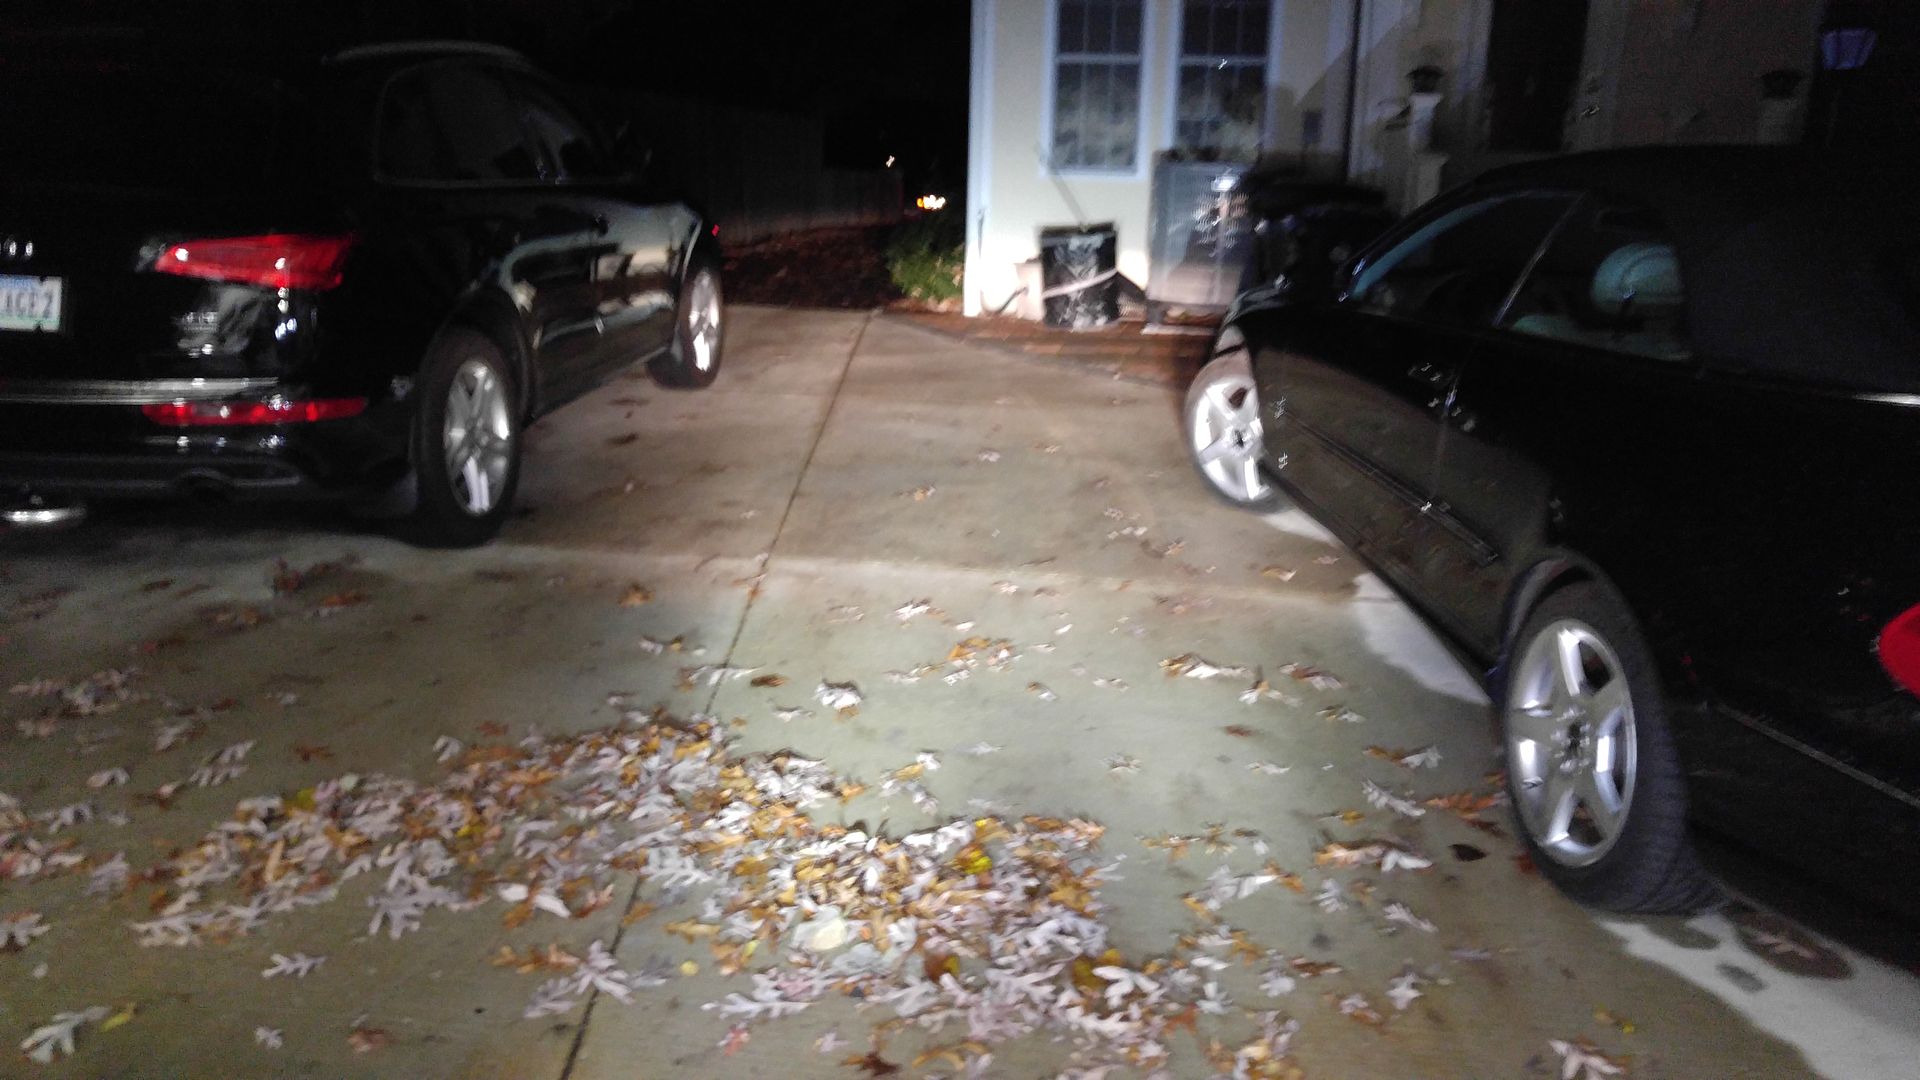
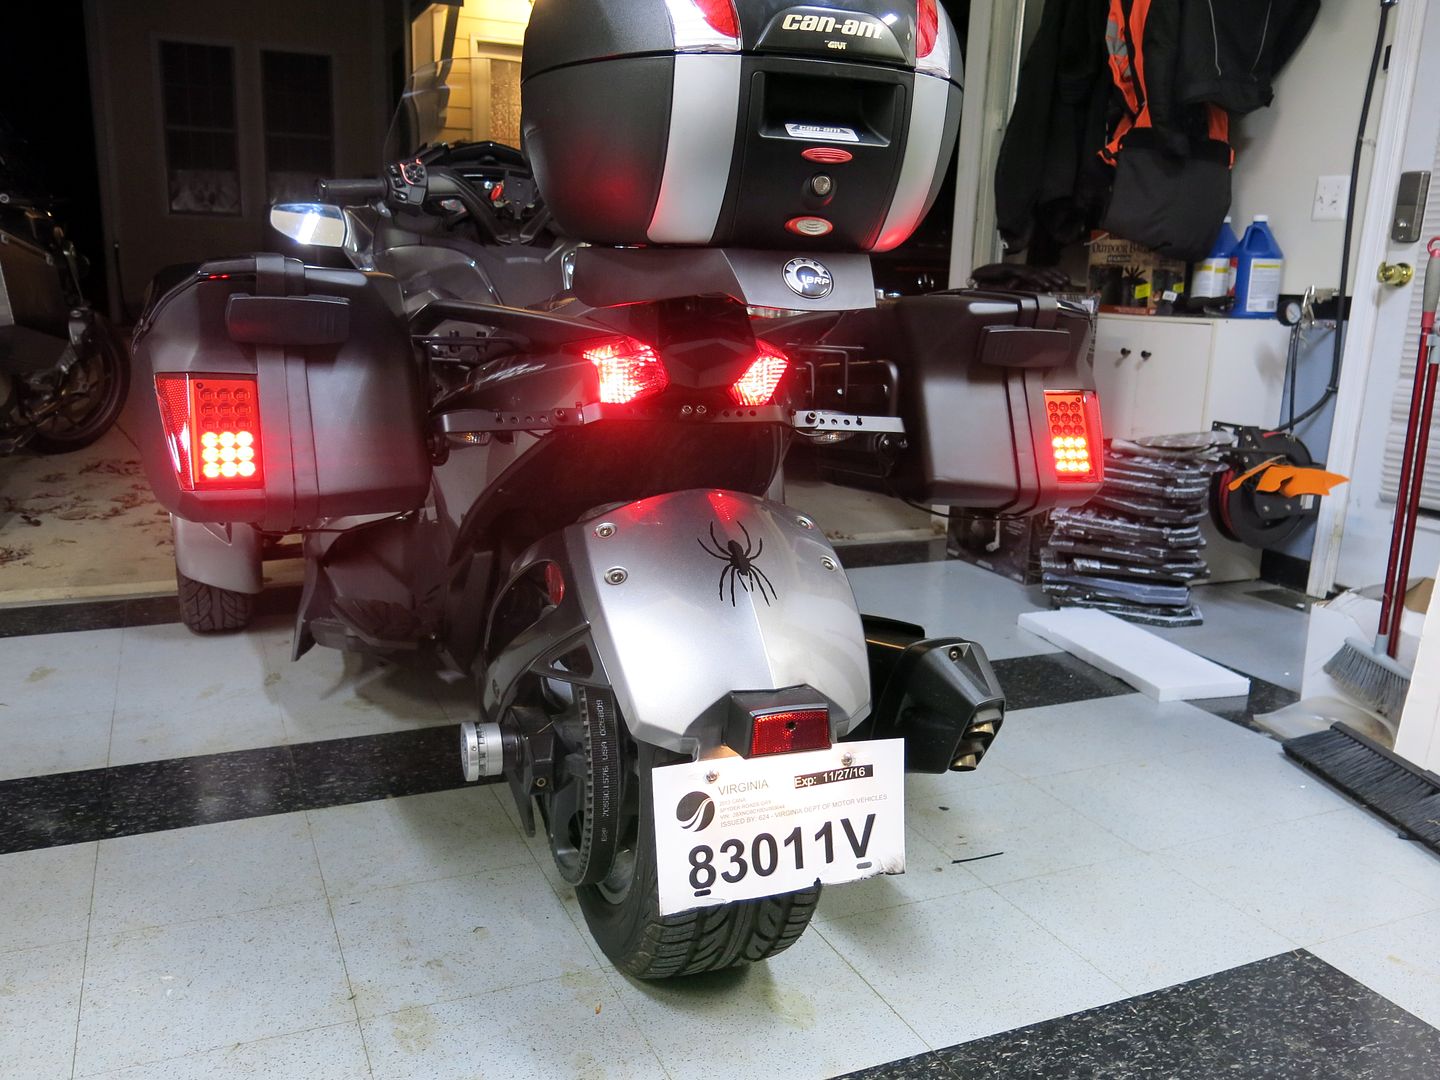
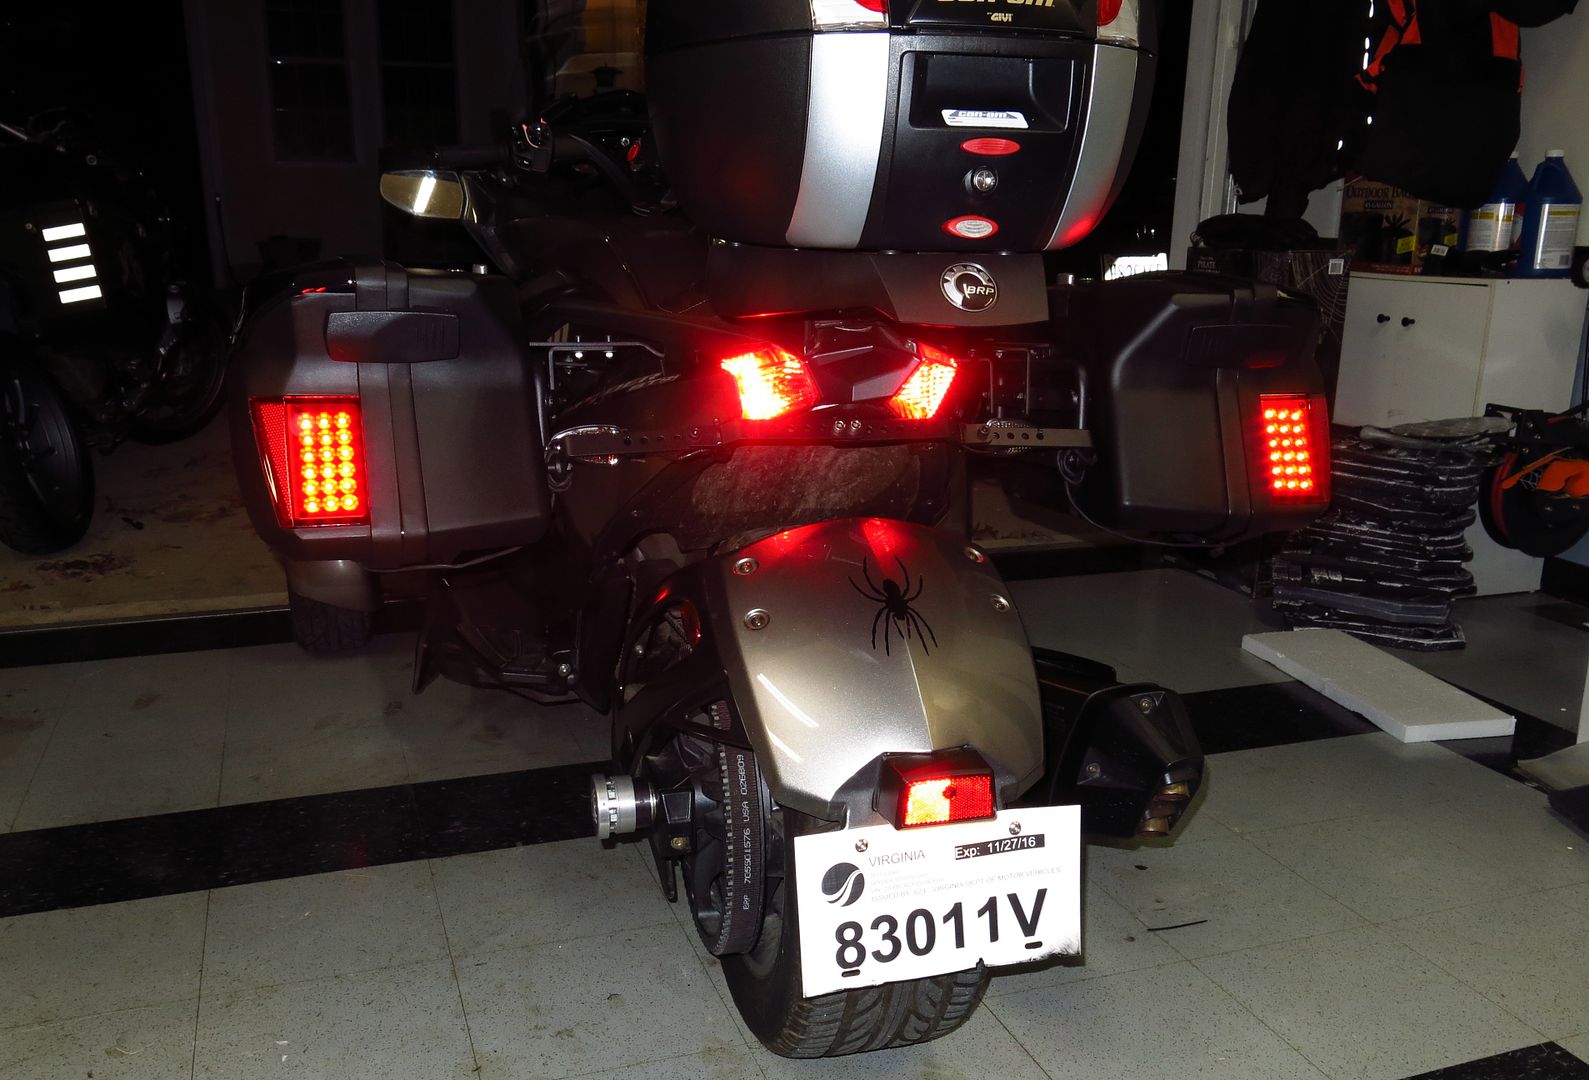
I am actually pretty impressed. They are light weight, but do not feel flimsy. They have solid universal mount components, lock, easy one/off, and have dual lighting. I could do running and signals, brakes and signals, or running and brake lights, I chose the ladder. This bike will be used in traffic a lot, often at night.

First Panniers.

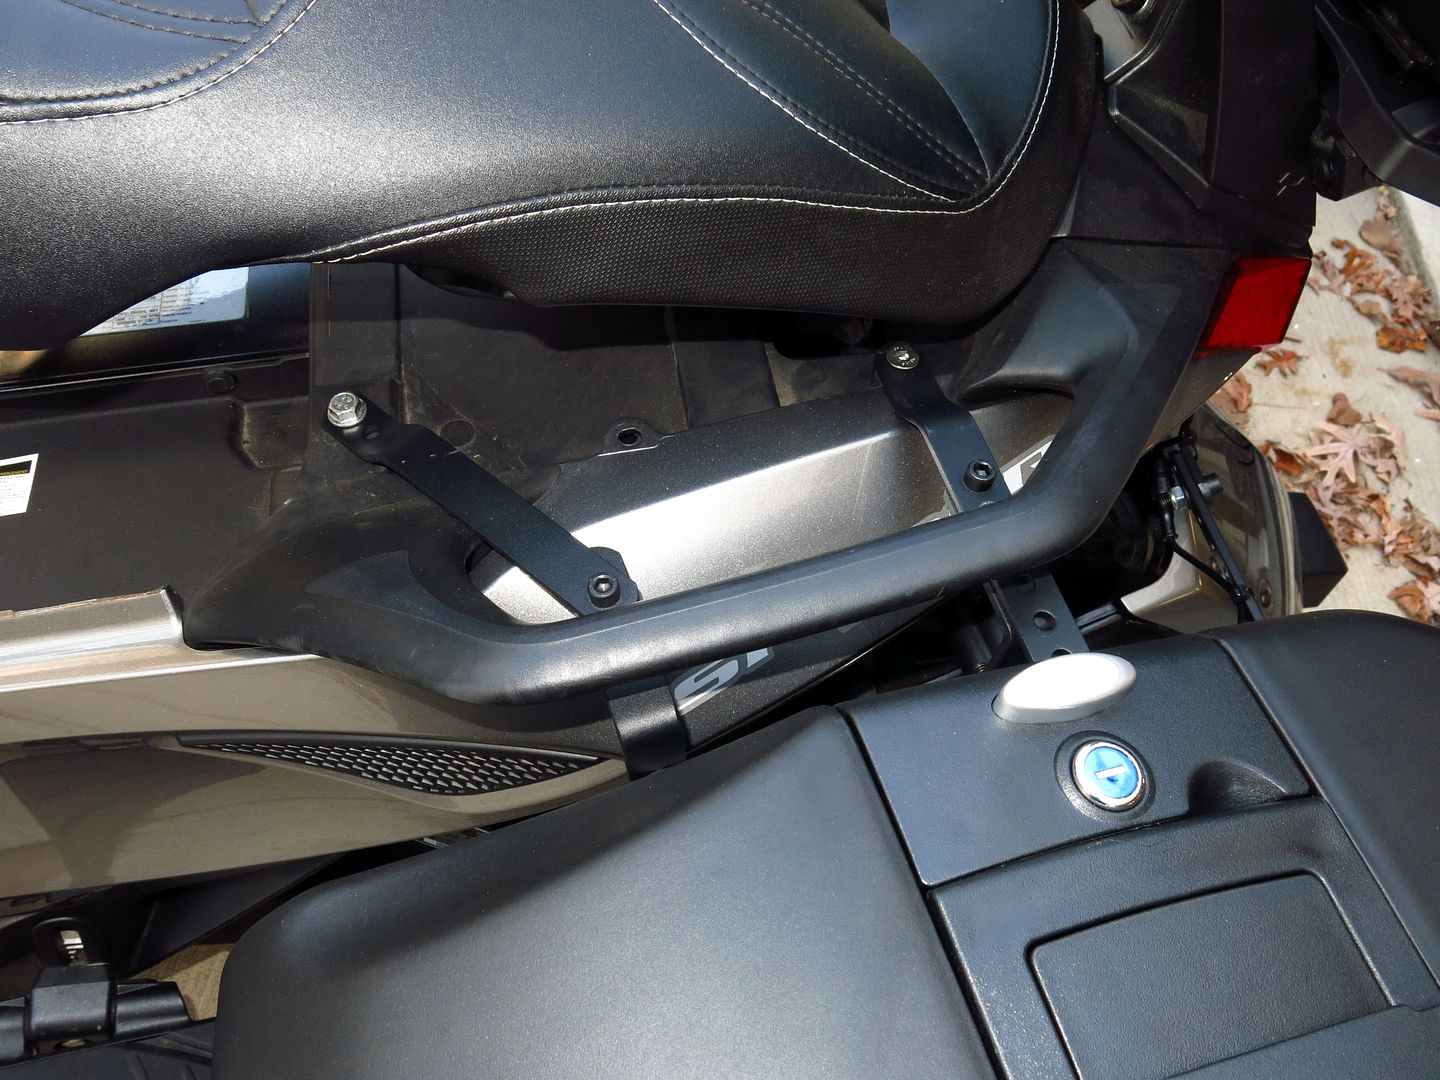
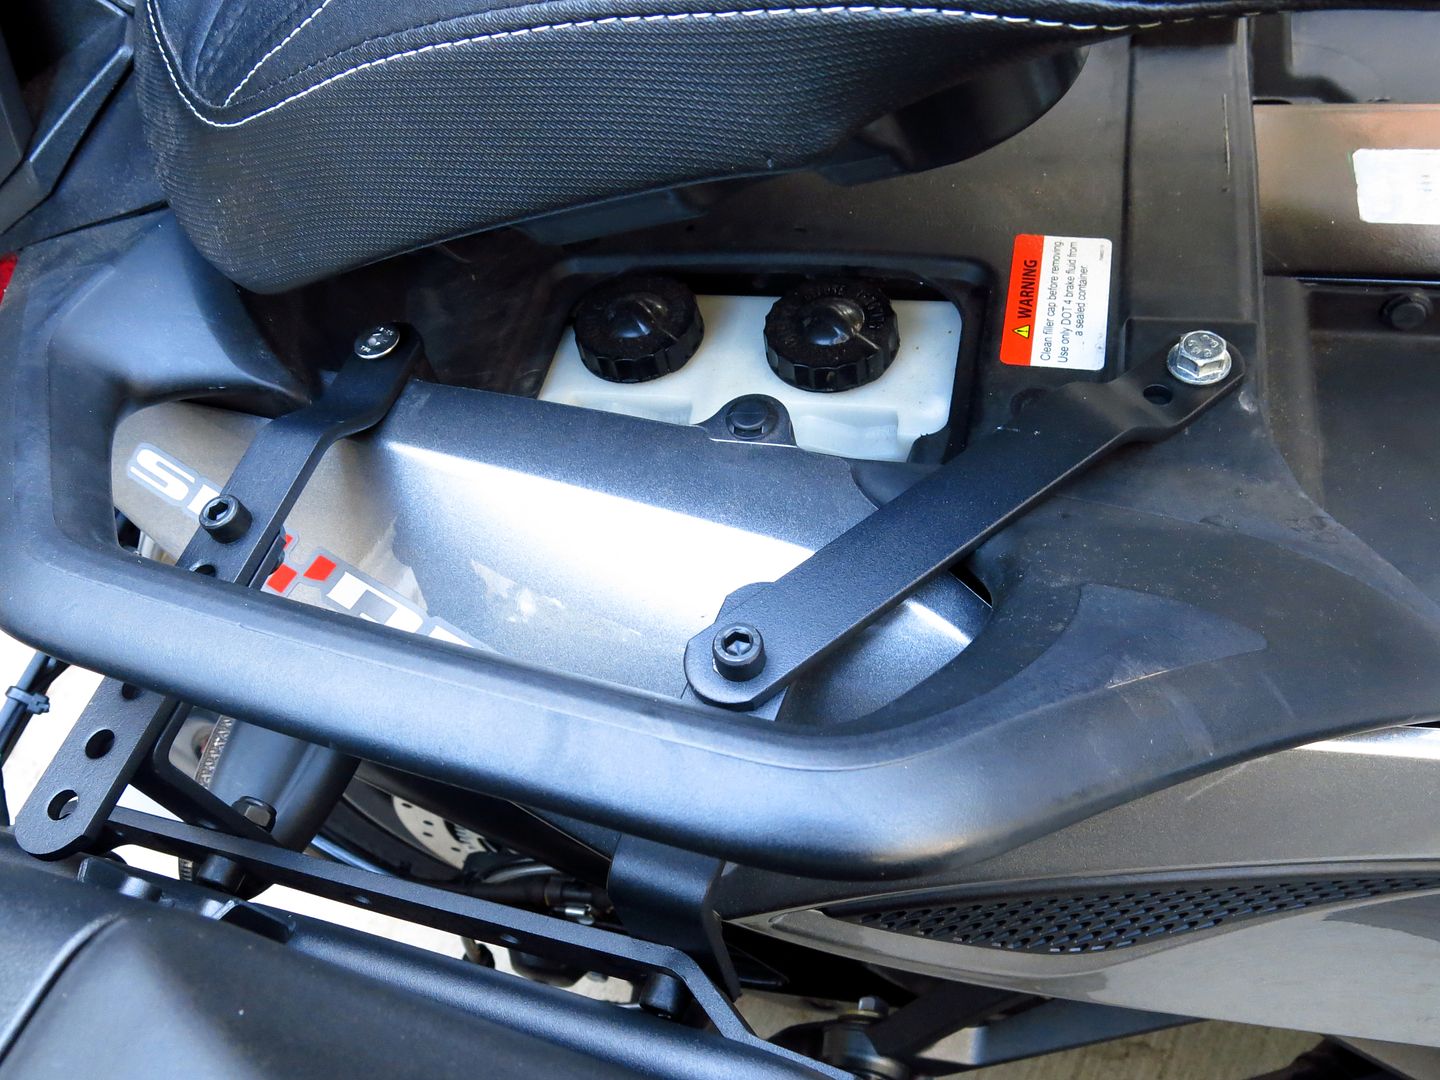
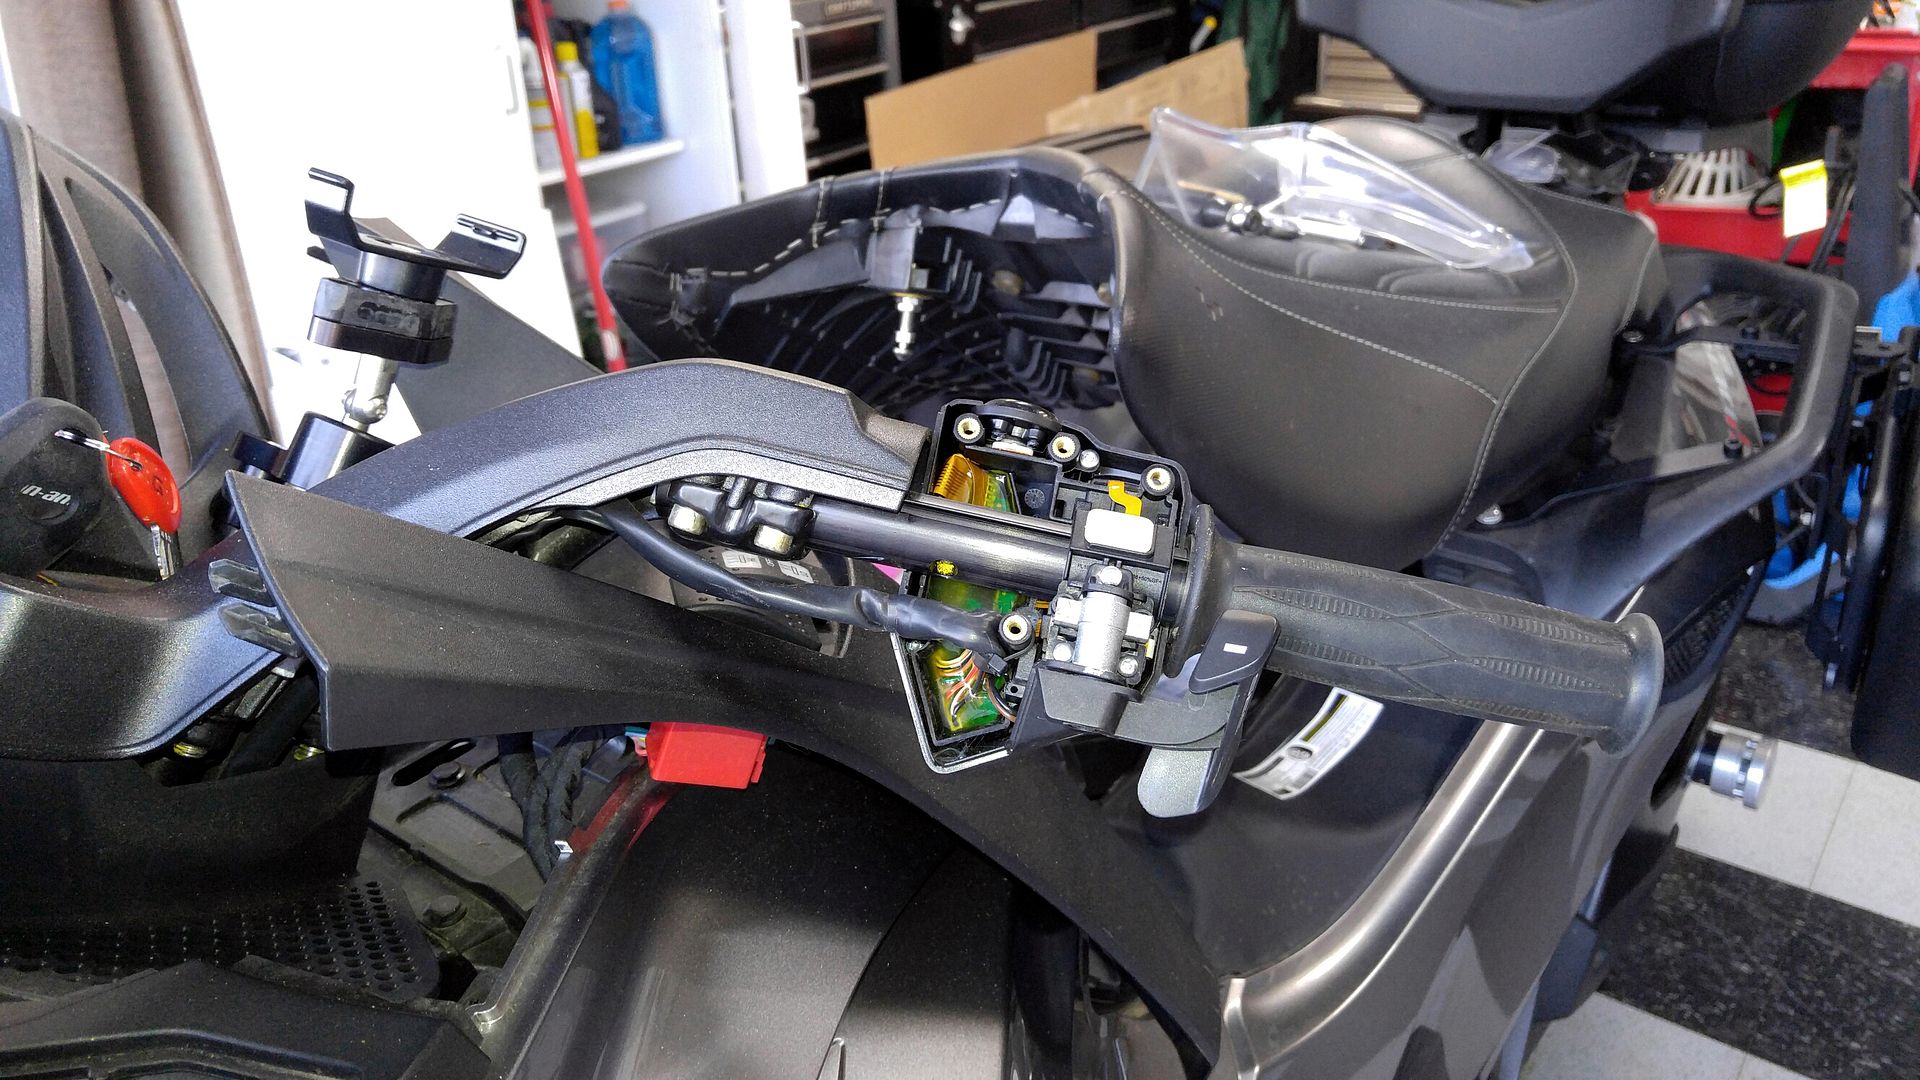
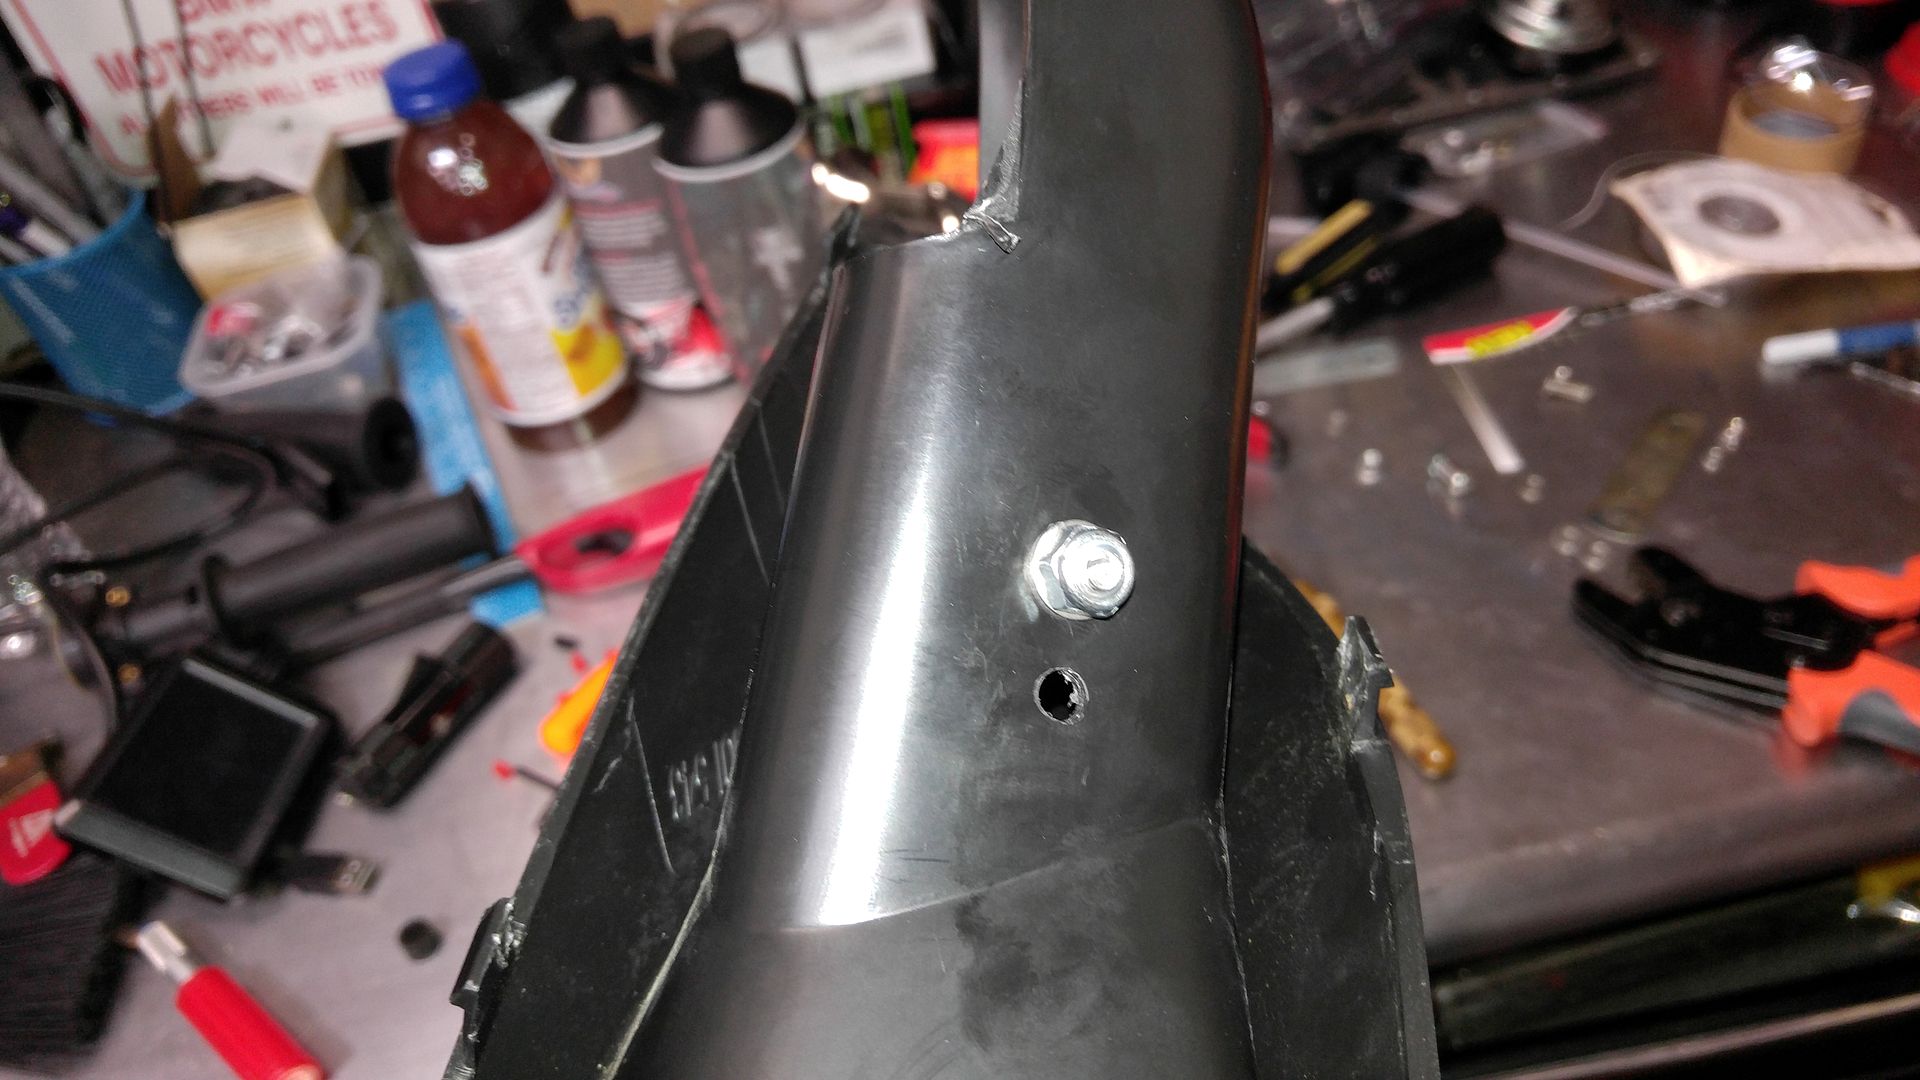
I didn't have a lot of time, so I do not have install photos. That's OK because my plan is to test them, then take it all apart and weld the mounts together, clean them up and powder coat them for a more OEM look. I'll document that process.

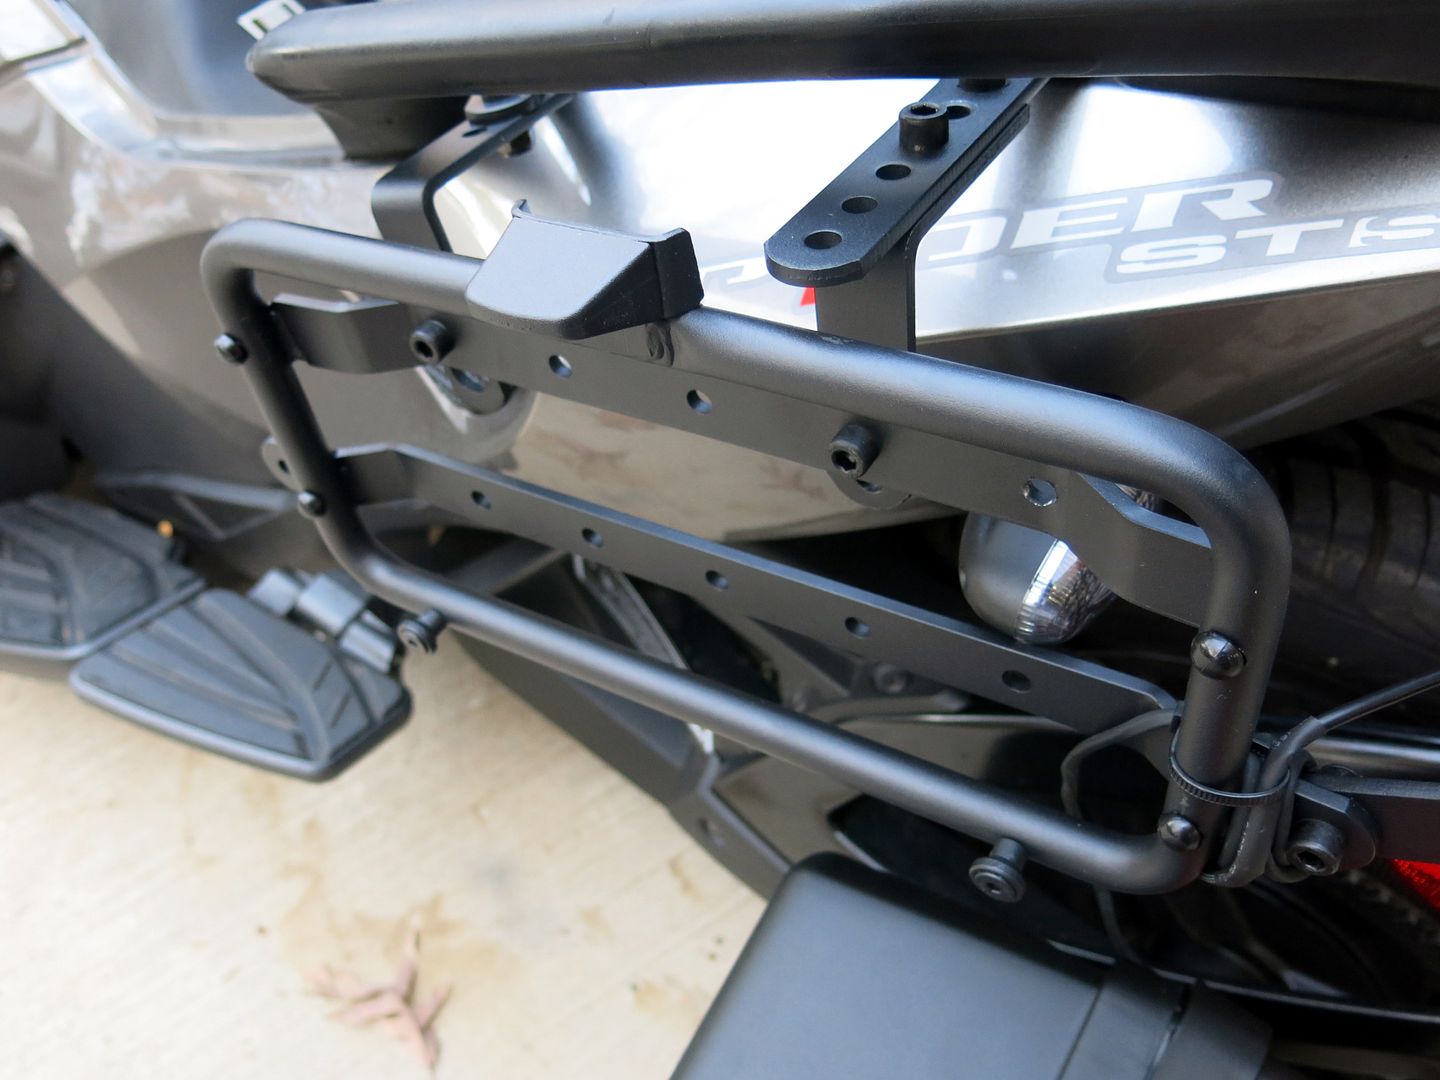
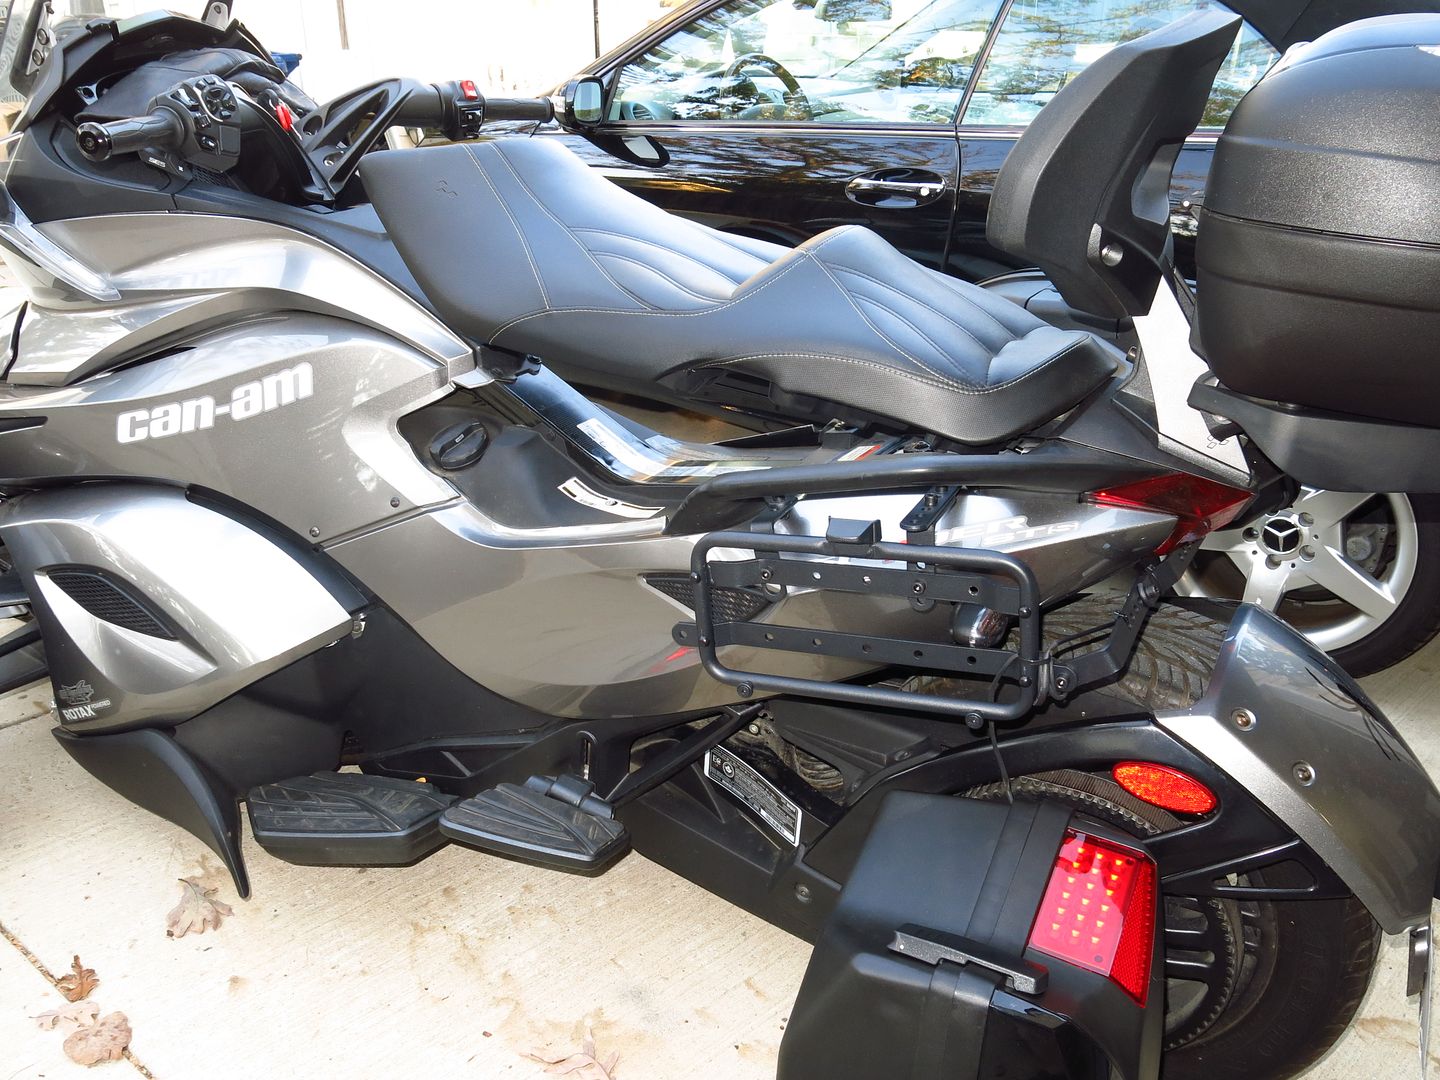
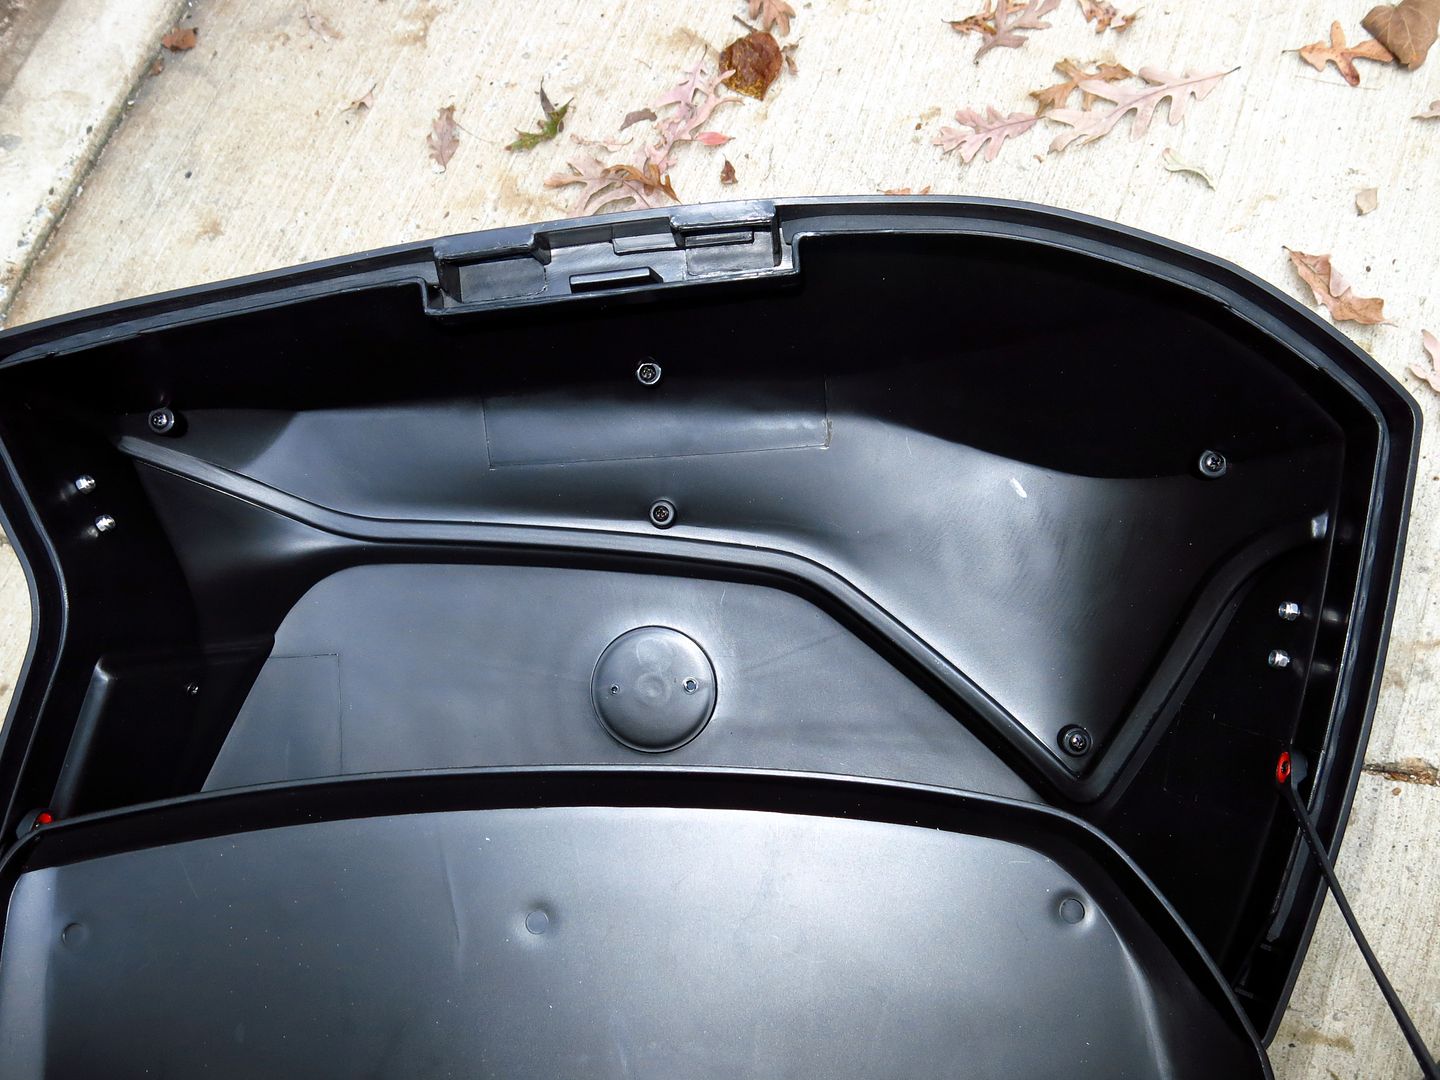
So, here is what you get for $299 delivered:

Paniers%203.jpg

Paniers%204.jpg

Paniers%205.jpg

Paniers%206.jpg

Paniers%207.jpg

Paniers%209.jpg

Paniers%2011.jpg

Paniers%2013.jpg


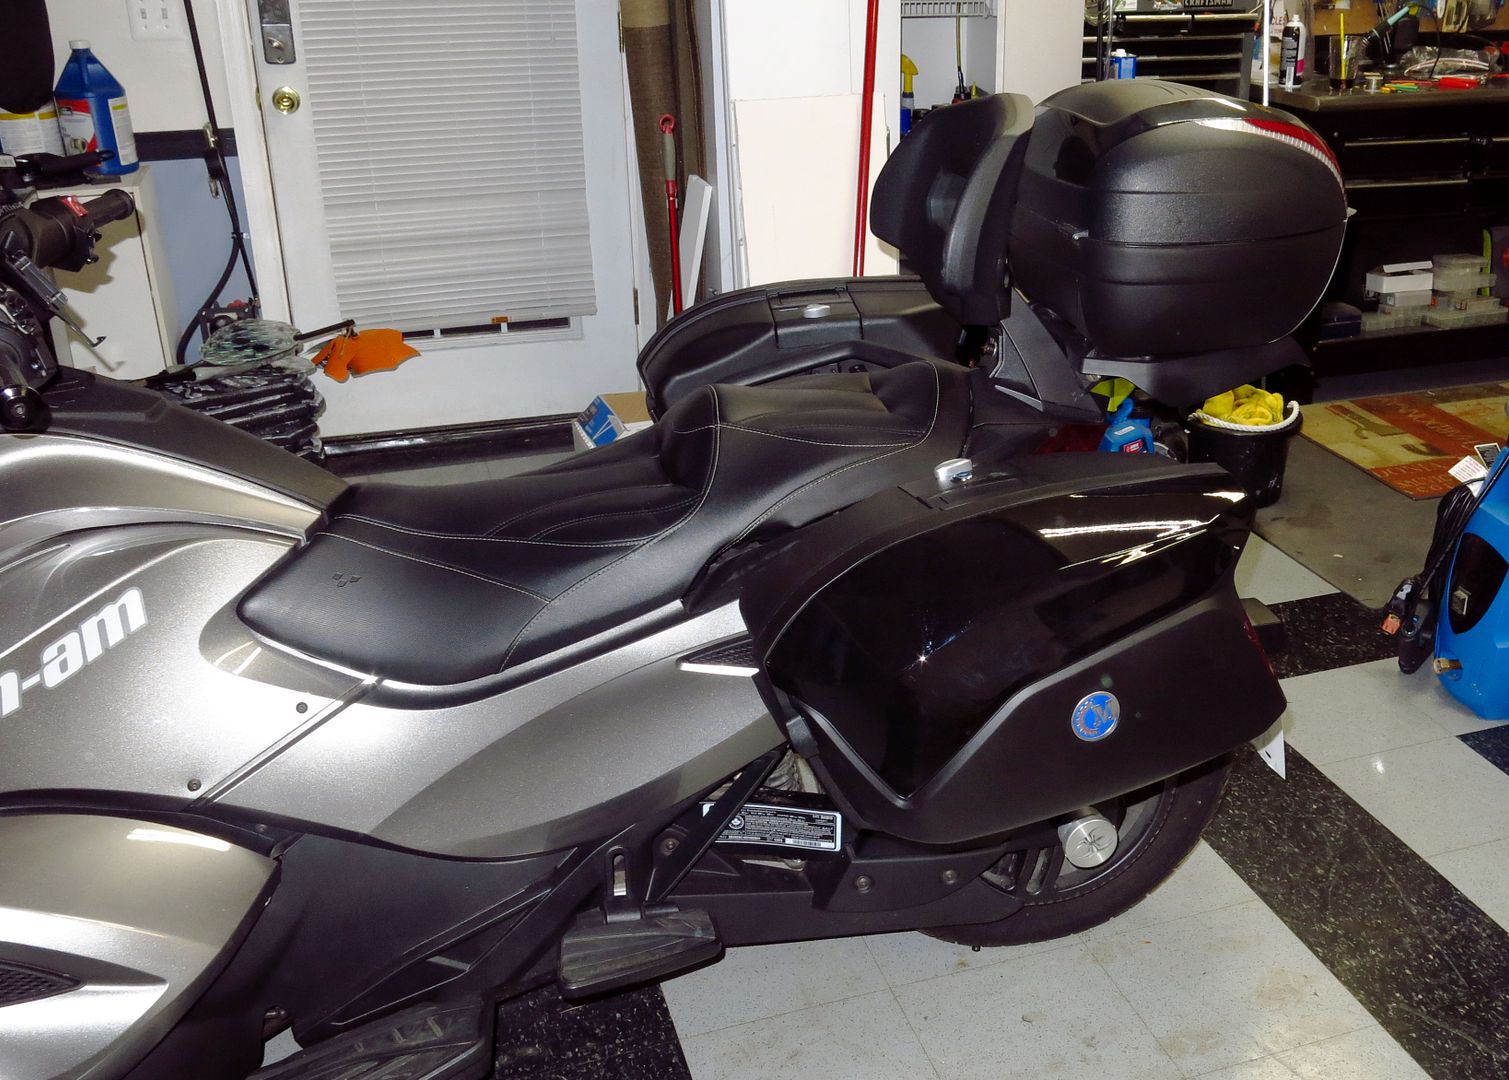
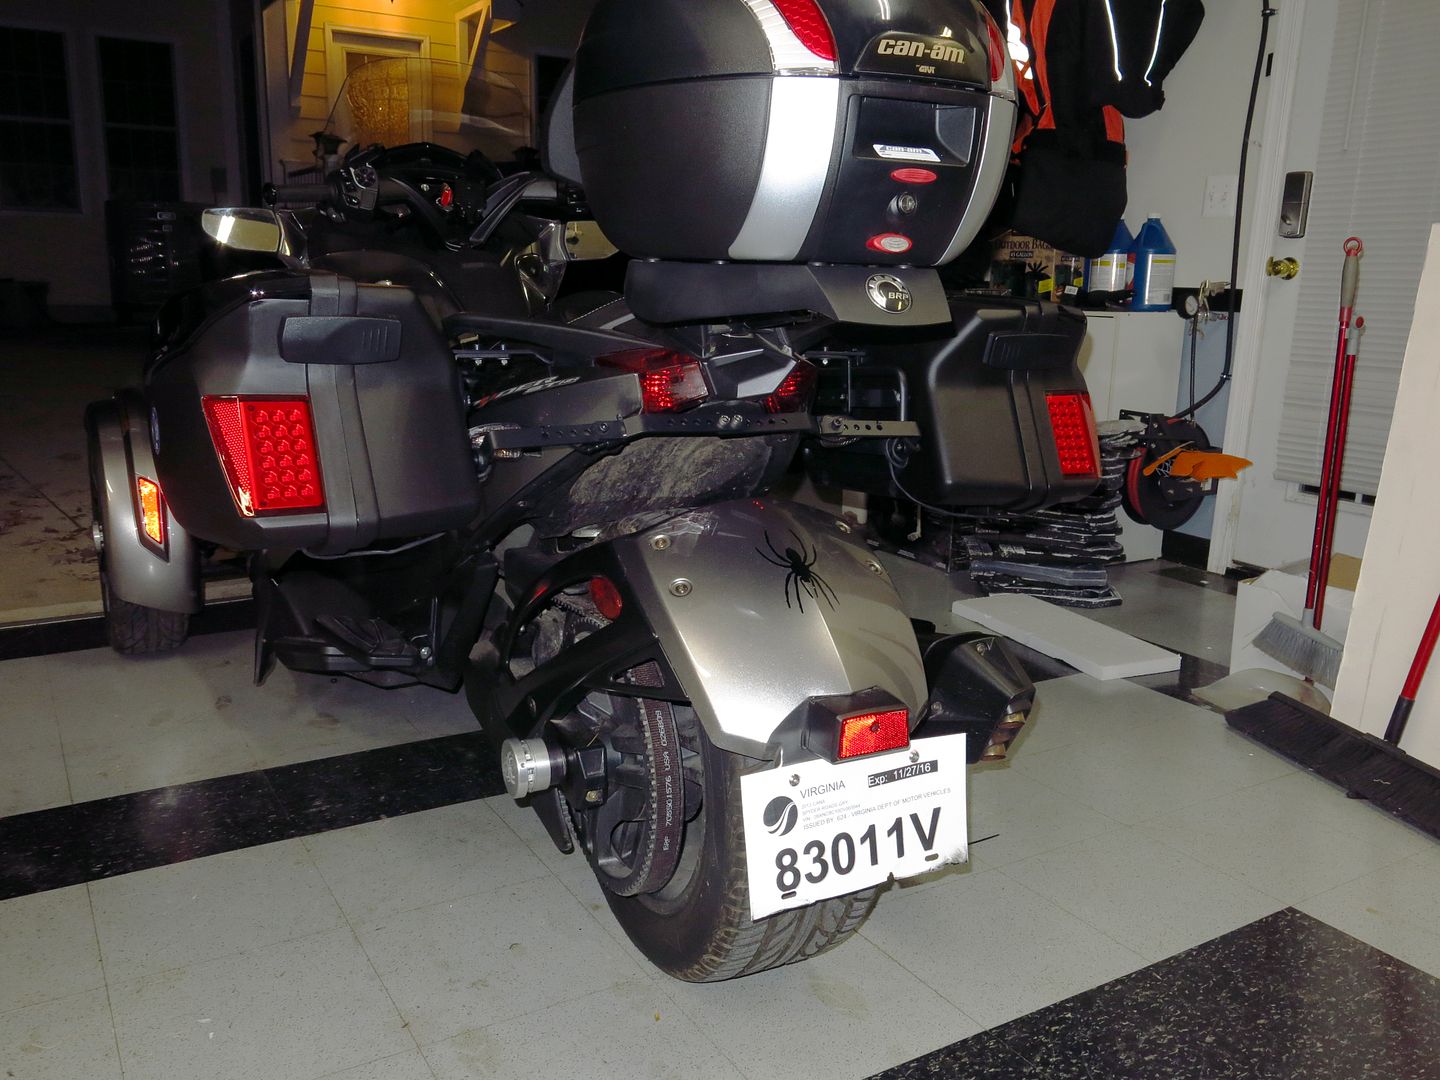
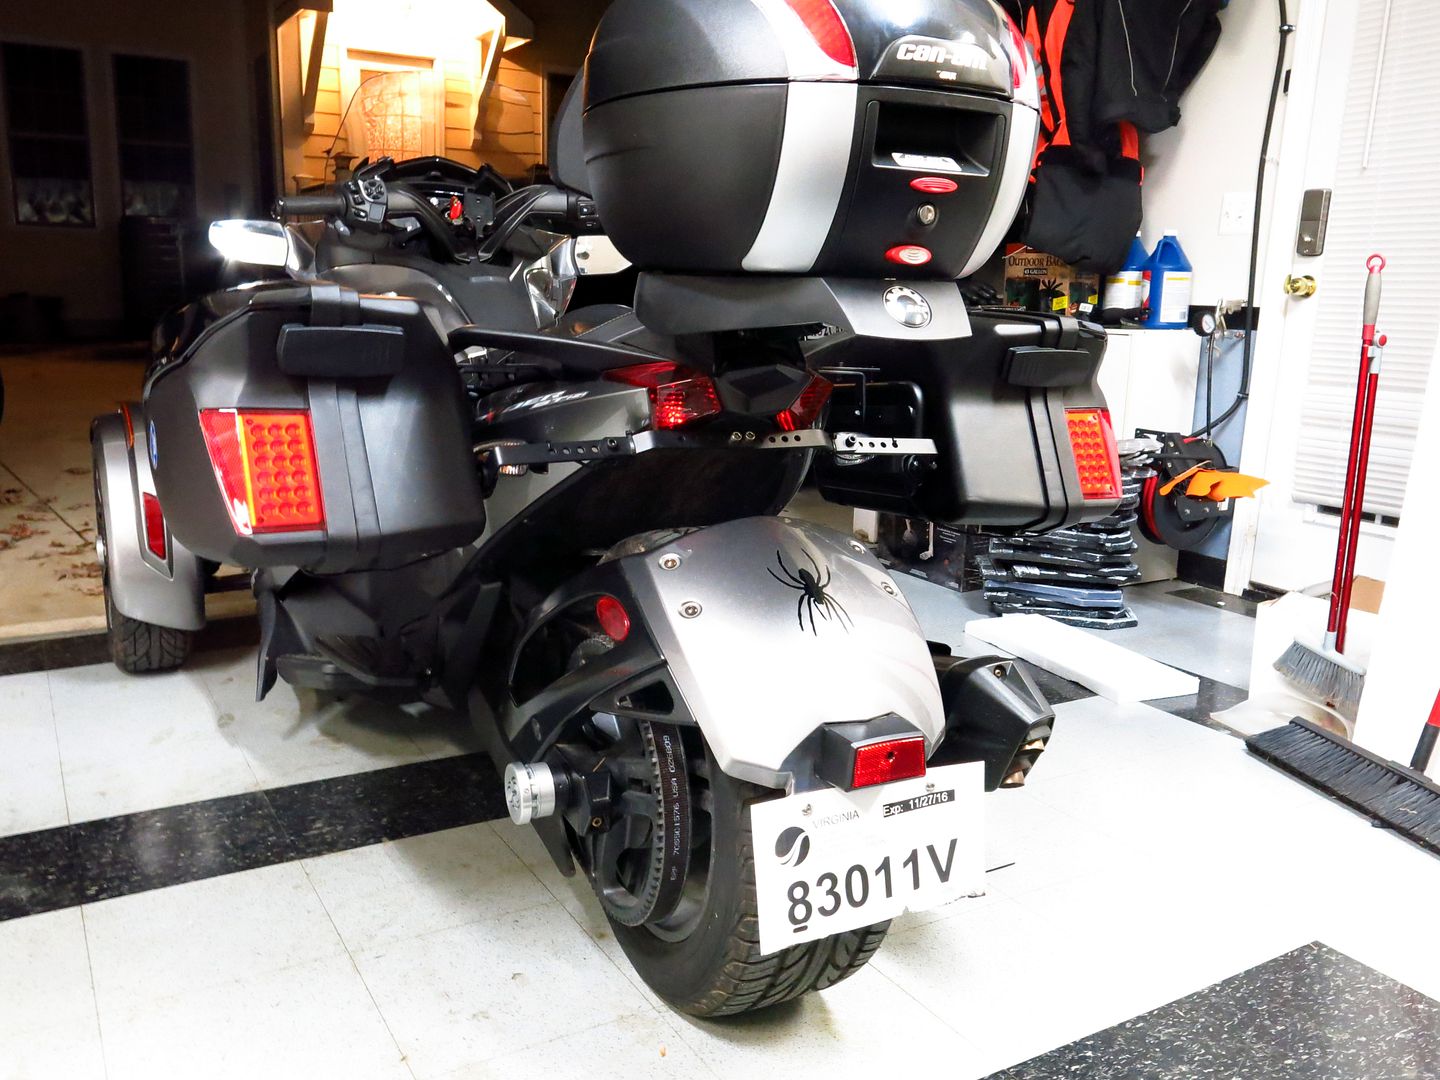
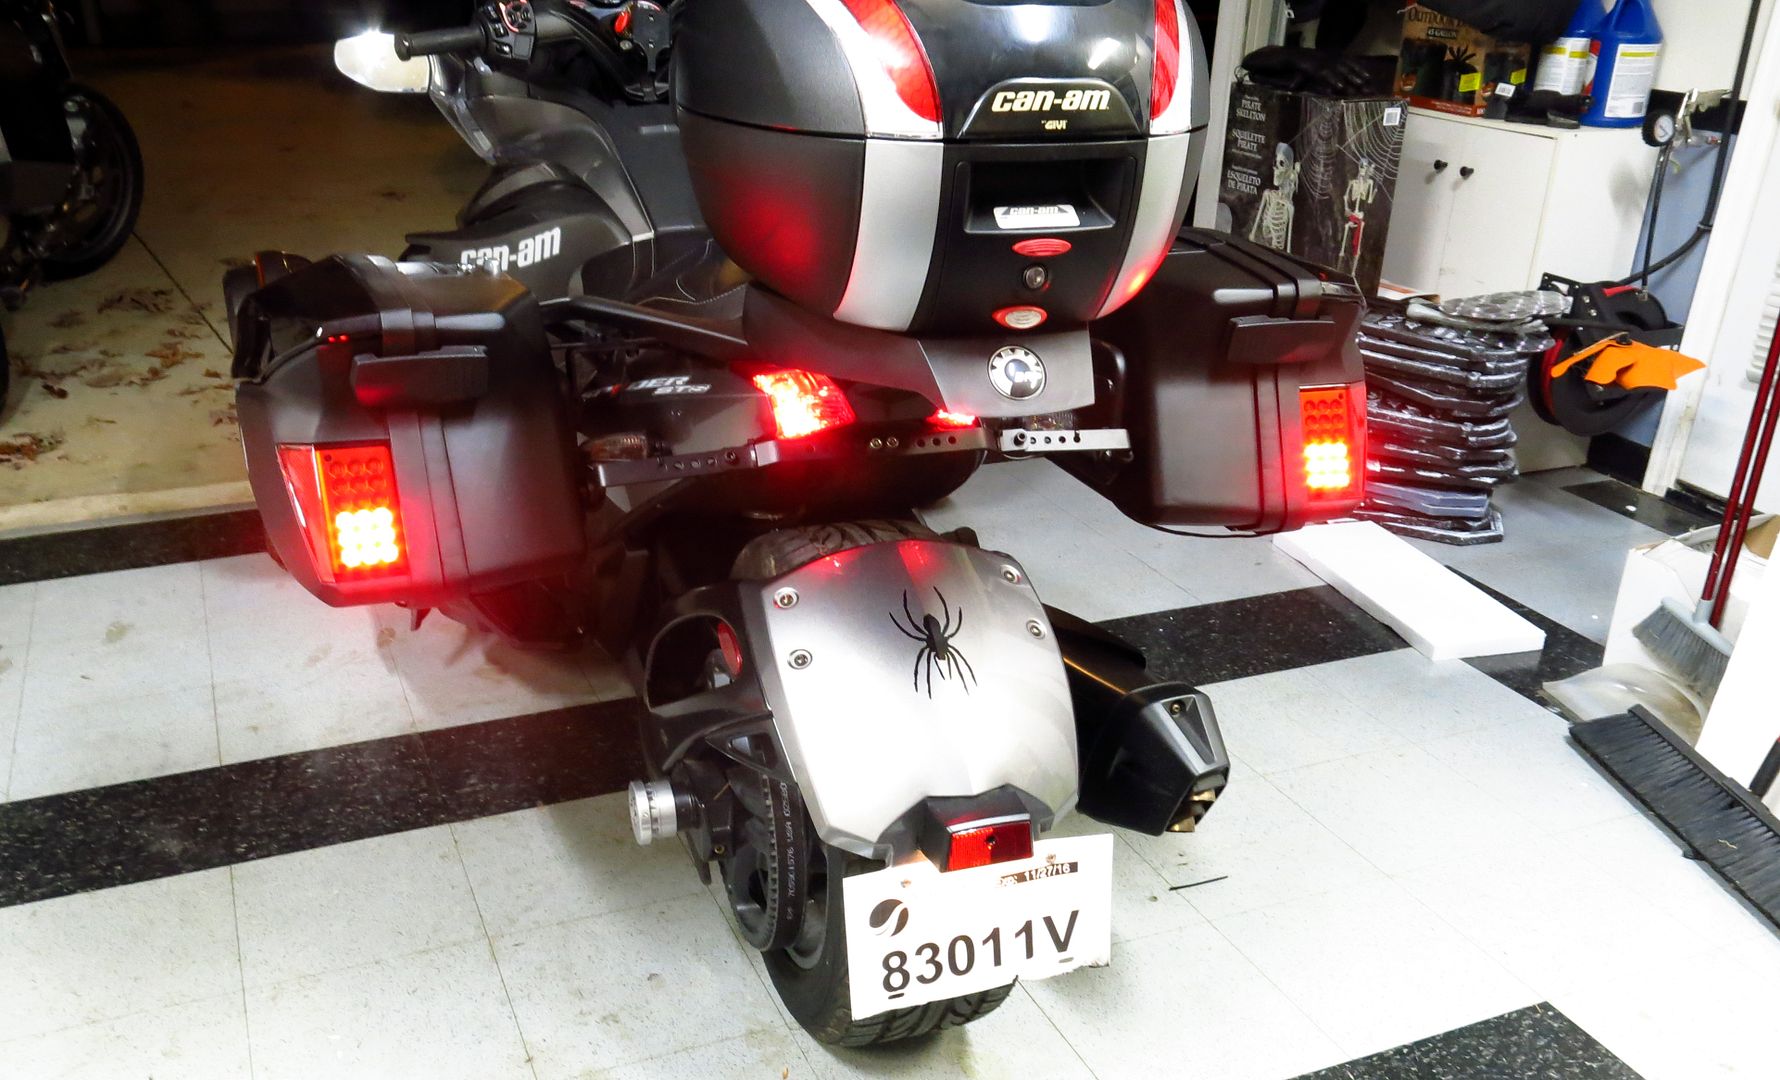
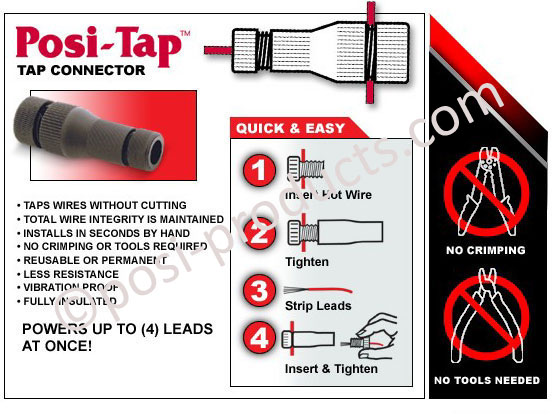
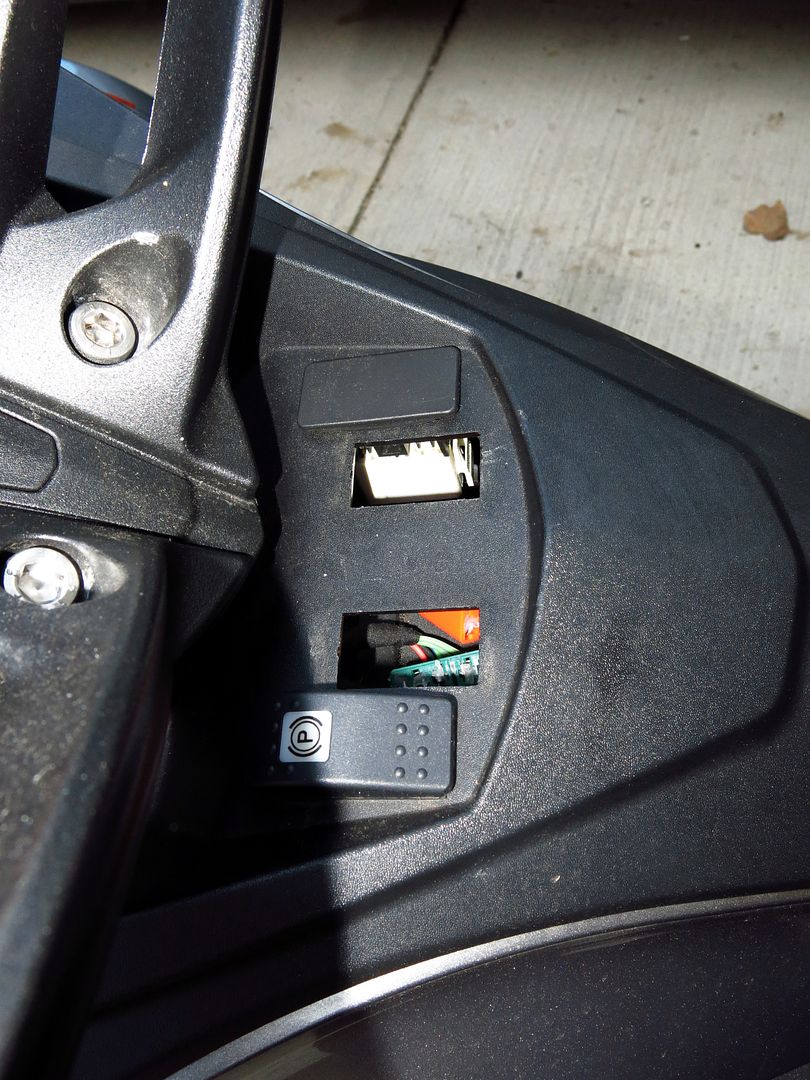
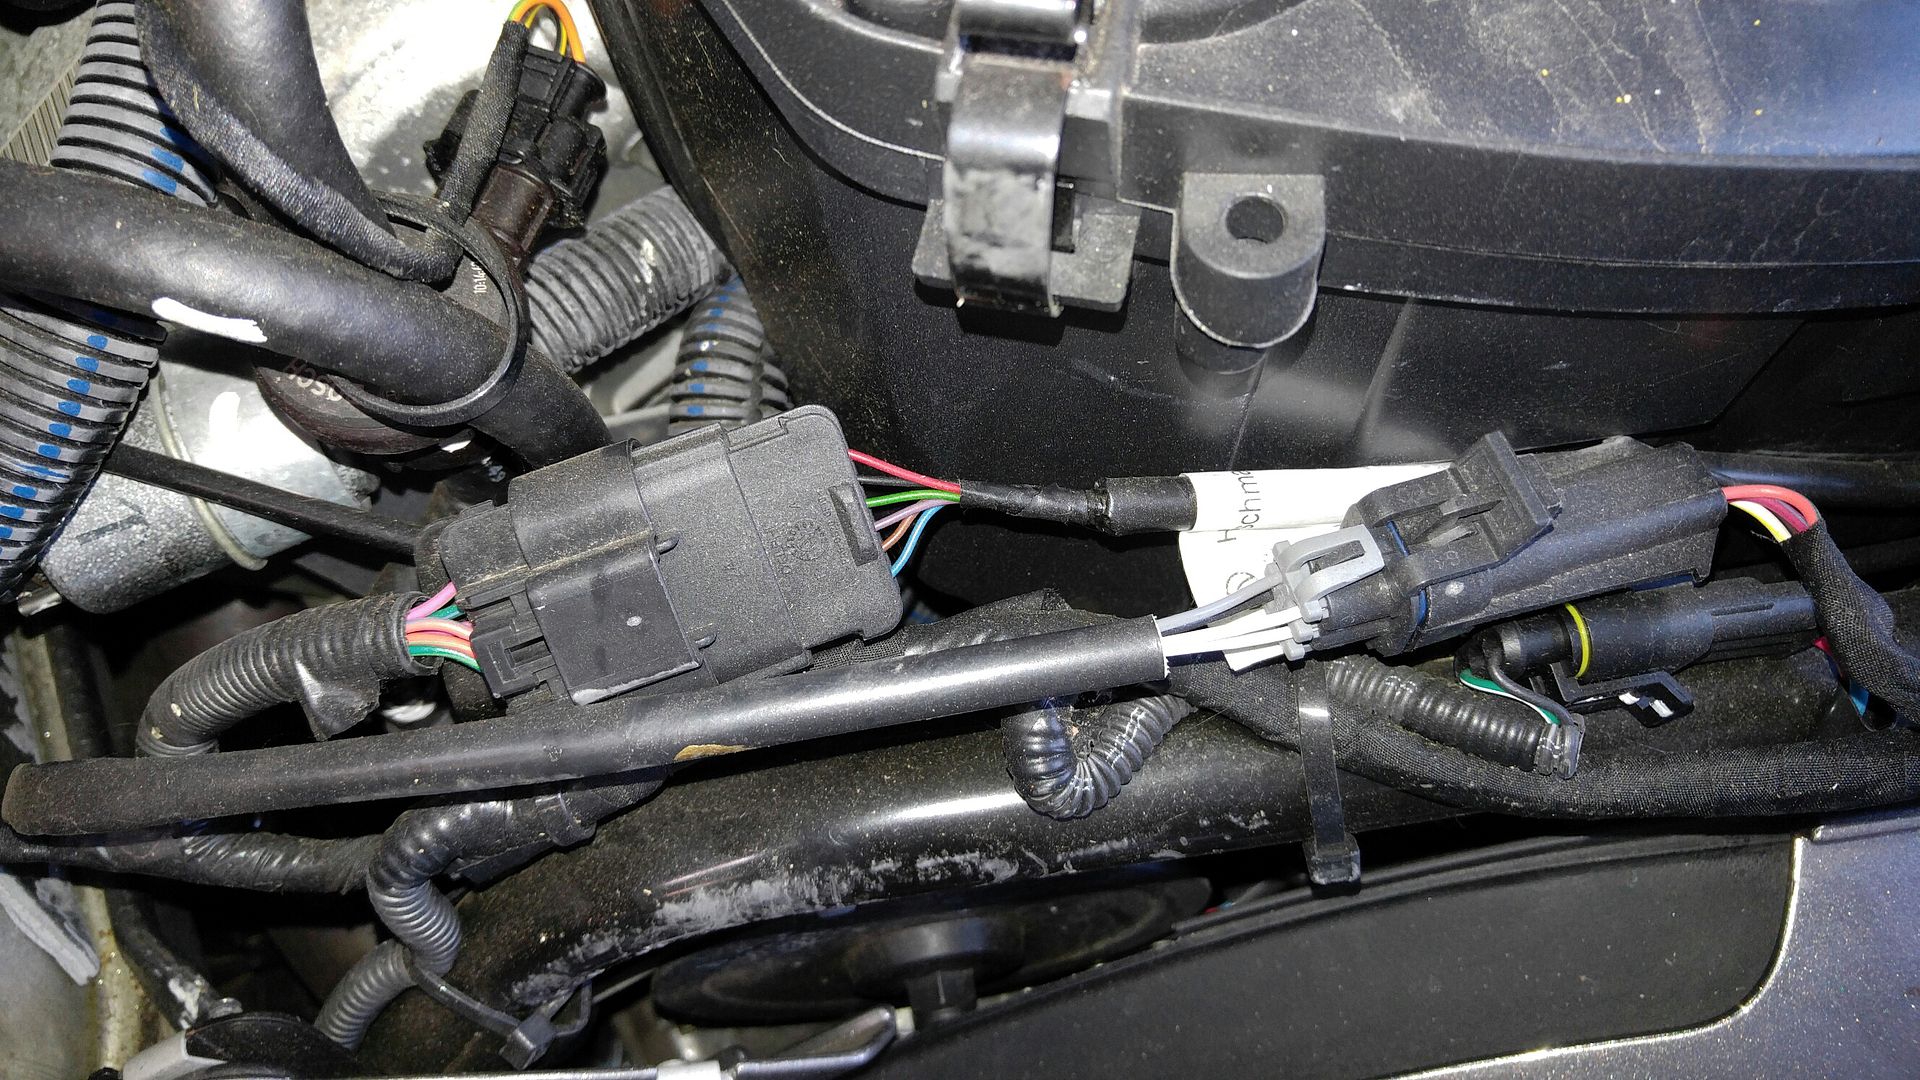
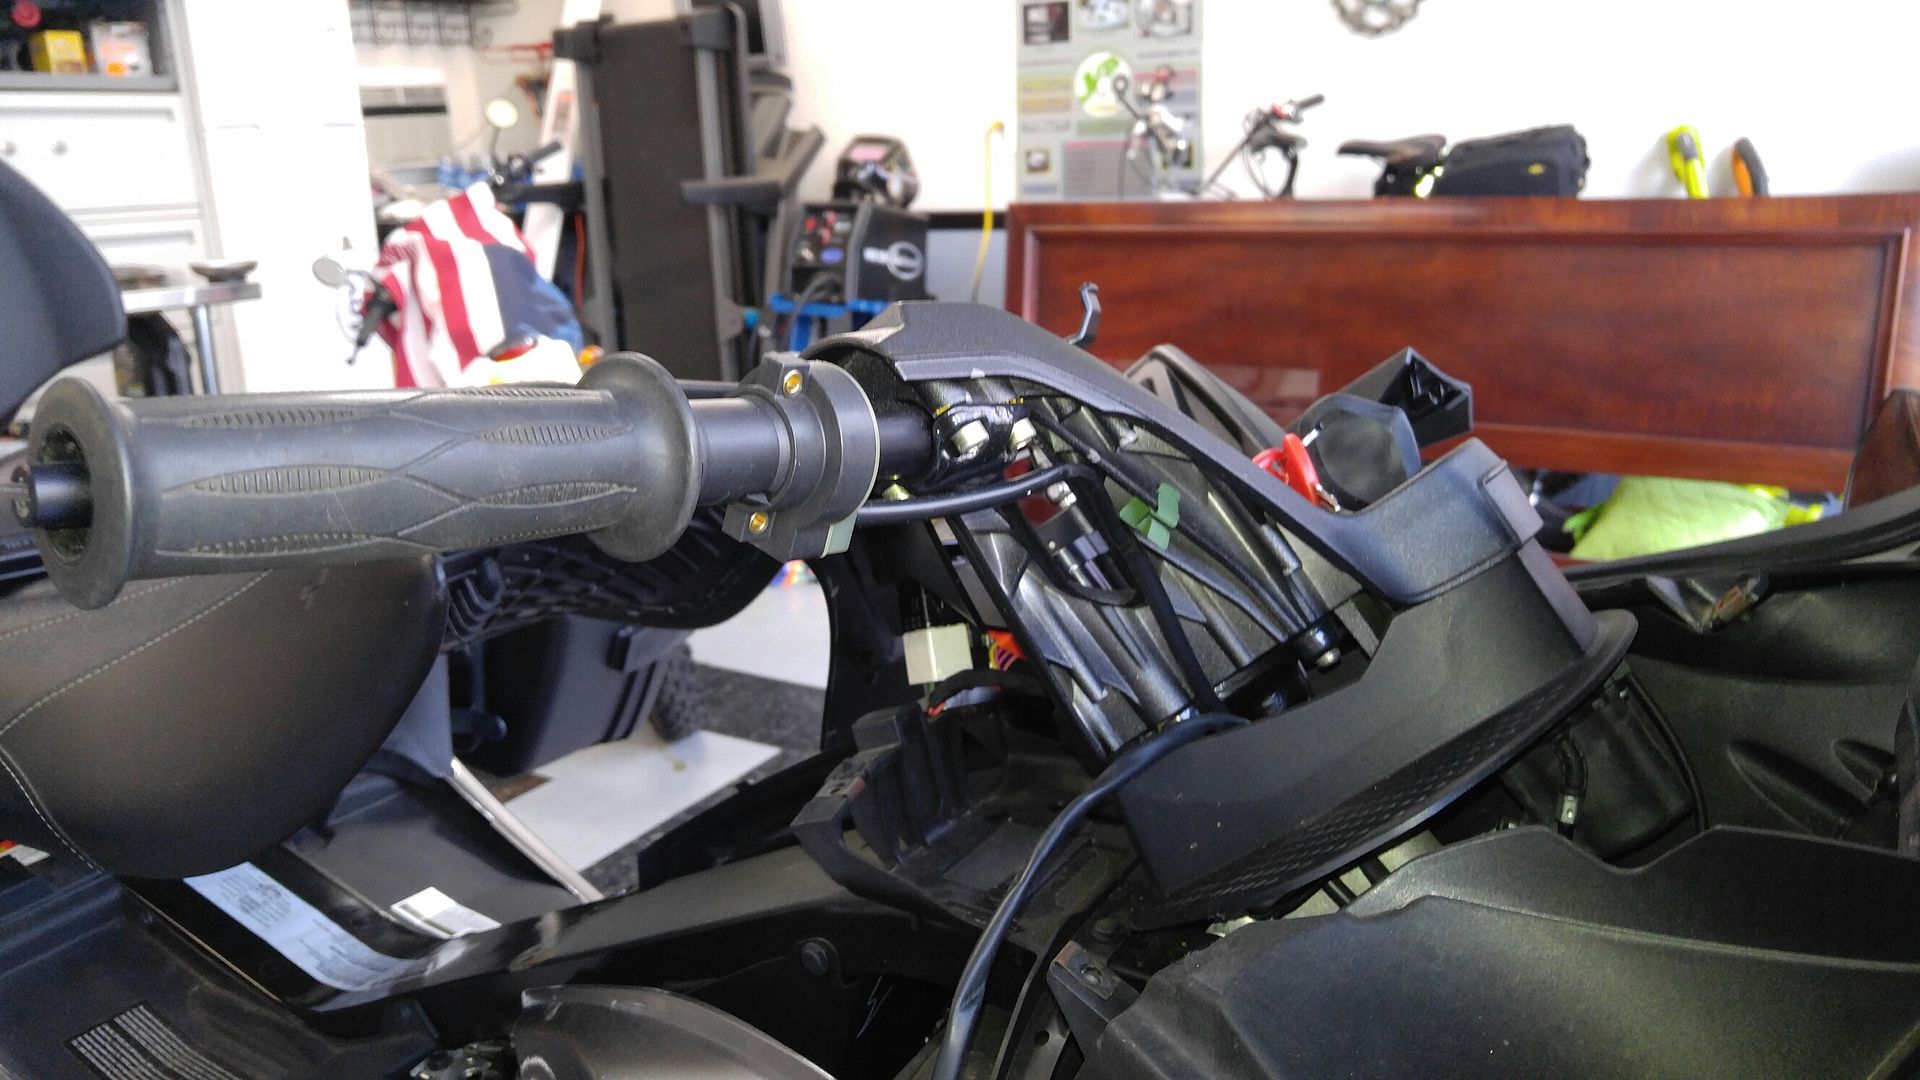
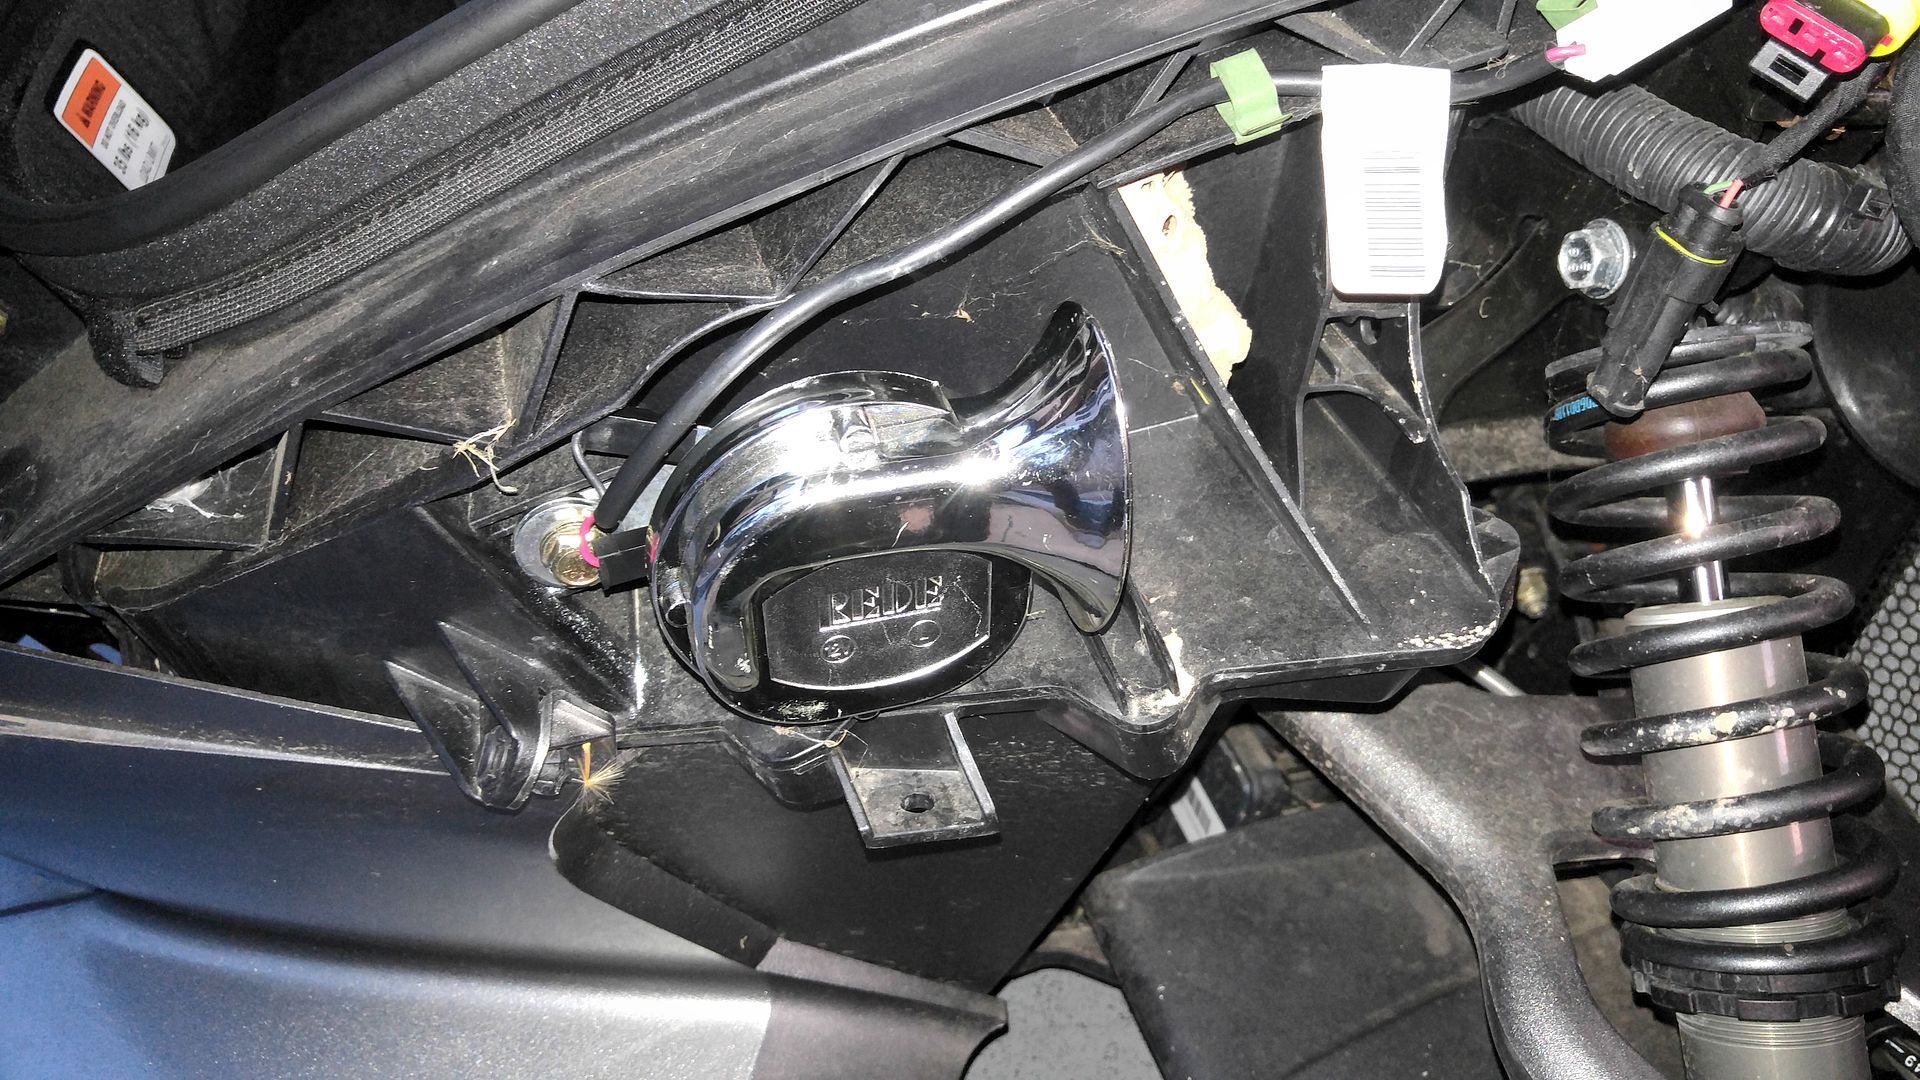
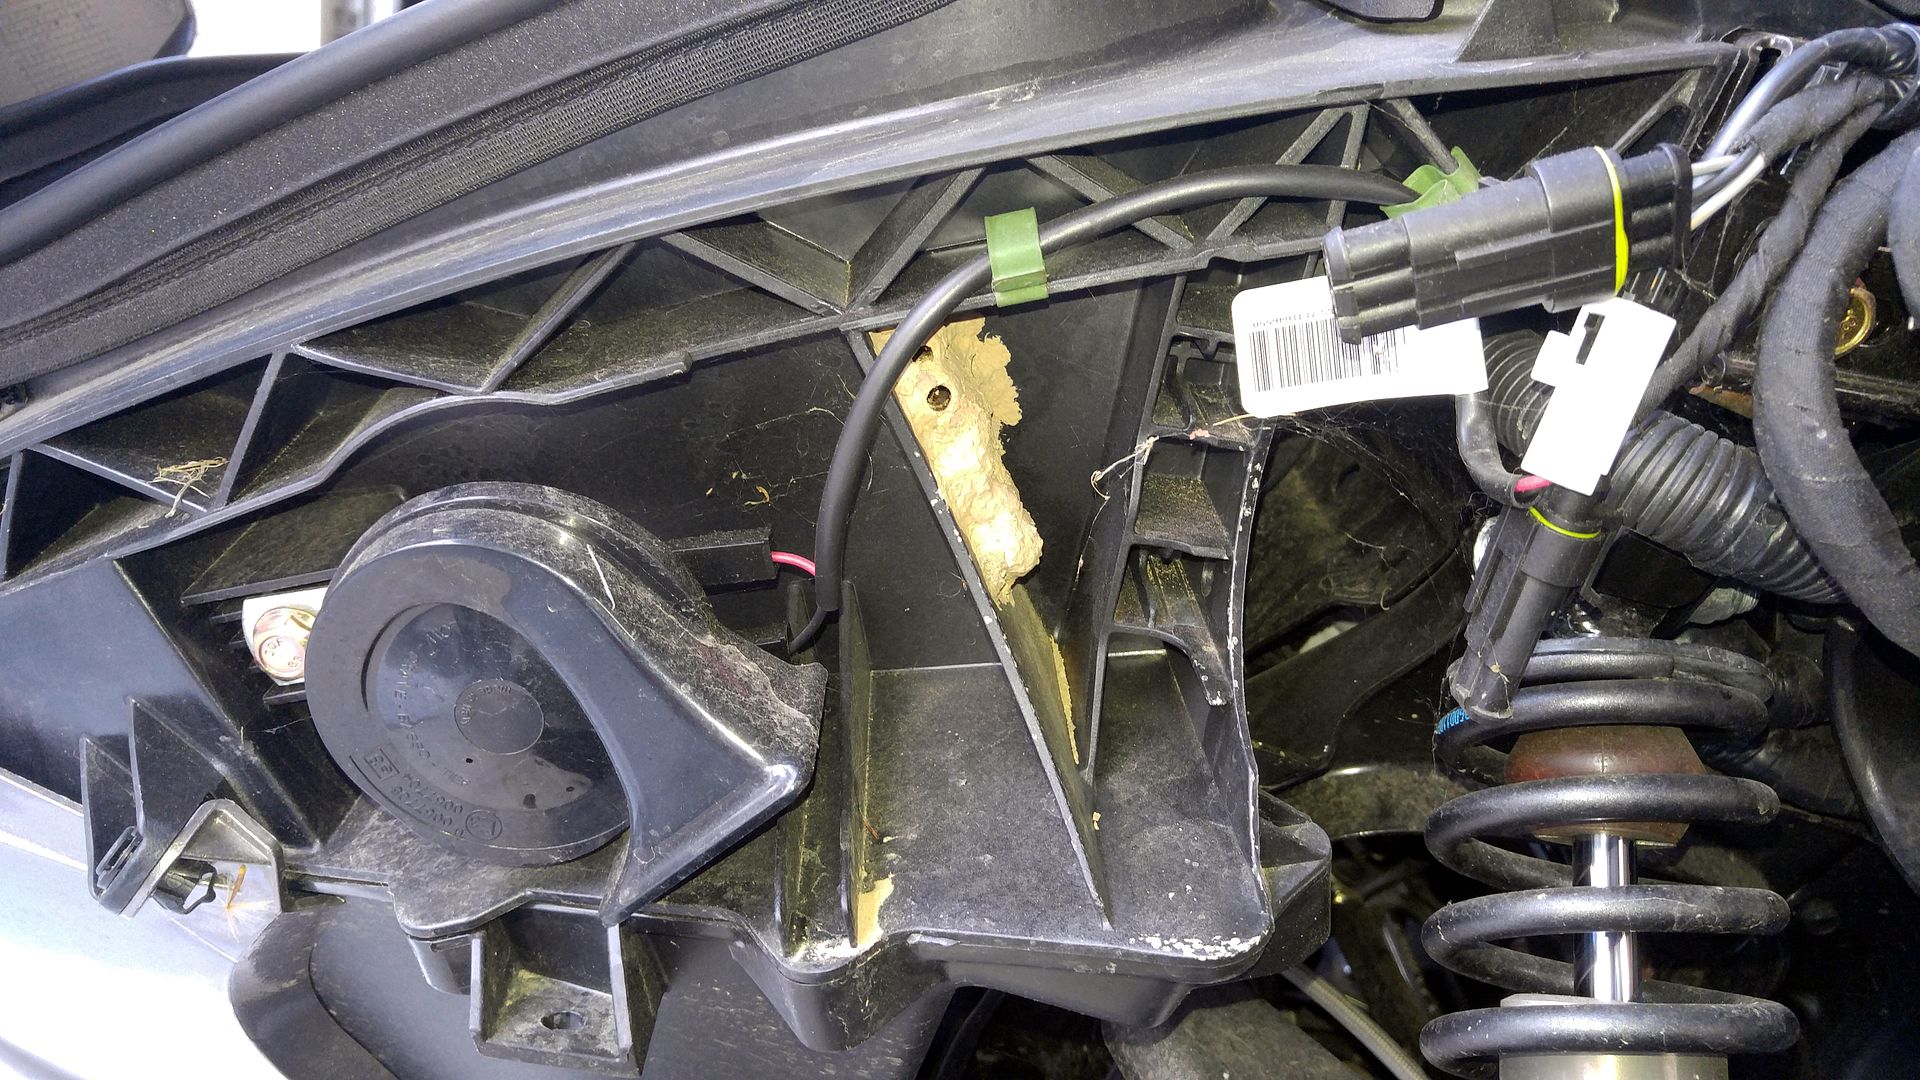
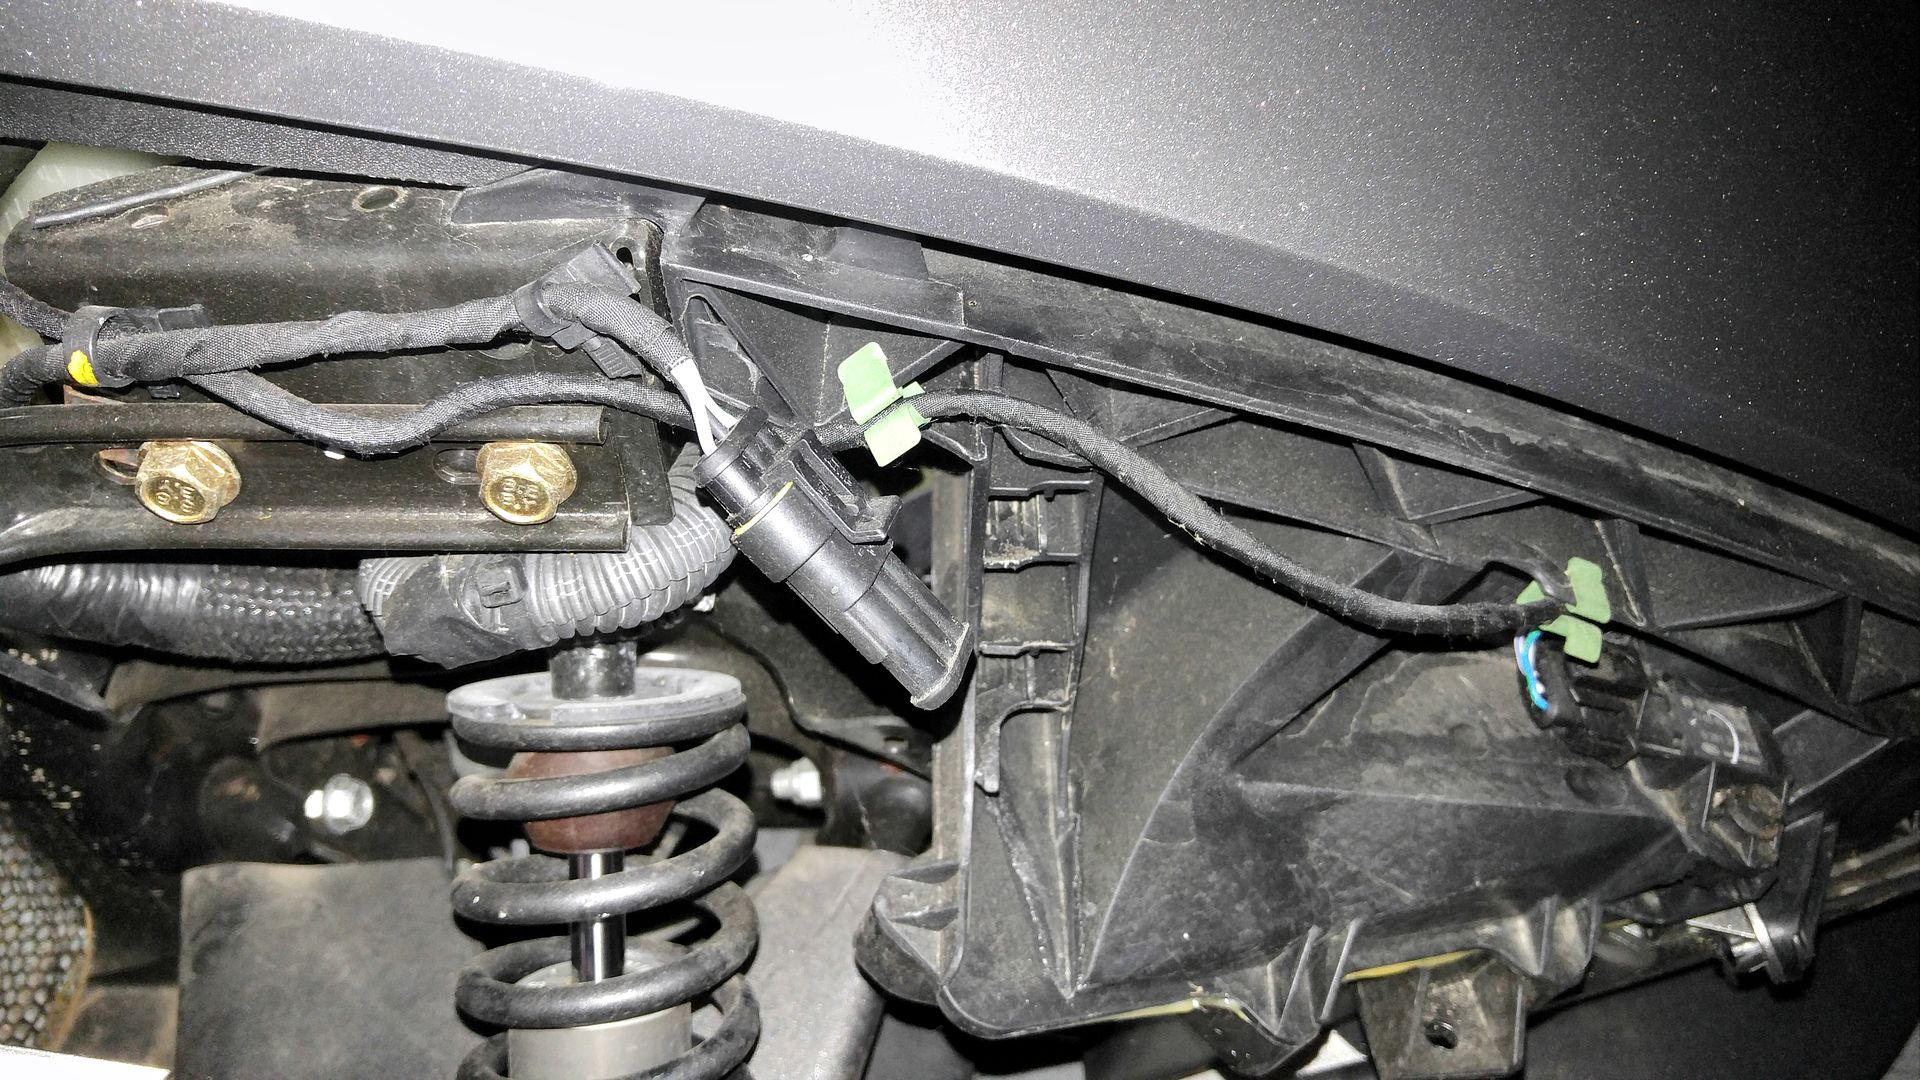
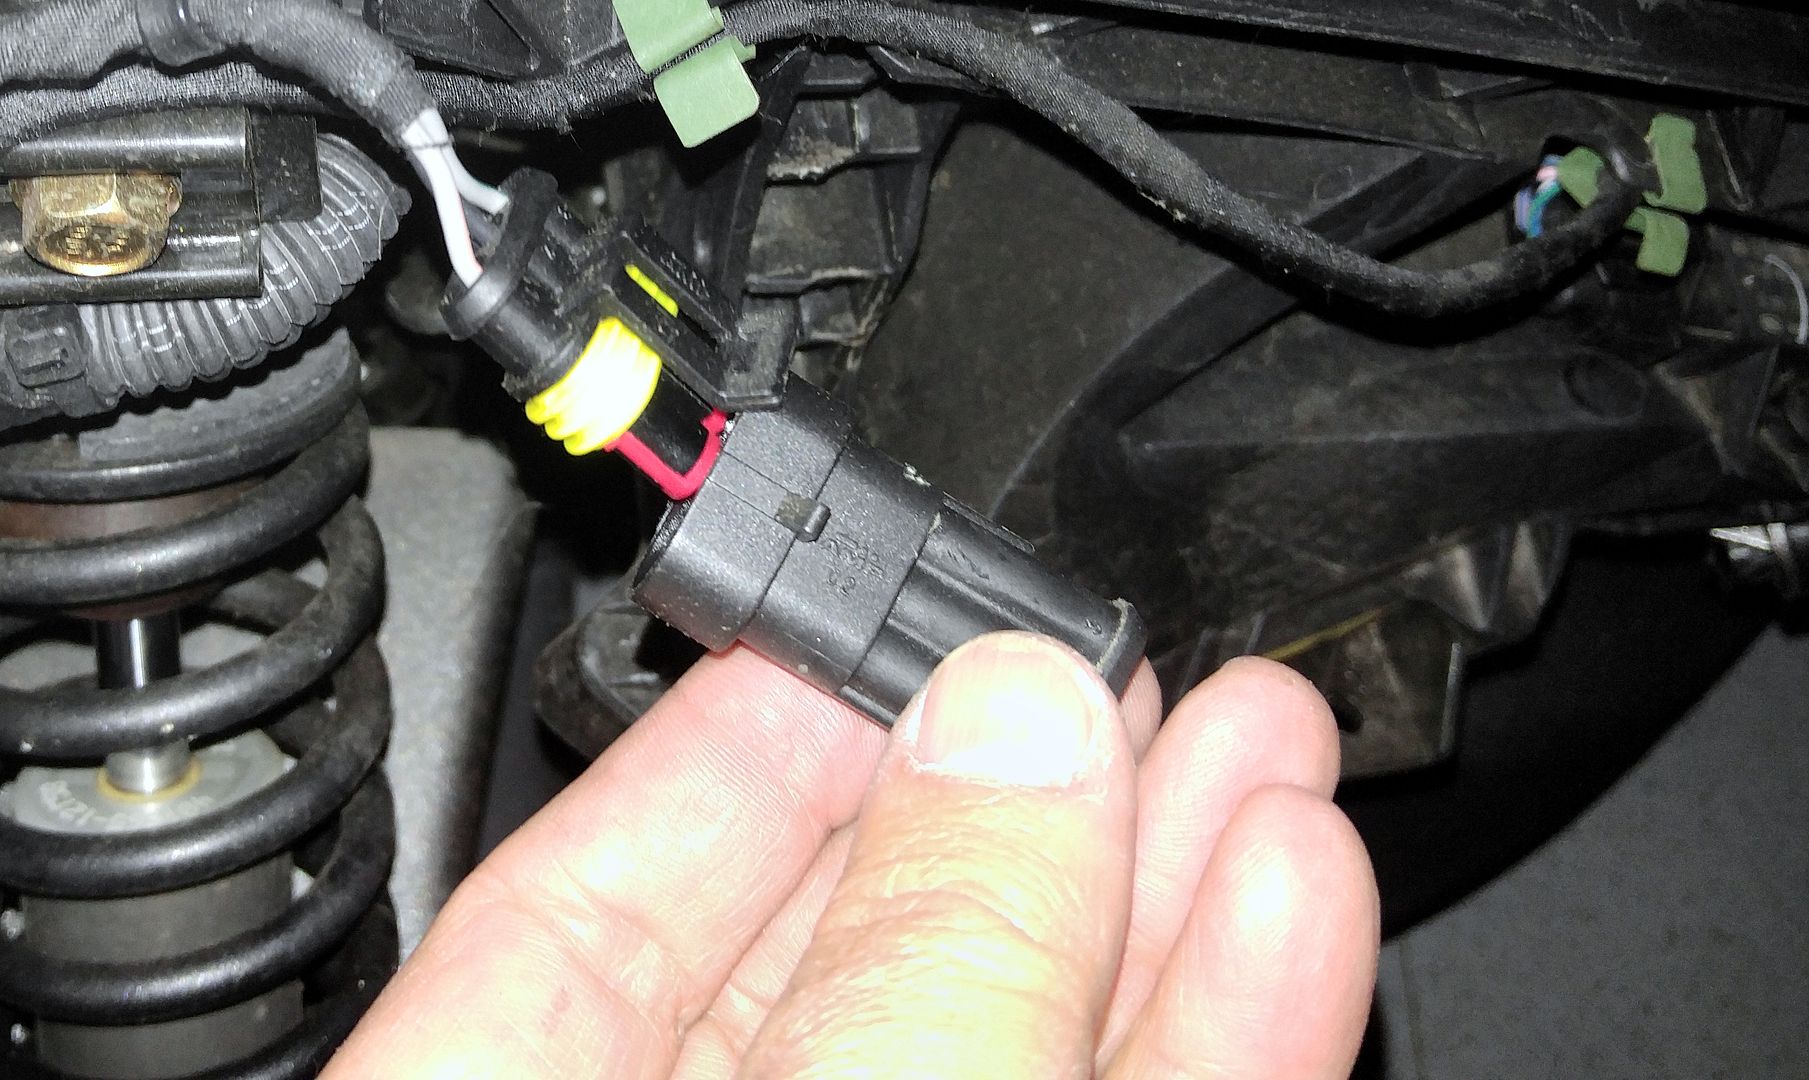
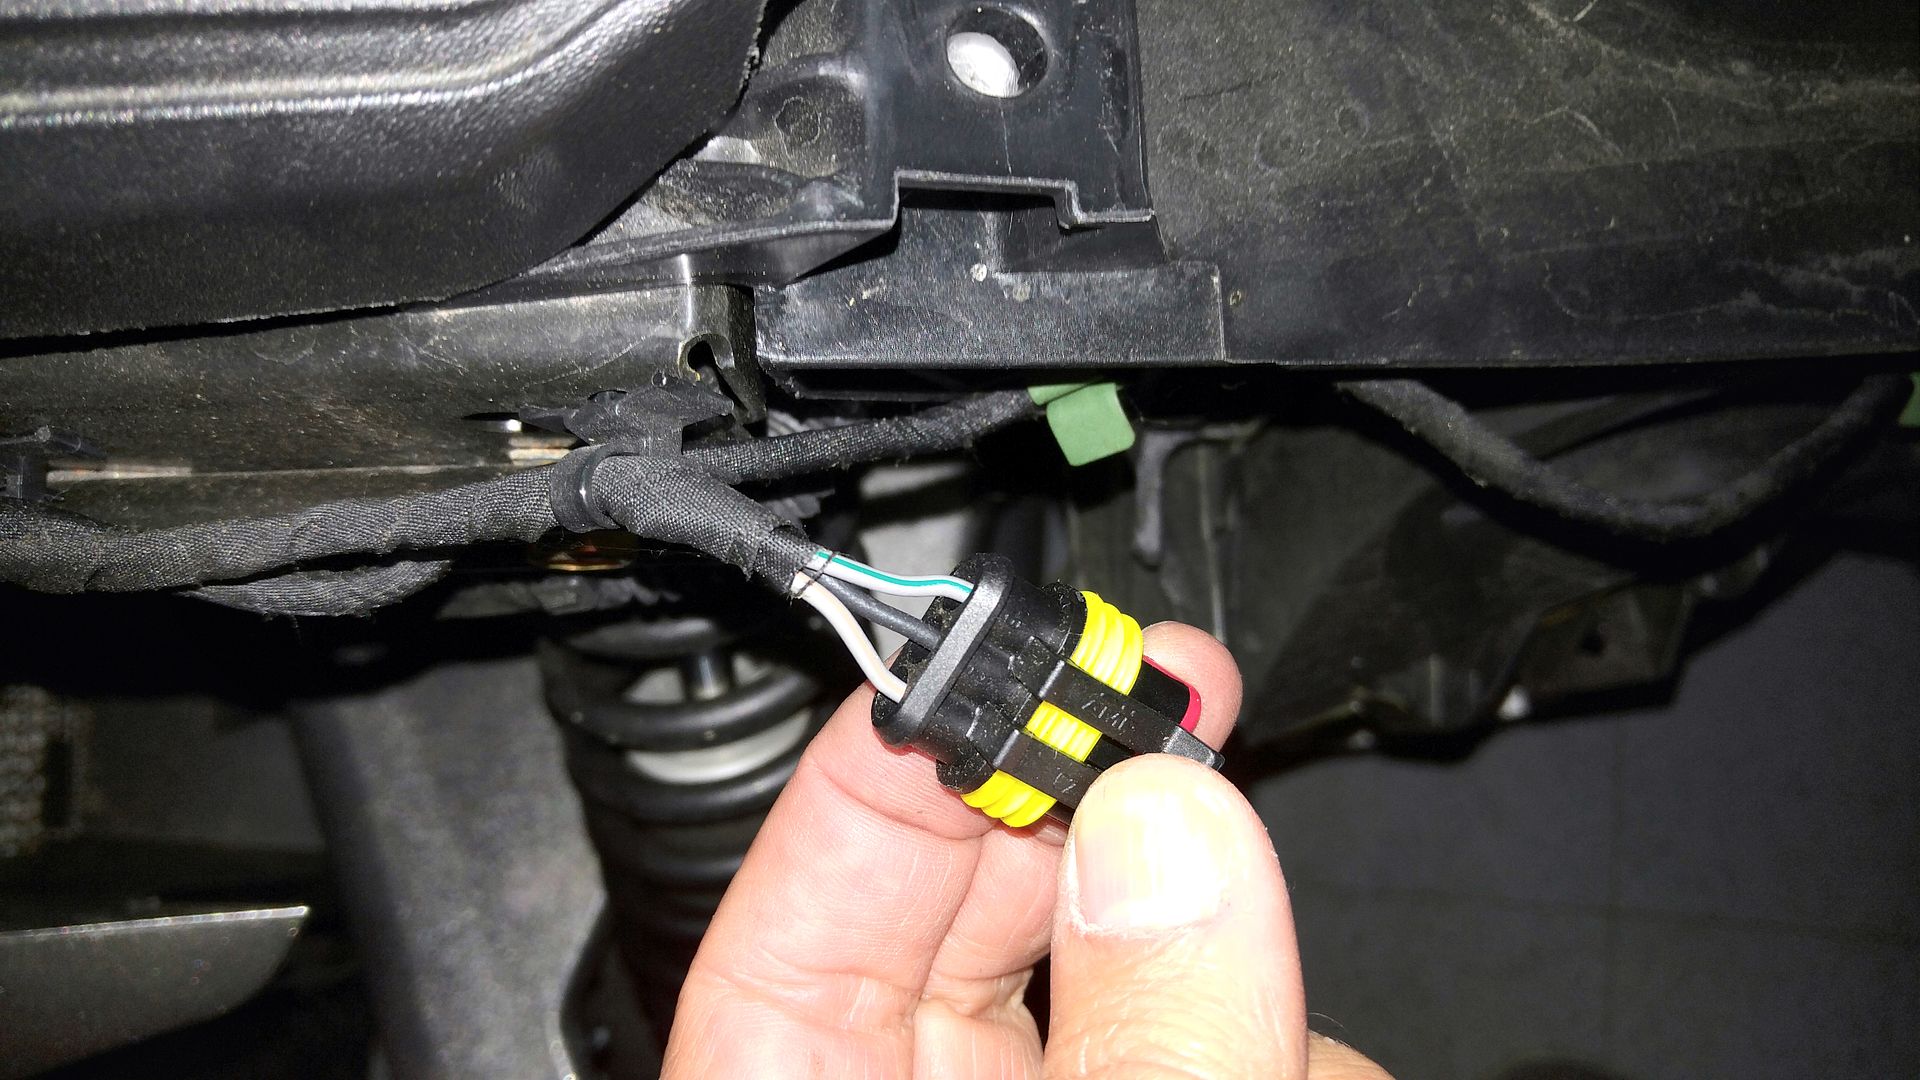
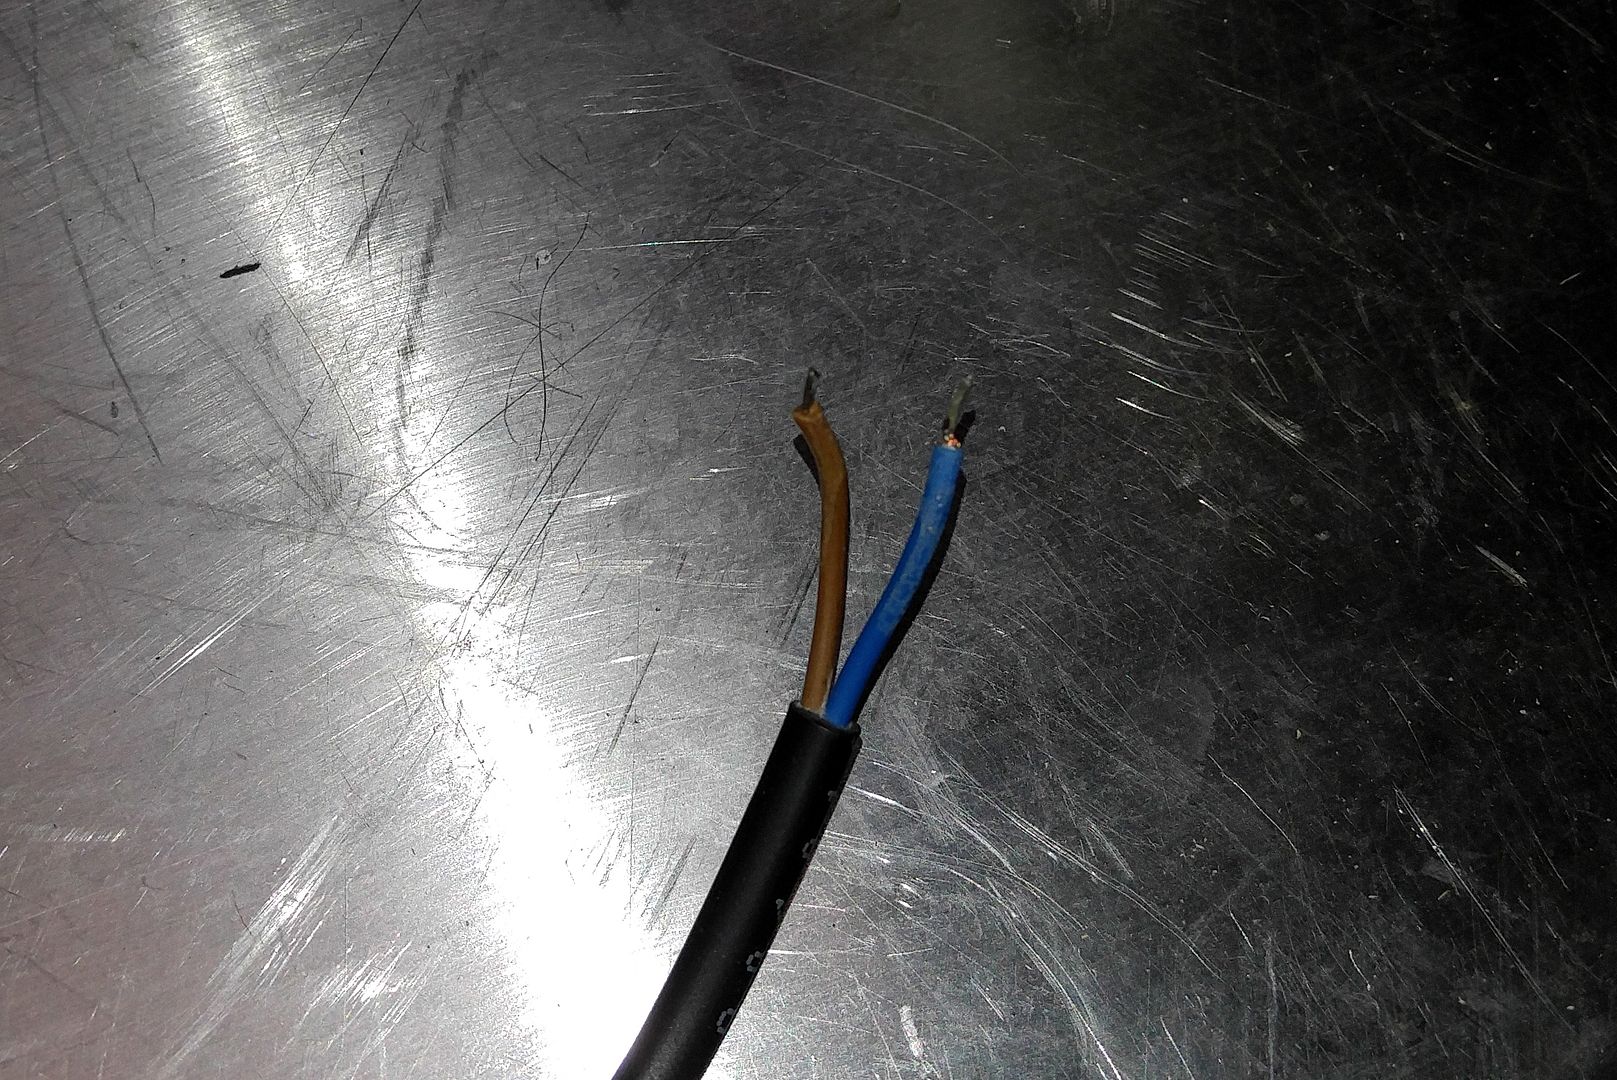
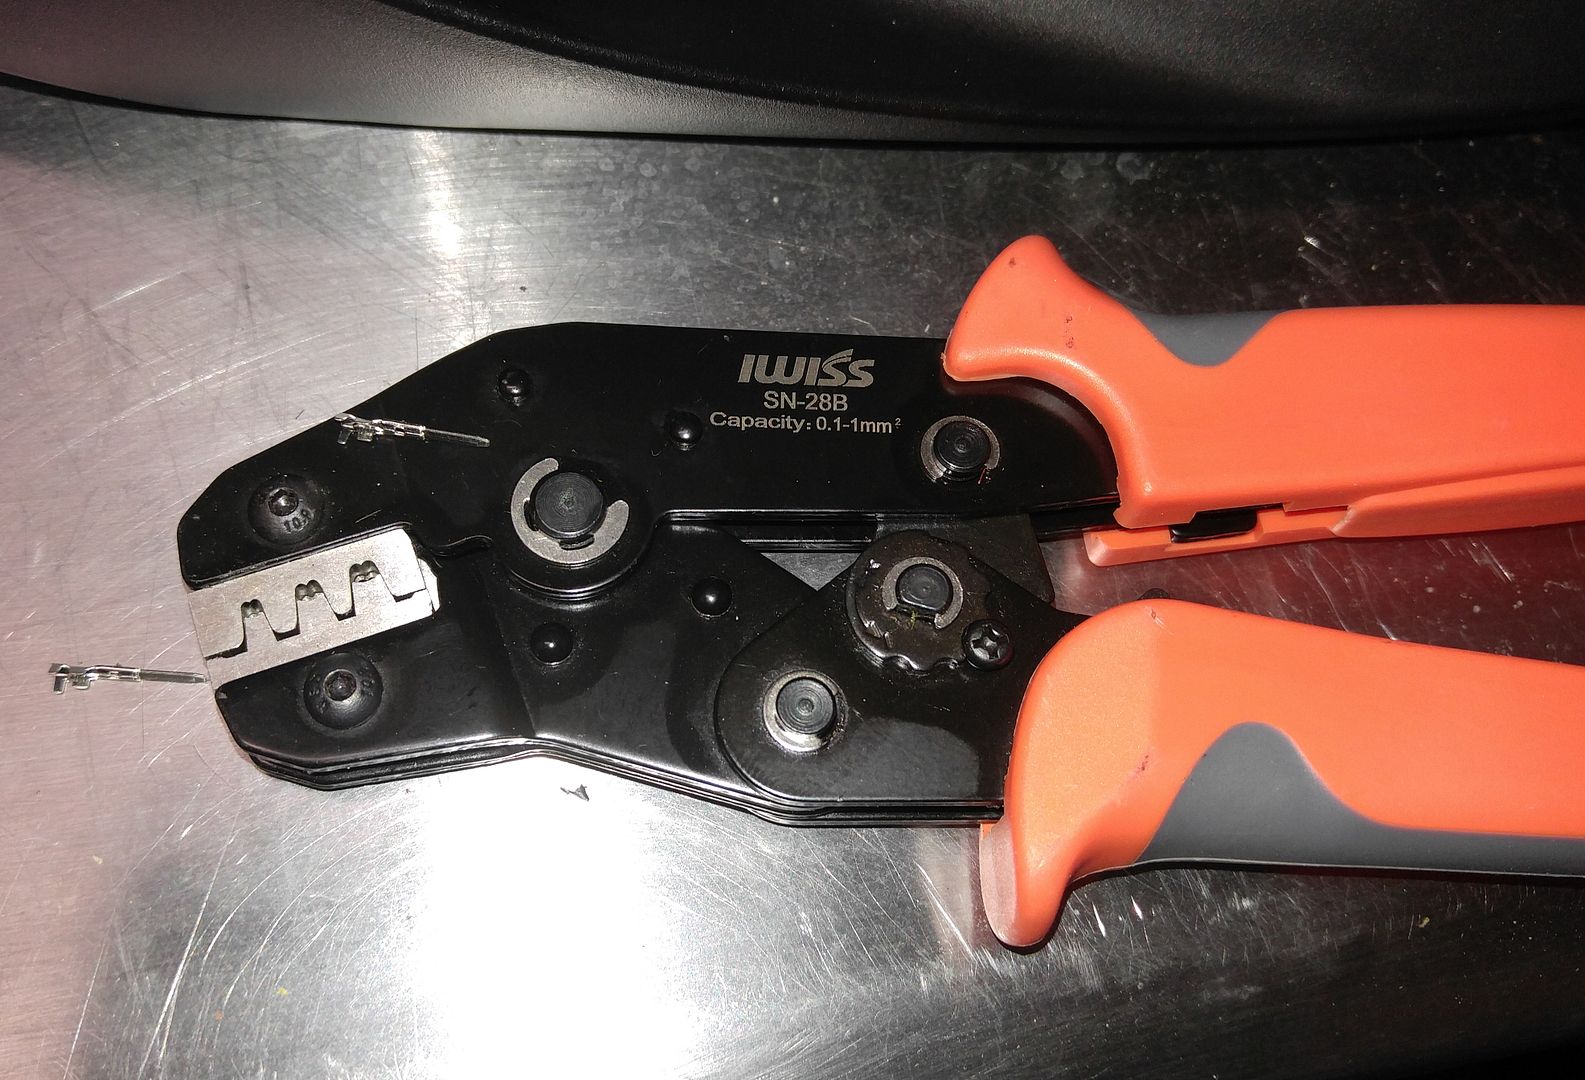
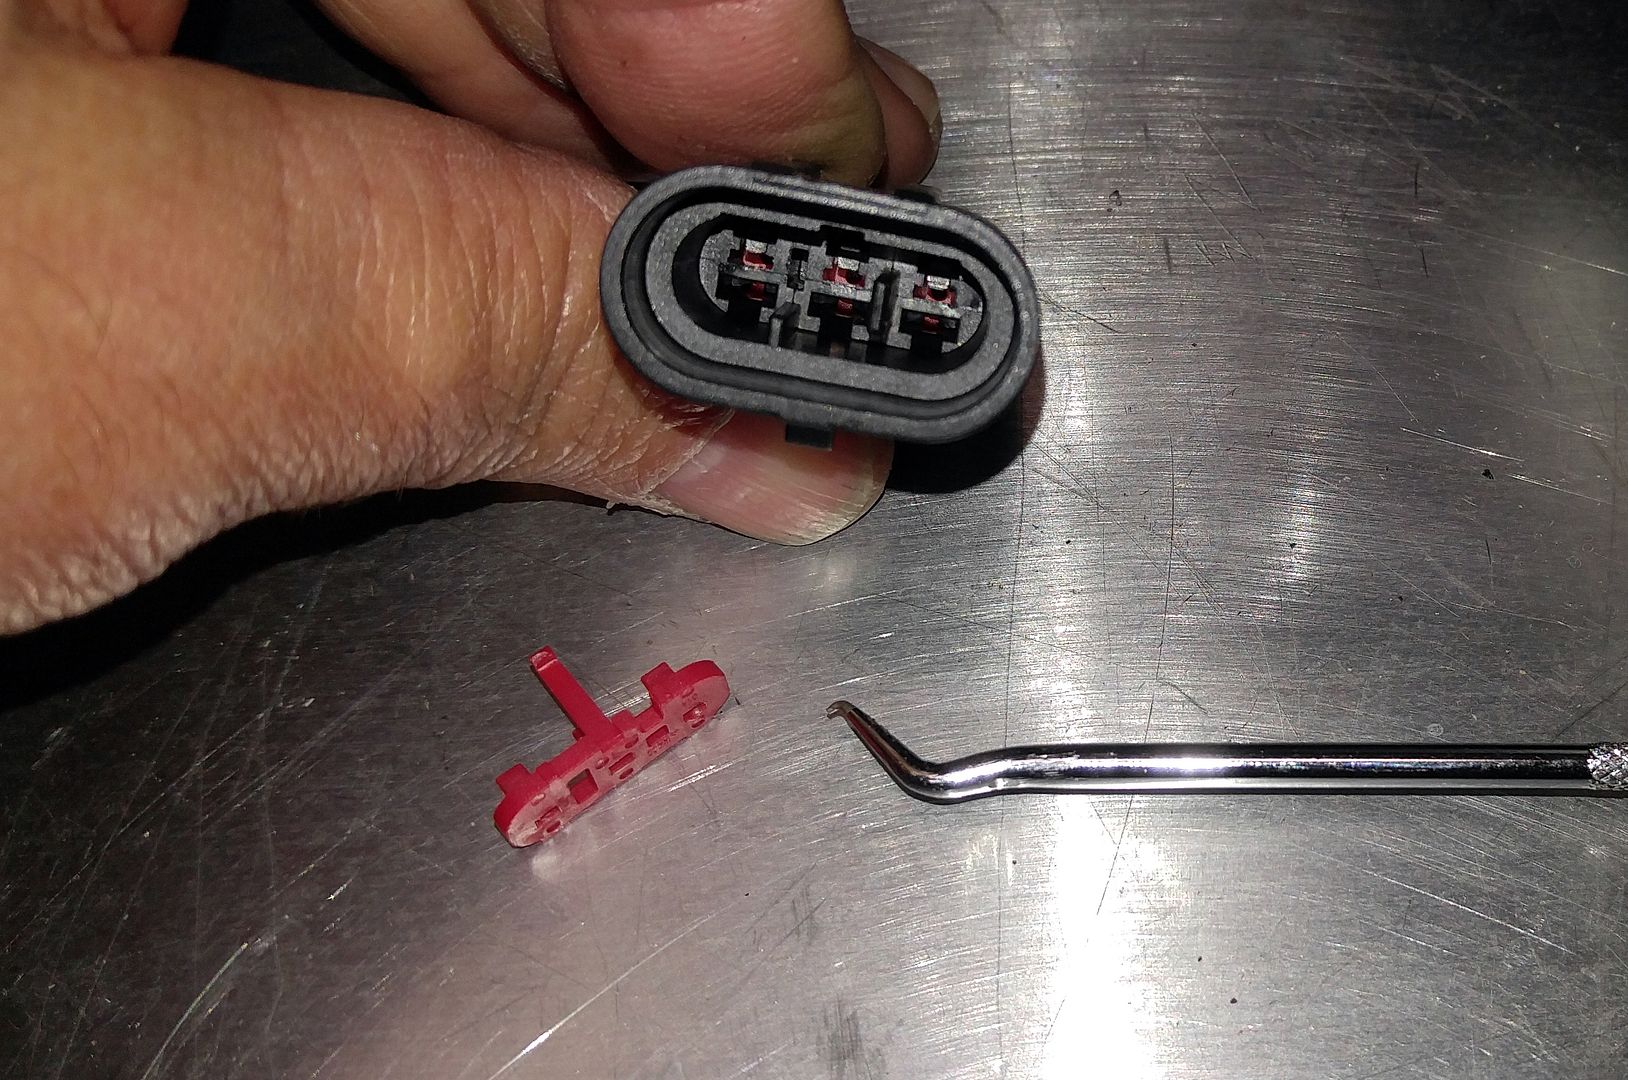
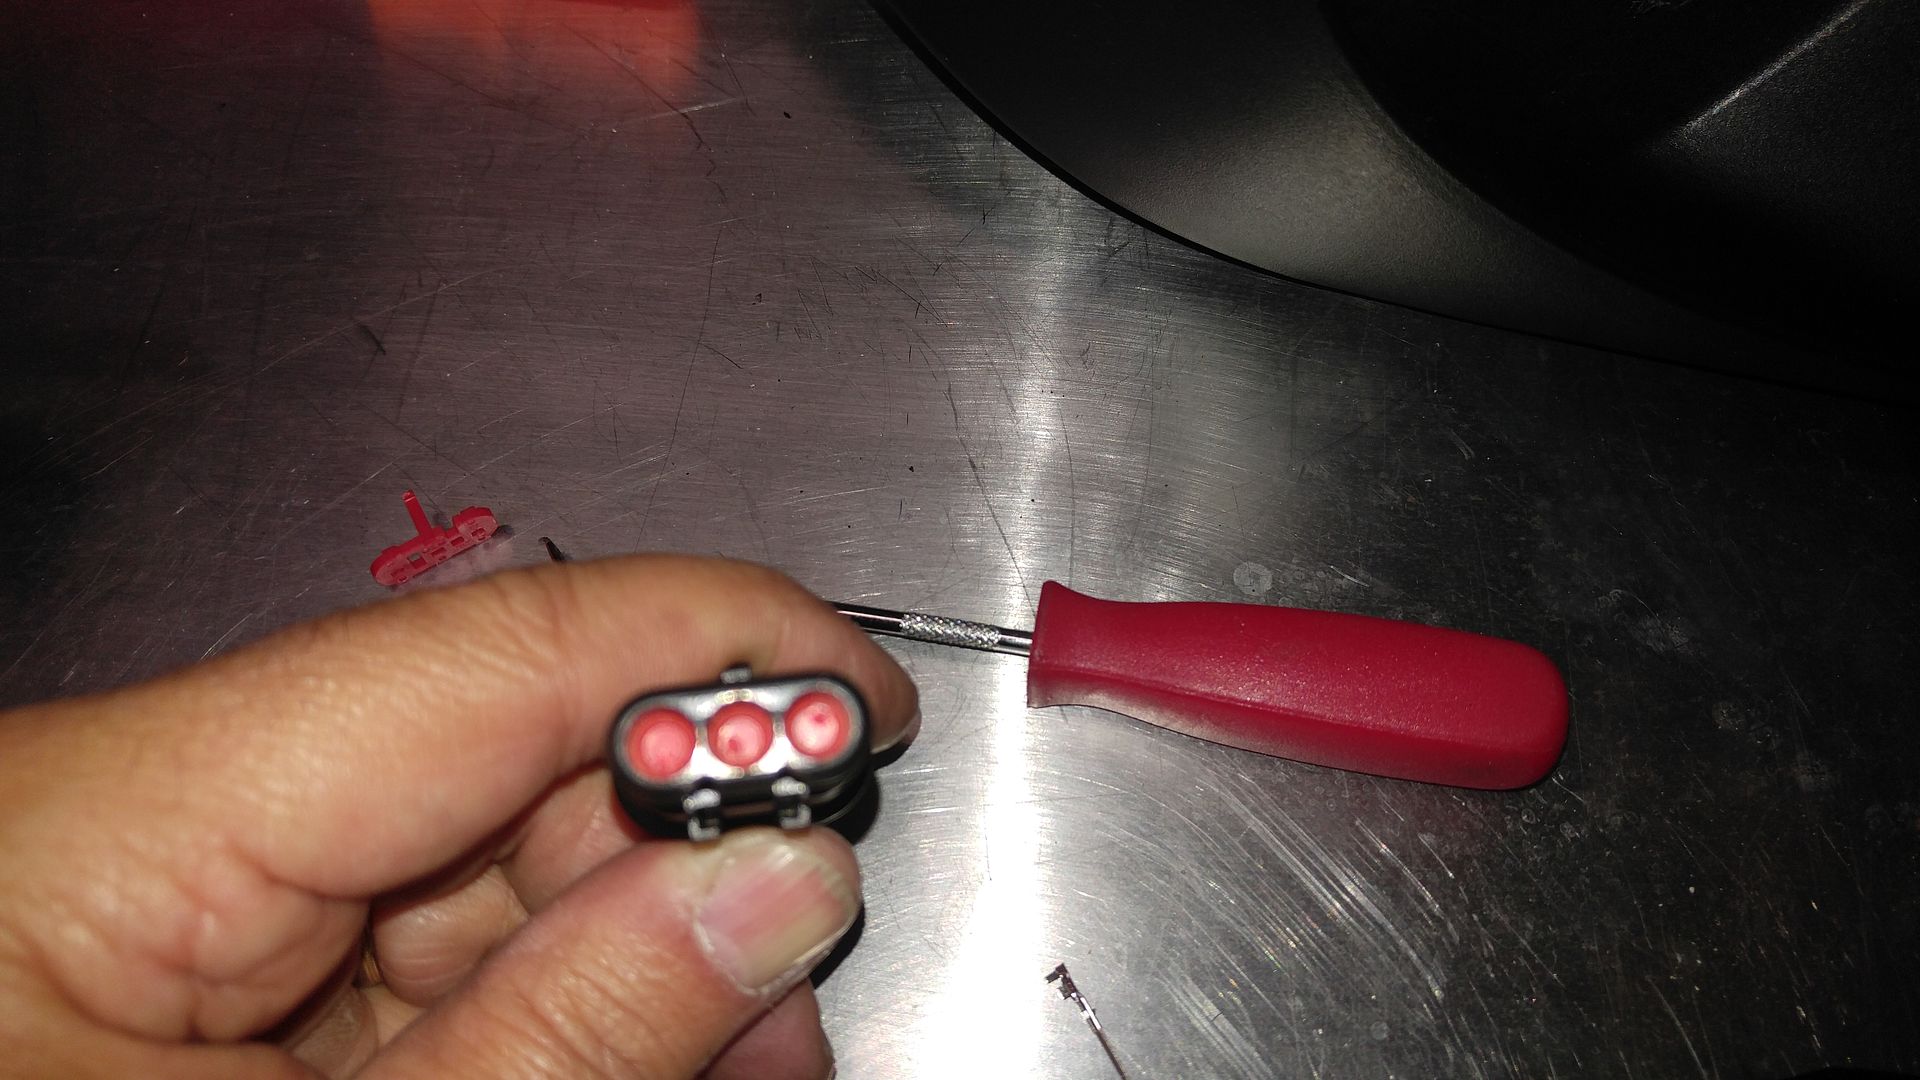
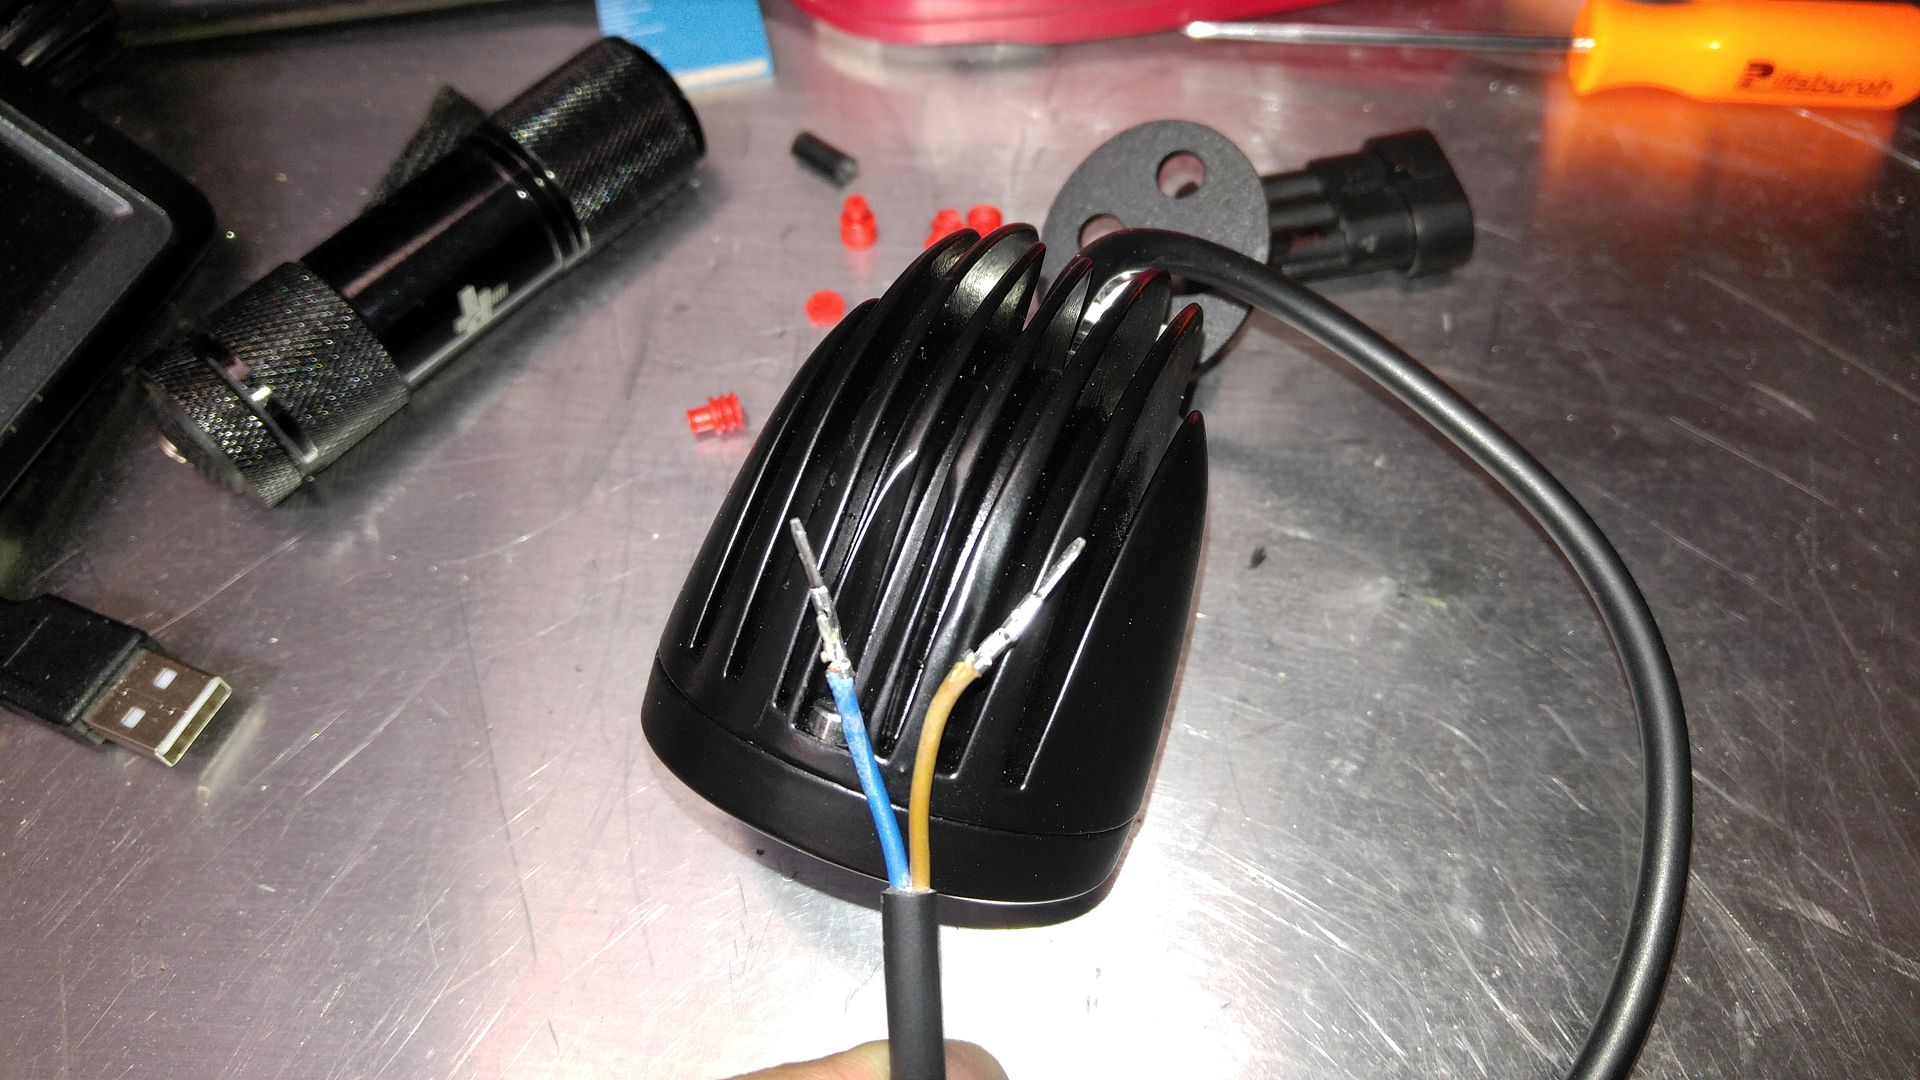
For the wiring I used quick lock connectors. I need to work on them to hide the wiring better, but it should be good when I rebuild the mounts. I'll add some tubes to hide the wires, or something.

I have other mods planned, so I will add them to this thread in the future.
 
Saddlebags

Nice job on the installation.
Looks like a great winter project with welding and powder coating.
Where did you tap into the wiring for the tail lights?
Cheers, David C.
 
Nice job on the installation.
Looks like a great winter project with welding and powder coating.
Where did you tap into the wiring for the tail lights?
Cheers, David C.
Thanks. It should come out very nice. I will, of course, replace the crossover bar for a more integrated look.

I just tapped the brake and running light wires under the dirt guard right where they split for the two bulbs in the tail light. I used posi-taps. Clean and easy and no damage to the wiring.

posi-tap_n2_a2-b.jpg
 
Very nice Jim. Please post more pictures of the setup, including pics of the mounts without the bags attached.
 
Very nice Jim. Please post more pictures of the setup, including pics of the mounts without the bags attached.

Thanks, will do.

The mounts are a bit cludgy, but they are pretty solid and look OK with the bags on. Once I cut and weld everything, then powder coat them, they should look much better!
 
Very nice Jim. Please post more pictures of the setup, including pics of the mounts without the bags attached.
OK, here are a few more!

Panniers%204%206.jpg

Panniers%204%207.jpg

Panniers%204%2011.jpg

Panniers%204%2013.jpg

Panniers%204%2016.jpg

Panniers%204%2019.jpg

Panniers%204%2022.jpg

Panniers%204%2023.jpg


Here is the inside:

Panniers%204%2027.jpg

Panniers%204%2033.jpg


The outer trim panel can be removed easily for paint of wrapping. Just five short screws.
Panniers%204%2034.jpg

Panniers%204%2035.jpg

Panniers%204%2036.jpg

Panniers%204%2038.jpg

Panniers%204%2039.jpg


Overall I am pretty impressed for the price!
 
Also, because I have a set of heated grips to install, as well as aux lights and a USB power plug, I pulled the panel and added the switches. The Heated grips plug is there and went right in. I pulled the hot and ground from the second from the left socket for the USB, and the Aux switch seemed about right so I plugged it in. I wont know on that until the lights come in.

Switches%201.jpg

Switches%205.jpg

Switches%206.jpg

Switches%207.jpg

Switches%209.jpg


More to come when the rest of the parts come in and I have time.
 
Thanks for the pictures of the mounts. Looks good, I look forward to seeing your finished setup. I'm thinking about getting the same bags for my '08 GS.
 

Great looking hard bags. The "cheesy" mounts not so much but with all your expertise and experience I

am sure you could fabricate something that looks a little more upscale.

For just a few dollars more you could have the fantastic looking Corbin's.
:joke:

Jack
 

Great looking hard bags. The "cheesy" mounts not so much but with all your expertise and experience I

am sure you could fabricate something that looks a little more upscale.

For just a few dollars more you could have the fantastic looking Corbin's.
:joke:

Jack
I think that was a compliment!:thumbup:

The mounts will definitely improve.

As for Corbins, beautiful, but damn! $$$$
 
Good looking stuff my friend. You saved $500 or so over the GIVI ones made for the :ani29:. Look as strong or stronger. :bowdown::bowdown:

If you want cheesy, the luggage inserts for the RT's are pretty bad. They do the job, but for the price I paid--I felt a bit clipped. :yes::yes:
 
Replaced the grips today, The heated grips work great, and take about 2 hours to install for someone who has never done it before.

Heated%20Grips%205.jpg

Heated%20Grips%207.jpg

Heated%20Grips%204.jpg

Heated%20Grips%206.jpg

Heated%20Grips%203.jpg


1106161501_resized.jpg

1106161455b_resized.jpg


By the way, you can not rotate the switch pods, they are locked in place by substantial tabs on the bar mounts.
 
Horn change!

Unfortunately the Stebel horn would not fit where the stock one is, though it worked. So I installed a louder conventional FIAAM High horn.

Horn%204.jpg

Horn%203.jpg

Horn%202.jpg

Horn%201.jpg


Bolts right in, much louder.
 
Aux Lights.

Fortunately the bike comes prewired, and all you have to do is add a stock aux light switch:

Lights%2043.jpg


Pop off both top and middle side panels to access the wiring, conveniently in the right place:

Horn%204.jpg

Lights%2012.jpg

Lights%2013.jpg

Lights%2015.jpg


The wiring is set up so you can turn the lights on with the switch, or, swap wires, and they come on with the low beams and shut off with the high beams. For the switch you want gray with the green stripe and black.

Just pop off the cap and use it as the male switch by adding pins.

Pull out the plugs and retainer, crimp on the pins and reinsert.

Lights%2010.jpg

Lights%2011.jpg

Lights%2017.jpg

Lights%2018.jpg

Lights%2021.jpg


Pull the black trim panel from the upper insert and drill holes to install the lights. I had to use some angle parts I had lying around. It gives me the ability to adjust in all directions.
Lights%207.jpg

Lights%2025.jpg

Lights%209.jpg

Lights%2026.jpg


Then reinsert the panel, plug in the light, and install the panels.
Lights%2039.jpg

Lights%2040.jpg

Lights%2042.jpg


A demo of the lights,


Lights%2029.jpg


Lights%2035.jpg

Lights%2036.jpg

Lights%2037.jpg


It is very obvious when the lights are on.

Great lights: $17.99 each https://www.amazon.com/gp/product/B00E0LH8I2/ref=oh_aui_detailpage_o01_s00?ie=UTF8&psc=1

Switch: $7.99 https://www.amazon.com/gp/product/B00T7DVYVU/ref=oh_aui_detailpage_o02_s00?ie=UTF8&psc=1
 
Fog/Driving Lights

Very nice job on installing the driving lights.
I have the same lights mounted on the lower A Frames.

Did you have any issues with inserting the Amazon switch into the STS wiring harness?
I bought a similar switch on Amazon and found the pins on the back of the switch were spaced a bit different from the Spyder socket.
Required a bit of custom wiring to prevail. Maybe I bought the wrong switch. :banghead: My switch is not lighted.

Cheers, David C
 
Back
Top