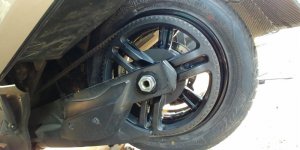
I received my Quad Trac 5 for the rear today, is there anything I should be aware of to remove the rear wheel, watched Bobs video and just trying to get all the education, tips and tricks before I tackle this job.
2016 RTL
I have a J&S Jack
2 36 MM Wrenches
Torque wrench
Locktite
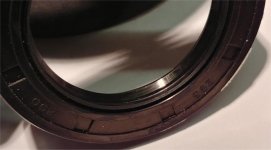
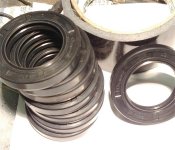
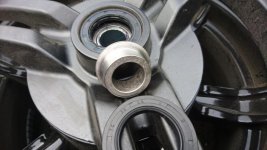
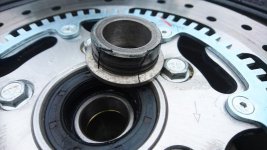
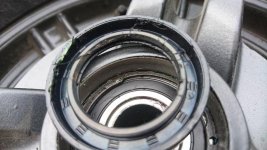
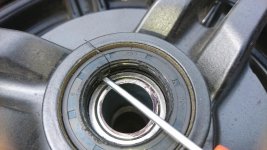
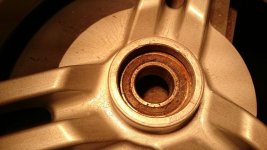
Yes, your grease seals will be wiped out, they always are because the spacer diameter is too big for the seal. Have two new seals and grease for them to hand.
A long extension and a 17mm socket to remove the caliper bolts without a fight.
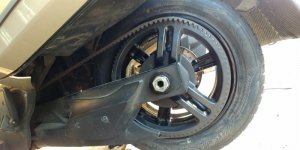
This next bit no-one seems to believe because it's just too easy; to remove the belt you don't need any tools, yes, really! Chock the front wheels to prevent your Spyder moving, release the hand brake and jack up the rear. I use the shock mount because it's easy. Lie down alongside the belt side of your Spyder in a position so you can rotate the rear wheel downwards. Pull outwards on the top section of drive belt with your left hand and pull down on the tyre to rotate the wheel, the belt will walk a little sideways, continue to pull outwards and rotate the wheel and the belt will eventually walk off the pulley - it takes about three turns of the wheel.
I have no pictures of it because it didn't occur to me to post the info before removing a belt but it did when I was putting the belt back on so below is the picture sequence for replacing the belt. The advantages are; it's very easy, no removal of parts and no belt adjustment issues.
Use your long extension to remove/replace the caliper bolts, it will pass just under the muffler without issue.
When removing the caliper, do it very carefully so as not to move the brake pads, this will greatly facilitate refitting it because the pads will be wide enough apart to slide back over the disc - provided you don't bump them on the disc edge while refitting! Take care with that.
After removing the axle split pin, nut and washer, lower the wheel until it is just touching the ground, just enough to take the weight off the axle. A small tap on the right end of the axle using a drift of wood or aluminium, to prevent damage, will start it moving. If you've got the wheel at just the right pressure on the ground, you will be able to pull the axle out by hand. A pair of vise grips clipped onto the axle nut will give you a little more to hang on to. If it's seriously tight you've got it loaded up by the wheel weight - up or down.
Lift the bike high on the jack and roll the wheel out rearwards.
Reassembly is the reverse after cleaning everything up and fitting the new grease seals. Fill them and the space to the bearing with grease. It keeps water out of the bearing.
When rolling the wheel back in, it's easy to inadvertently dislodge the caliper mounting bracket. Take care.
Be sure you replaced the spacer in the rear of the pulley when you fitted it back to the wheel, and you need to get the pulley pretty much squeezed back into the cush rubbers before rolling the wheel in or you'll find it is still too wide to properly fit into the swing arm space.
Do take time and care to get the holes in the wheel and the swing arm lined up accurately then the axle will go back in with ease - be sure to have greased it a little.
Give yourself an easy time retorquing the axle by applying your torque wrench to the outer end of the axle (left side).
Finally, use no force, take time to align and fit and you won't need any swear words. Bleeding is not a requirement.
Here are the pics of refitting the belt, start by fitting it as far as you can from the bottom then push the wheel upwards - easy peasey...
 hyea:Mike
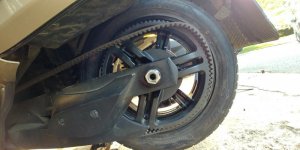

")