lookerjdc
New member
i finally got around to reading this post and all i say is 'holy sh*t Batman!!!!'
Phil, you have done an incredible job of not only modding out Darth Vader, I want to thank you for all the detailed installation information you have provided
I received my Spyder 2 weeks ago and have been thinking about adding my GPS on top of the front dash like you and 'Teddy' did, adding some lights (not as many as you, but definately in some locations you did, adding a front power source for the GPS and to charge an iPhone, etc)
again, your Spyder looks incredible and thank you again for the instructions
:bowdown::bowdown::bowdown::bowdown::bowdown:
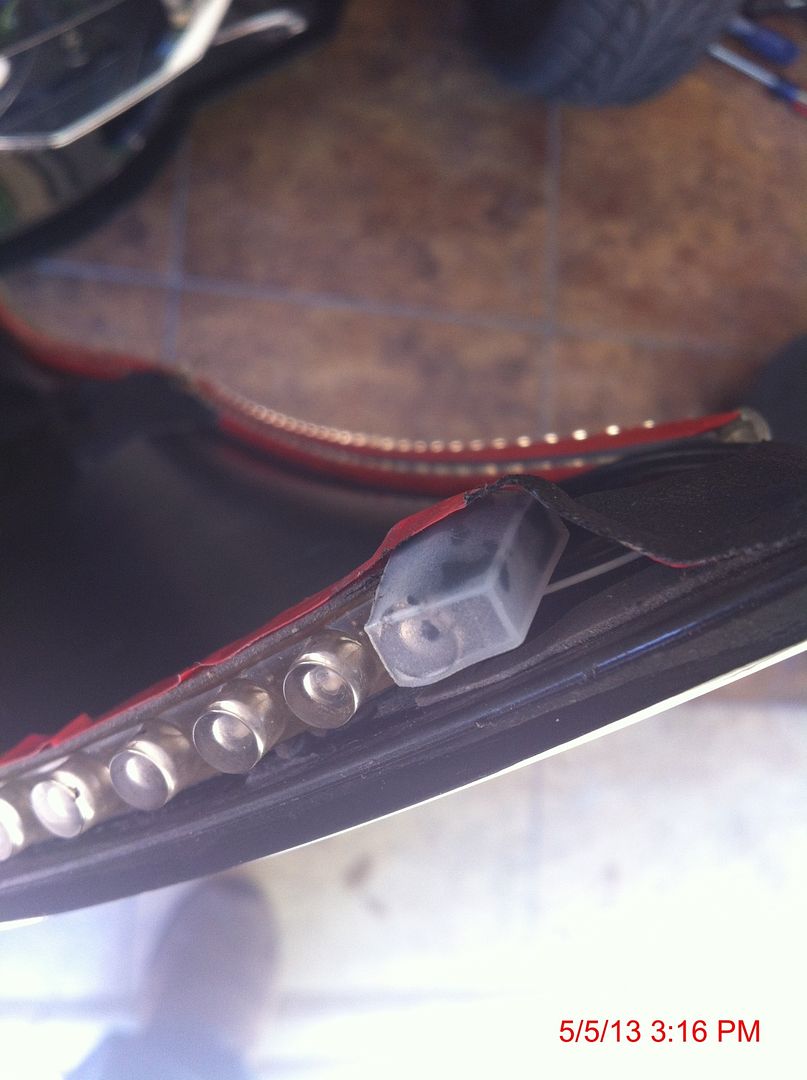
") . If you are going to do your own LED installation, you want to pay attention to this.
. If you are going to do your own LED installation, you want to pay attention to this.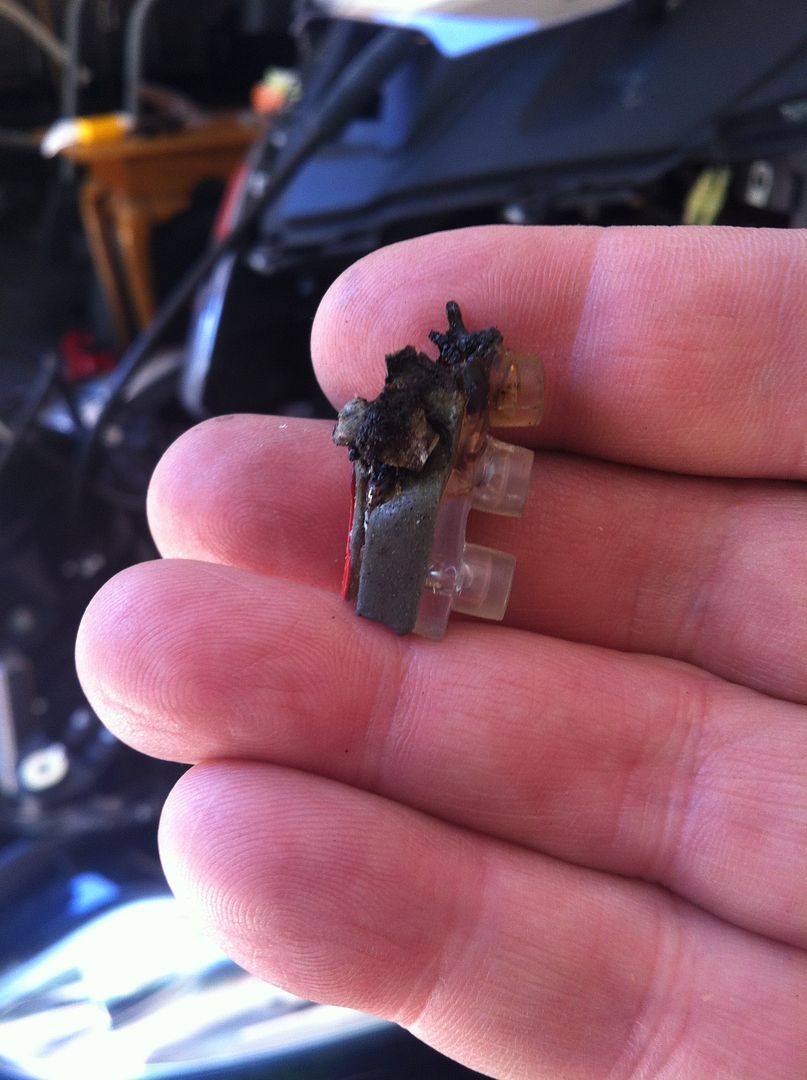


 opcorn: nice write up and pics too.:thumbup:

")


