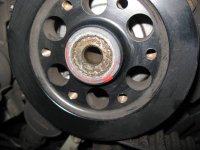
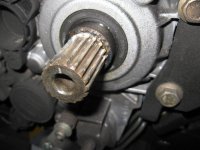
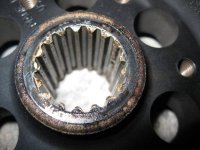
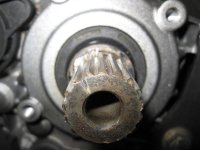
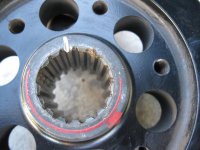
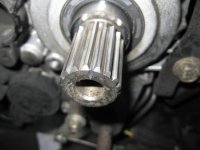
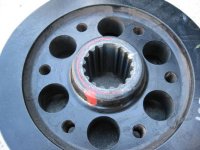
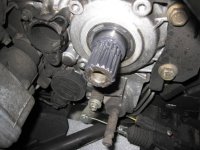
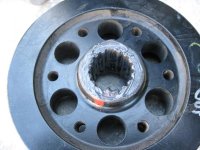
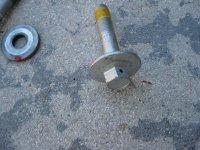
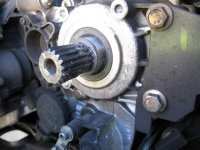
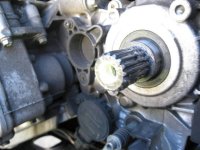
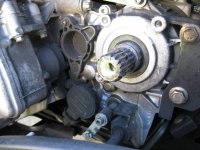
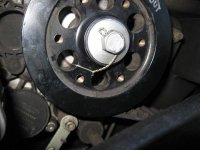
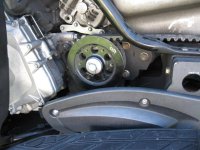
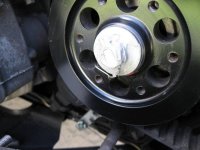
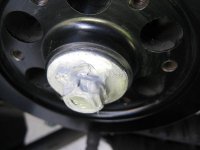
Thanks for the great photos, PMK! I am wondering if there is a Bearing inside the Casing we don’t see that could also be damaged that does not get inspected or changed when the casings are not split and the shaft not changed. Also, I am wondering just how damaged the splines on the stainless steel shaft can get, and still be filed to accept a new Sprocket and
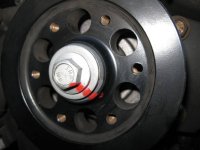
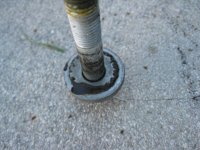
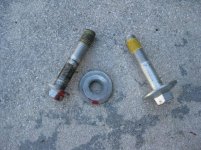
installed using your method? ( your opinion? ). I like your idea of Safety wiring the Bolt. In my young days as a 17 year old USAF Airman, I was trained to be an Aircraft Mechanic, on Reciprocating Engine Aircraft. I trained 10 months as a Mechanic at Sheppard AFB in Wichita Falls, Texas in 1959. EVERY single Bolt and Nut on every Aircraft engine had to be Safety wired. We Mechanics all had our rolls of S.S. Safety Wire. I ended up at Westover AFB in Mass. working on KC-97 Refueling Aircraft, and got to despise working on those huge engines, Safety wiring literally thousands of bolts and nuts, and especially hated changing the hot oils in those huge engines! That’s why I don’t do my own Spyder mechanics. That’s why COMPETENT Dealer Techs are employed,.....when we can find any. Have you ever contacted BRP to offer your Methodology of how to properly install Sprockets? Also, I am wondering how many hours of Labor, start to finish, including Diagnosis, is required using your Technique? Thanks again for the impressive Tutoral. I will use this method after my Warrantee expires and If I ever need to keep replacing my Failed Sprocket every 10-20 thousand miles. I was thinking of just Tack Welding the darn Sprocket to the Drive Shaft so it could not come off, but Safety Wiring the Bolt is a much more reasonable way to go.