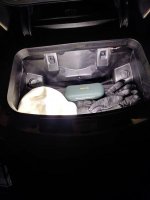
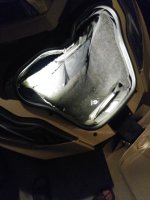
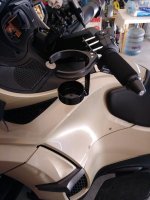
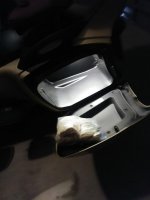
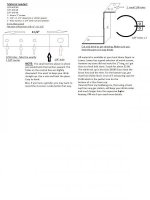
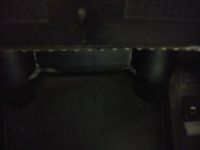
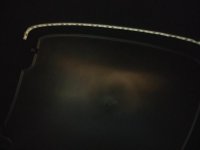
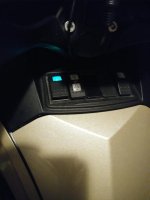
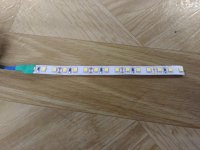
I used an LED light strip that you can have on E-Bay for less than $7.00 including shipping. It comes in a spool that has 16.5 ft (5 meters) of light strip. It works on 12V. Can be cut to any lenght at the 3 LED mark. Cut to any length it still work with 12V. The strip has glue protected by a thin paper. Remove the paper and affix to clean plastic. I usually use alcohol and wipe the area, let dry and glue. I used about 16" for each saddle and about 12" for the trunk. In the saddles, it is glued to the top so the actual light is not visible. In the trunk, I mounted on the lip above where the USB port are. Again, not visible. Both saddles and trunk are wired through a switch installed on the dash next to the OEM switches. In the frunk, I had to cut a small section of the carpet on the side, to allow for the light to be glued to the plastic and allow the light to come through. In there, I used 4 short strip, about 4" each, glued next to each other. I used the existing micro switch to turn the light ON/OFF. The way BRP wired their existing light is using a hot (+) directly to the light and the ground (-) is the one controlled by the micro switch. The hard part was running the wires to the rear. Had to remove a lot of plastic to fish the wire across and keep it clean. Looking at the light strip, there is a small line between each 3 LED. That is where you cut. Use a soldering iron to solder small wire (18 or 20 gauge) the the brass connector. Pay attention to the + and - . It is labeled on the strip. The pictures are dark. I had to turn the light off. Too bright for my camera.
PM me if you need more details. Also, below the link to E-bay light strip.
https://www.ebay.com/itm/Warm-White...201251?hash=item4b4223fa23:g:9VUAAOSw1fha5iv2