mehcoib
New member
Hello,
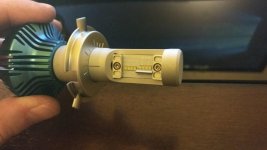
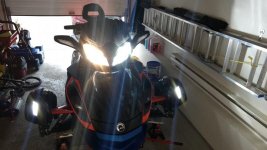
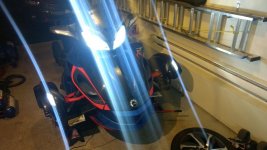
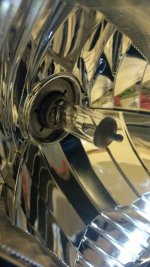
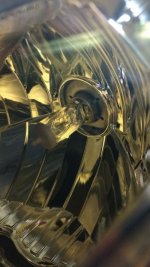
I will soon receive my new LED bulbs for my 2015 ST-S Spyder, and I'm wondering if anyone with LED bulbs installed could show me the correct orientation of the bulbs?
I'm attaching pictures of OEM bulbs.
Thanks for your help.
Jerome
I will soon receive my new LED bulbs for my 2015 ST-S Spyder, and I'm wondering if anyone with LED bulbs installed could show me the correct orientation of the bulbs?
I'm attaching pictures of OEM bulbs.
Thanks for your help.
Jerome
 hyea:
hyea:")