Brian Kay
New member
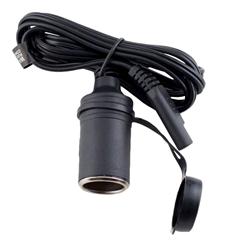
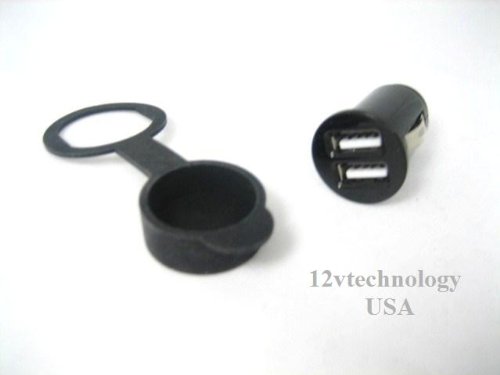
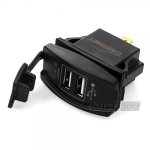
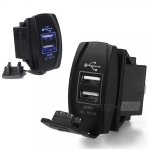
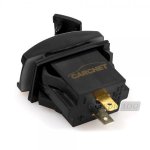
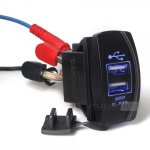
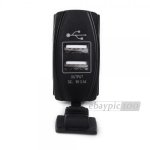
Today I installed the USB and 12v power unit from JT. The power unit goes on the dash mount, and looks really good and works great. The toughest part was getting the wires down to the battery compartment... had to take off a bunch of tupperware to fish the wires and conceal everything. In the end, and after sweating my nuggets off, it was worth the effort and I now have easy access to charge my phone and power the soon to be mounted navi system.


 . I look ed at cheaper solutions but this has the best looks For me.