• There were many reasons for the change of the site software, the biggest was security. The age of the old software also meant no server updates for certain programs. There are many benefits to the new software, one of the biggest is the mobile functionality. Ill fix up some stuff in the coming days, we'll also try to get some of the old addons back or the data imported back into the site like the garage. To create a thread or to reply with a post is basically the same as it was in the prior software. The default style of the site is light colored, but i temporarily added a darker colored style, to change you can find a link at the bottom of the site.

Oil Change on 2013 ST-L

Spyder in La.

New member
...After discovering missing panel bolts and replacing damaged bottom cover-plate due to improper re-install by dealer and having to add qt of oil 1200 miles after second oil change, I've decided to DIY..

I've purchased both filters, O-rings, crush nuts and 5qts of Castro synthetic oil.. Bike has 9200mi.. This will be 3rd oil change...


What size/type tools do I need... I plan to purchase craftsman torque wrench...
All tips appreciated...
Thanks,
 
I haven't done mine before, but would like to hear what is required and how messy it is. Lol
 
Nice write up :thumbup::thumbup:


Wish it showed the other filter mentioned for the Electronic trans.
 
Doing your own oil a change is a piece of cake after the first one and that is the one the teaches you where everything is.

Carl
 
Nice write up :thumbup::thumbup:


Wish it showed the other filter mentioned for the Electronic trans.

Completed oil change..:yes: Took my time ,no rush, no problems... The tranny filter was very easy to access and the main filter was not difficult to remove... I did find it convenient to raise the bike a couple inches... I used paper towels to catch few drops of oil from tranny filter...
also had to angle the back-end of the larger filter upward to install, same with removal of large filter...
6mm hex on both drains... Slightly smaller hex on the 2 filter bolts... No plans to re-install the bottom cover ( that was somewhat difficult to remove)....

Again, thanks for all the help!! :clap:
 
Oil Chg Tip

I haven't done mine before, but would like to hear what is required and how messy it is. Lol

Not sure about the '13 models but for the '12 RT go to one of the big box stores (Lowes, Home Depot, etc) and purchase a length of 1 1/4" outside diameter, 1" inside diameter clear vinyl tubing. Cut off a piece about 2-3 inches long and insert it in the hole in the plate below the oil tank drain plug before removing the plug. Keeps all oil off the plate...works like a charm!
 
Have not changed oil yet on the new ST but I assume same stupid bolts that use a allen wrench to remove. replace the two bolts with ones with standard HEX nut head. magnetic for the engine and if you want mag for the oil res tank. you should be able to find them at Pep Boys.
 
Just did mine and it does help to get the bike up on something. I used a 2x8 piece of lumber cut into 14" blocks and lifted the bike up onto a couple of blocks so the bike is 3" higher. Removed the 3 covers and bottom plate. Torx screws and plastic rivets. (the bottom plate has 2 rivets that hold it to the center frame)

My next oil change I'm going to try a funnel to contain the oil under the oil tank so it doesn't spill all over. Thinking of getting a zip lok baggie on the engine filter so when I pull it out and up I can keep the drips from getting all over the other tubes and parts. Just turn baggie inside out and use it to grab the filter and as you pull it out the baggie gets pushed on and you end up getting filter inside baggie. (kinda like picking up after your dog) I use my bicycle torque wrench to tighten the drain bolts but couldn't find how much to tighten the filter bolts. So I snugged them down and will check them in a few days.

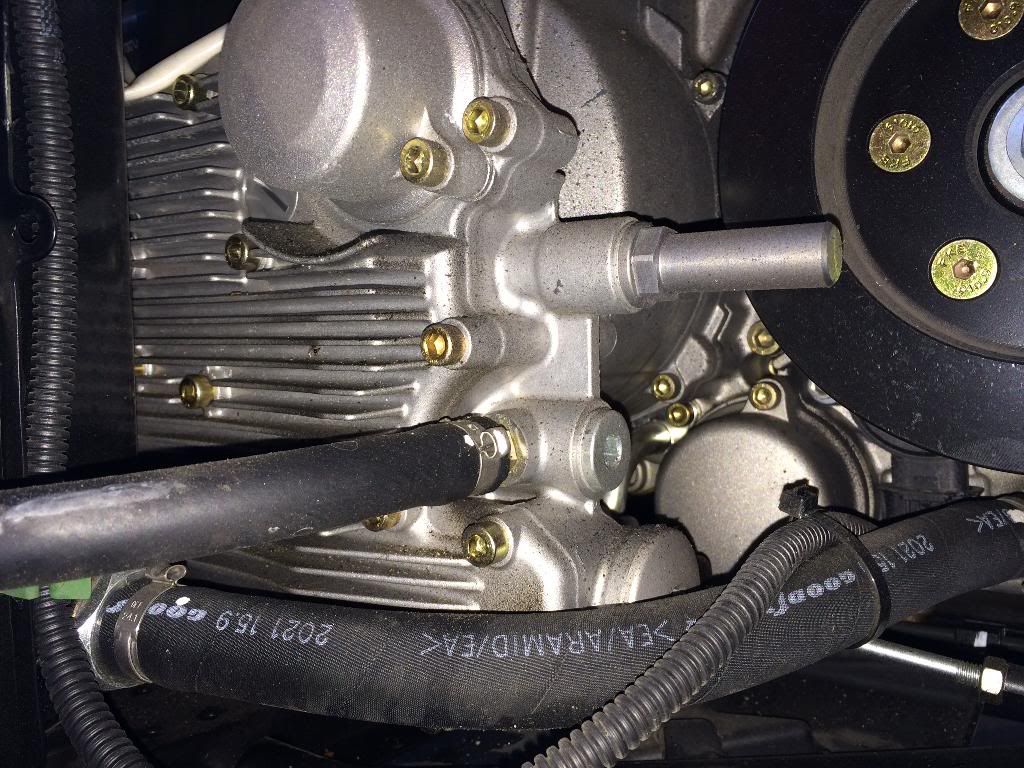
Here's a picture of the 2 filters, one right in front and the engine one recessed. You will need a long allen tool to get to them.


One other thing, Is there an oil screen in the tank that we should clean? I caught a video on youtube that didn't show much of an oil change but did mention a stick like screen that would need cleaning.

Thanks
 
Caution..!!

you have what you need from above but if you do it yourself I suggest you replace each filter one at a time. The bolts holding the covers on are different lengths and can cause problems if reversed. I also like to pull the bottom plates and wash off the whole area after the change to avoid drip build up or drips later..it is quite easy and once you do your first you will be a pro...:thumbup:
 
One other thing, Is there an oil screen in the tank that we should clean? I caught a video on youtube that didn't show much of an oil change but did mention a stick like screen that would need cleaning.

Thanks
Yes, there is an oil screen where the pump supply hose connects at the bottom of the oil tank. You'll need a new clamp to replace the Oetiker clamp. You should also have a new O-ring handy, just in case. It is the same as the one for the dipstick. The maintenance schedule used to call for cleaning the screen at 600 miles and then every 12,000, but I don't know if that has changed with the revised schedules.
 
Anyone just leaving the bottom plastic panels off like Lamont did in his write up?? Think I might just do that. Have heard of a few others doing this.
 
Anyone just leaving the bottom plastic panels off like Lamont did in his write up?? Think I might just do that. Have heard of a few others doing this.


I leave the left panel off. The one under the oil tank. It has been off almost since new. I left the right side panel on.
 
Back
Top