PW2013STL
Active member
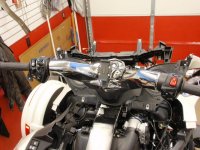
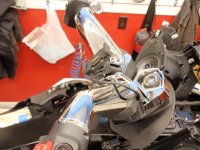
Just finished installing the Tri-Axes handlebars as the frist farkle. On the 2014 and maybe earler RT's you do not remove the frunk, but you do remove the windsheild assemlbly with motor, headlights, Dash, center conusel. The whole top end!
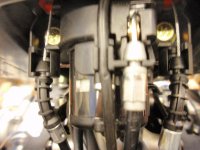
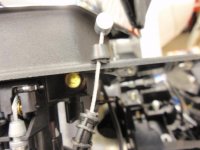
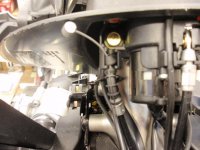
The instructions show removing the frunk and the seat cables from the switch and letting them lay to the side, but what happened to me is the plastic section on the end of the cables snapped off upon removal. It is possable to just leave the cables connected at that point and with needle nose pliers disconnect the cable where the ferrule connects to the switch. You need to have access to the bolts behind the cables.
I had to order new cables as supper gluing the ends on did not hold and I was told the the cables are on back order.
FYI make sure the black cover piece is on frist so you do not have to redo the complete install (don't ask):banghead: