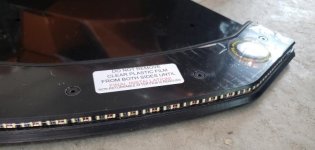
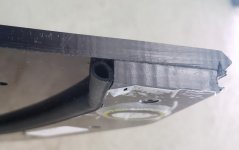
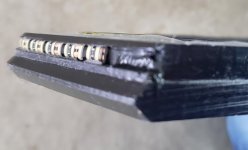
Recently, I ordered a Gen2 bumpskid from Spyderpops to replace the older aftermarket lighted bumpskid on my wife's bike; the LED lights on hers had finally failed after repeated bashing against curbs, etc. On the former version, the led light strip was glued onto the front of the bumpskid, leaving it exposed and vulnerable. The Gen2 is beefier at the front and the lights are recessed for protection.
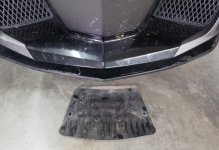
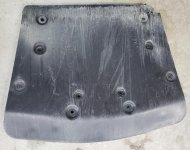
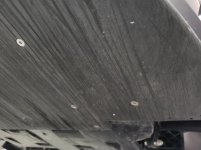
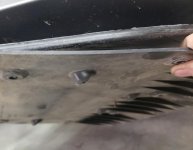
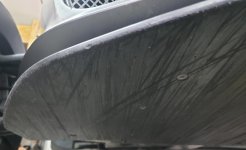
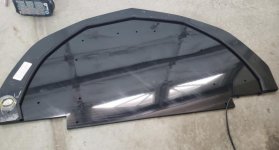
My bike had no aftermarket bumpskid, being completely stock in that regard, so I stripped the broken lights off Jane's old one and installed it on mine. The factory panel is a pathetic little thing that only serves to keep water splashing up into the battery and fuse boxes I think; it and the bottom body panels are pretty scratched up. The aftermarket bumpskid covers the entire underside of the frunk and extends beyond the lower edges, providing plenty of protection for the lower front body panels.
Spyderpops provides all the hardware necessary to install the aftermarket bumpskid, and pretty good instructions for doing the job, including connecting the lights. There are a couple of places where the instructions probably refer to a different year RT than mine, so I'll point that out. And, his photos aren't the best, so I'm including my own.Between Spyderpops' instructions and this post, anyone with rudimentary mechanic skills and tools should be able to do this upgrade themselves.