Hey all,
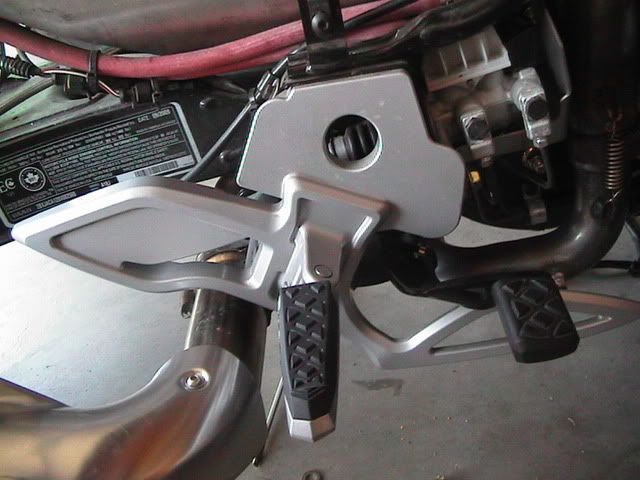
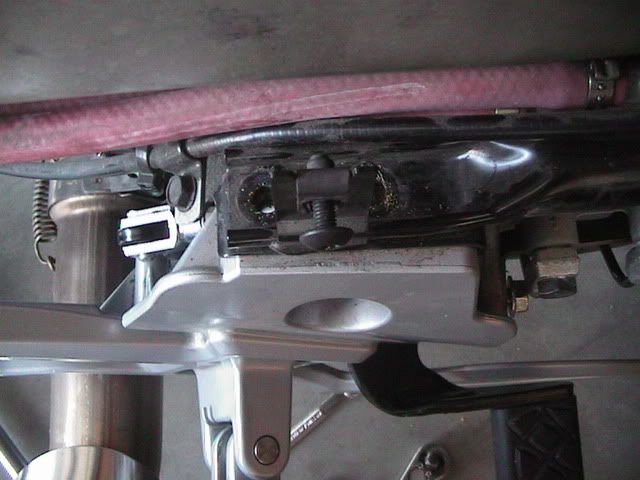
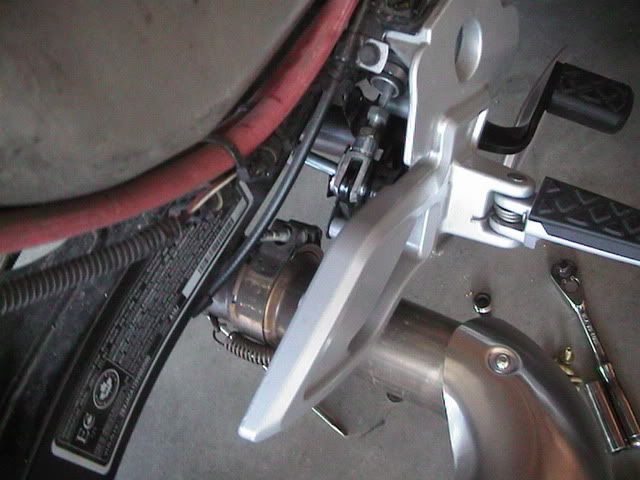
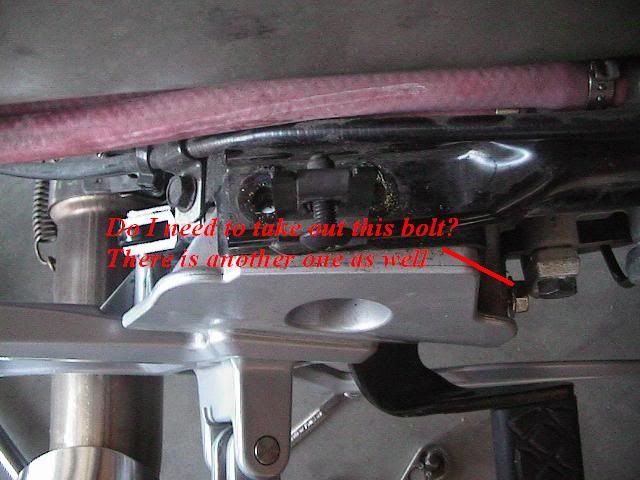
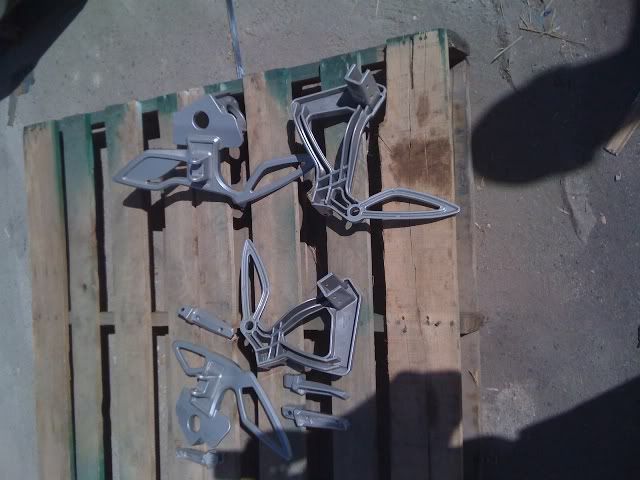
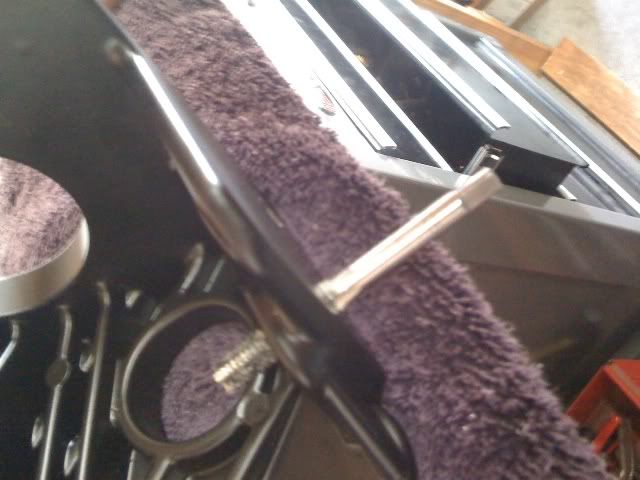
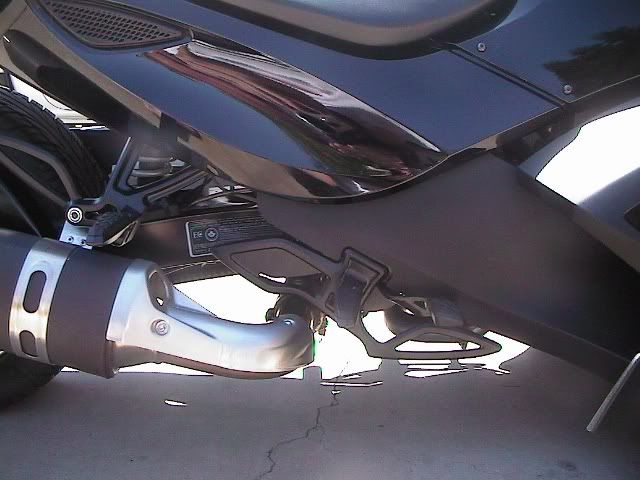
I am in the process of removing all my foot peg brackets so I can paint them or have them powder coated. (glossy black) I am having trouble removing the bracket connected to the brake pedal. I removed the two 13mm top bolts and the two smaller bolts on back, but the bracket still won't budge. There are two metal brake lines that go in the front and there are two 13mm bolts in front near them. Do I need to remove these? I hope I don't have to remove the entire foot-brake just to take off the footpeg bracket. Any help would be greatly appreciated.
Thanks in advance,
Golfman