hershey
New member
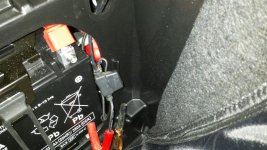
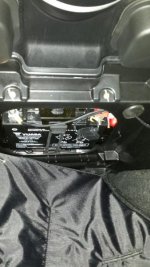
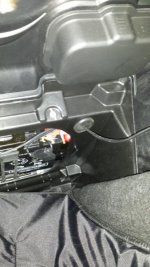
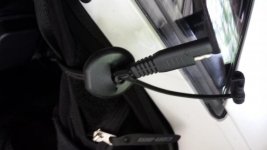
Hi....need some help on removing the rear trunk so I can get at the back of the USB connector and empty hole to add a female 12v plug and tie it into the power for the USB...nothing in the manual and nothing on youtube...any help would be appreciated...a lot of screws/bolts back there and I don't want something to fall off.... :0)
 hyea:
hyea:")