KX5062
Well-known member
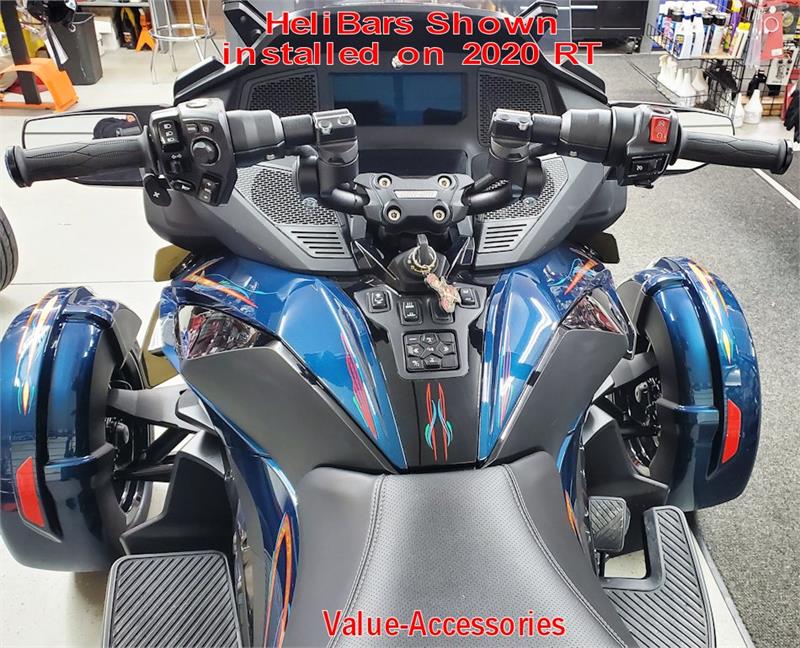
I just finished installing the BRP short reach bars on my 2020 RTL and thought I'd post up a few tidbits for anyone thinking of doing the job themselves.
The new handlebars are substantially longer than the originals and the difference is rather dramatic. Honestly, I'd rather BRP had something in between, but they don't. So before you undertake this job you might want to find another bike with these bars already installed to verify before you buy. Otherwise, the Helibars are completely adjustable.
First of all it's fairly easy and straight forward with only one really fiddly part.
The only tools needed are a T45, a T20, a 5mm Allen, and something to cut a buried plastic zip tie (the fiddly part).
The kit is for the F3 and also the new RT.
The only difference is a kind of gotcha. That being the new plastic wire holders for the F3 are smaller than the new RT. I didn't notice before hand, so I just installed the new ones on the new bars. Nope. You have to remove the old ones from the RT bars and move them onto the new bars and ignore the new wire holders. In doing so you have to remove the old bars first in order to easily reach and remove the plastic clips. These are held in place by T20 self threaded screws.
The kit comes with all of the new bolts pre-loctited with the yellow compound. You can reuse the old ones or just install the new bolts, which is what I did. If you reuse for whatever reason, then you can just use blue loctite, which is basically the same stuff. Since the bolts are all loctited, then you do have to be careful to not let the tool slip on the bolts to scar the heads.
Once you get everything moved over and installed you'll find the wires are too short. They are long enough, but they are zip-tied underneath so you can't pull enough loose to install the longer bars. This is the fiddly part. That being the location of the zip tie.
If you remove the right hand speaker cover next to the glove box, you'll find the zip tie. The speaker cover comes off super easy, but you have to be careful. You remove it by pinching with your fingers and gently pulling up on the inside portion. You'll see the mounting tabs and how to reinstall. Underneath the speaker cover is obviously, the speaker. However, the speaker can't be removed easily because of the plastic dash and the speaker is located inside of a plastic housing that partially blocks access to the wire harness.
The harness runs underneath the handlebars. The left side wires route to the right side, and the right and left side harnesses are zip-tied together on the right side. The zip tie is anchored to the frame by way of a plastic and metal clip that I couldn't easily dislodge. I cut the zip tie using a long bladed scissor. This must be done SUPER carefully so you don't nip the wires. However, once done you can gently pull enough slack wire to finish the job.
I usually don't use a torque wrench, so I don't know the proper torque values. After turning wrench for a very long time I can usually get close enough with my wrist torque wrench . However, if you are comfortable using the German torque method (goodenough), then I'm sure it's available if anyone wants to look it up.
:firstplace: