kevorama
MOgang Member & Pyro-Man
I have had a few folks ask me about where and how to install a 12v power outlet or cig lighter to power their Garmin or other GPS, iPhone etc. This came from my post, 'How To Mount any Gizmo/ iPhone/ Garmin'
www.spyderlovers.com/forums/showthread.php?40427-How-To-Mount-any-Gizmo-iPhone-Garmin
There are dozens of ways to install a power outlet. You can strap one on to the handle bars or mount one with a RAM BALL mount, but I like a clean install and this was how I did it.
I used these two items and they aren't cheap, but they are the type of quality that you would want on your Spyder. The power outlet came from www.powerlet.com and the secondary fuse block came from Reggy at www.tricled.com
Powerlet has a long proven reputation with motorcycle accessories. Reggy and TricLED has a reputation that's 2nd to none in the Spyder community. The URL's below are linked to the two items that I used.
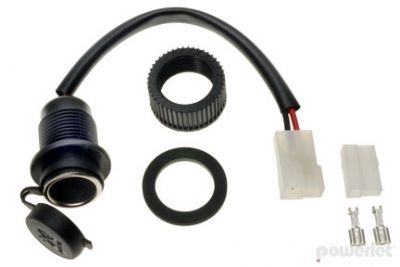
Powerlet's 12v capped outlet: http://www.powerlet.com/product/panel-mount-cigarette-socket/6
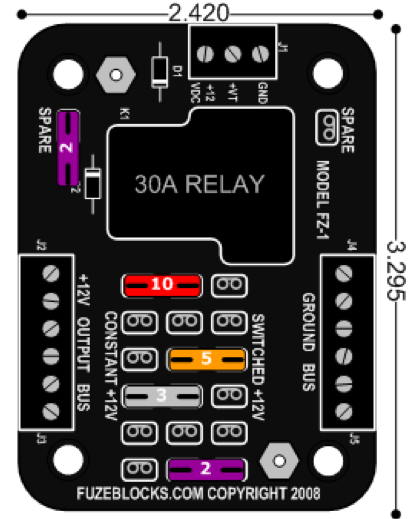
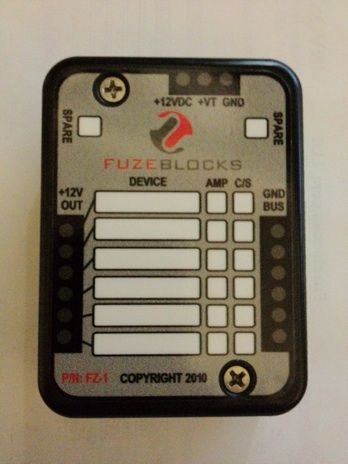
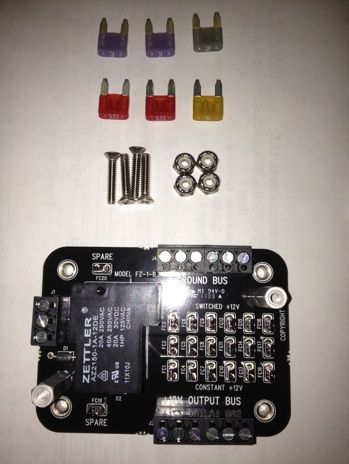
Reggy's TricLED FZ-1 Fuze Block: http://www.tricled.com/TricLed.com/New_Items.html (scroll down to the Fuze Block item)
Although, the Fuze Block is not necessary to do this, you'll probably eventually need it if you plan on modding out your bike, so you might as well do it while you have all of the panels off, because you'll have to do that in the future anyway. It makes any additional lighting or other mods a piece of cake to install at a later date.
This is the complete outlet kit from Powerlet -
This is the full pic set of Reggy's/TricLED's FZ-1 Fuze Block -
Lets get started! You'll have to remove the right speaker grill, mirrors, upper panels, lower panels, the front panel around the headlights, both service panels (the black ones under the frunk lid) and the interior panel on the right side that gives you access to the manifold (only two screws). Fortunately, all of the other screws are the same size, so keep them in a Tupperware container or something similar. The two screws that hold the interior panel are much longer, so keep those separate.
A few of these pics are a little fuzzy. I had bad lighting and used my iPhone to take the shots, but they are clear enough to understand.
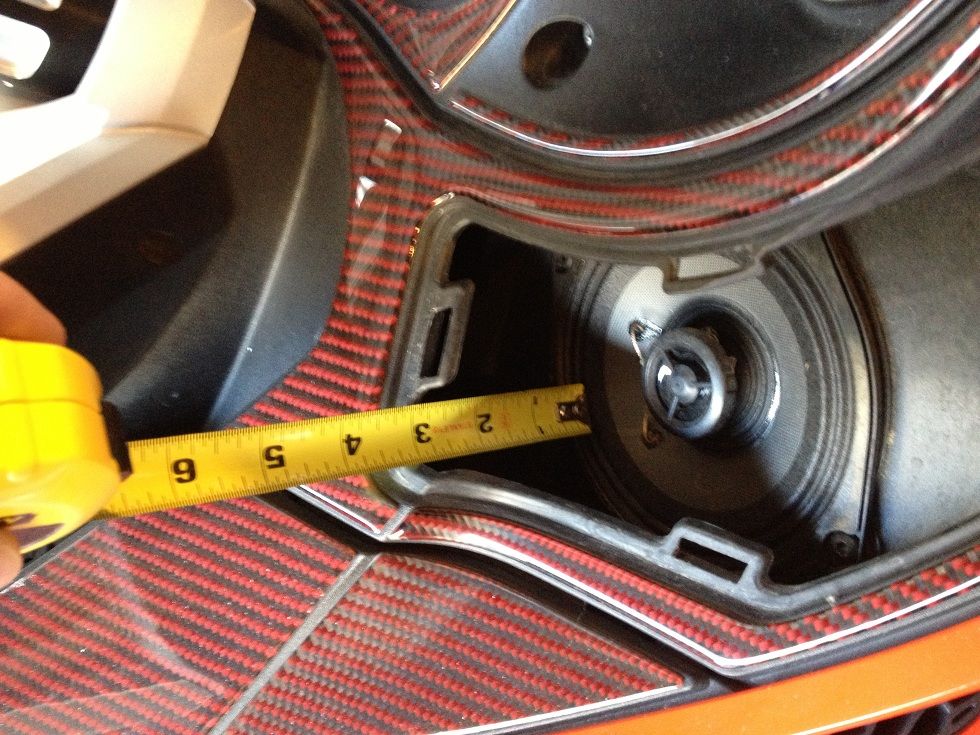
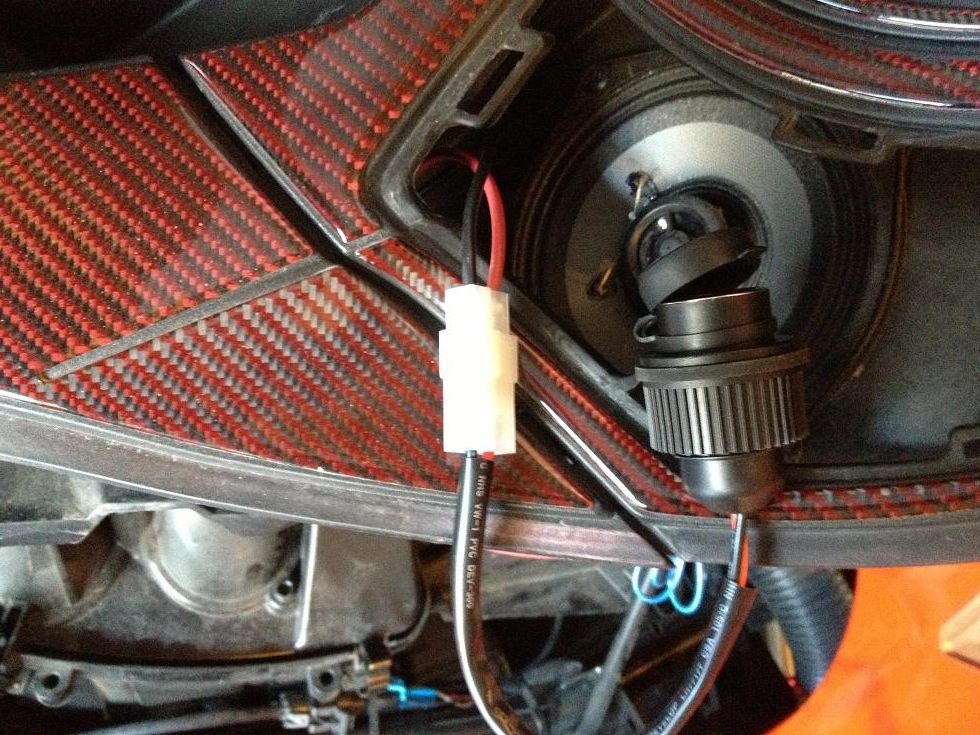
Once you pop off the speaker grill, you'll find that there's a lot of room behind it.
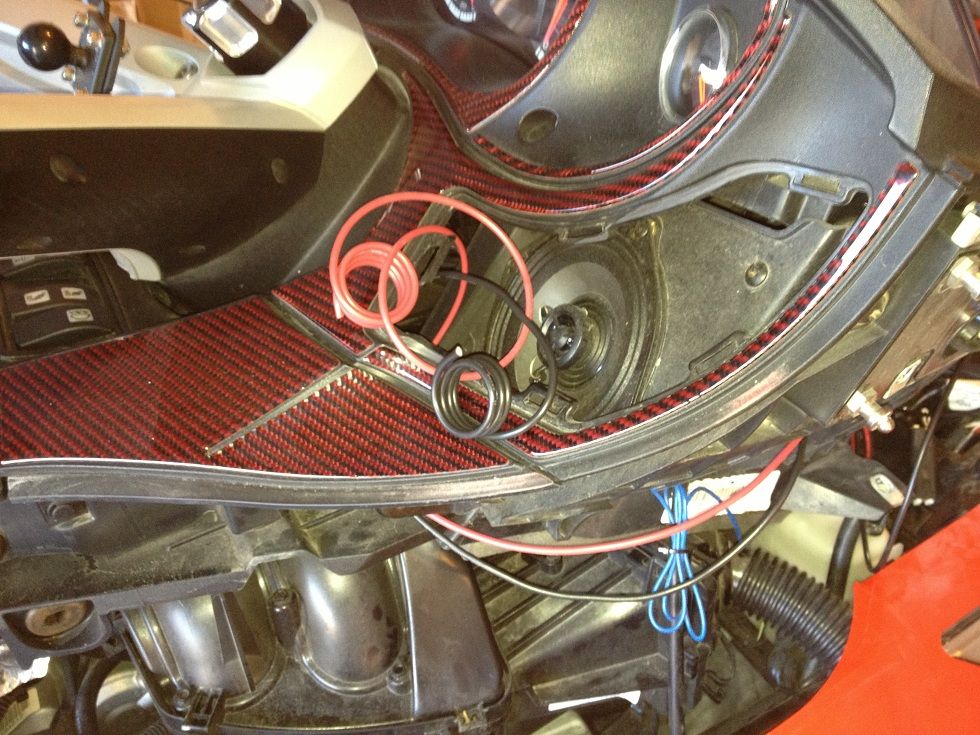
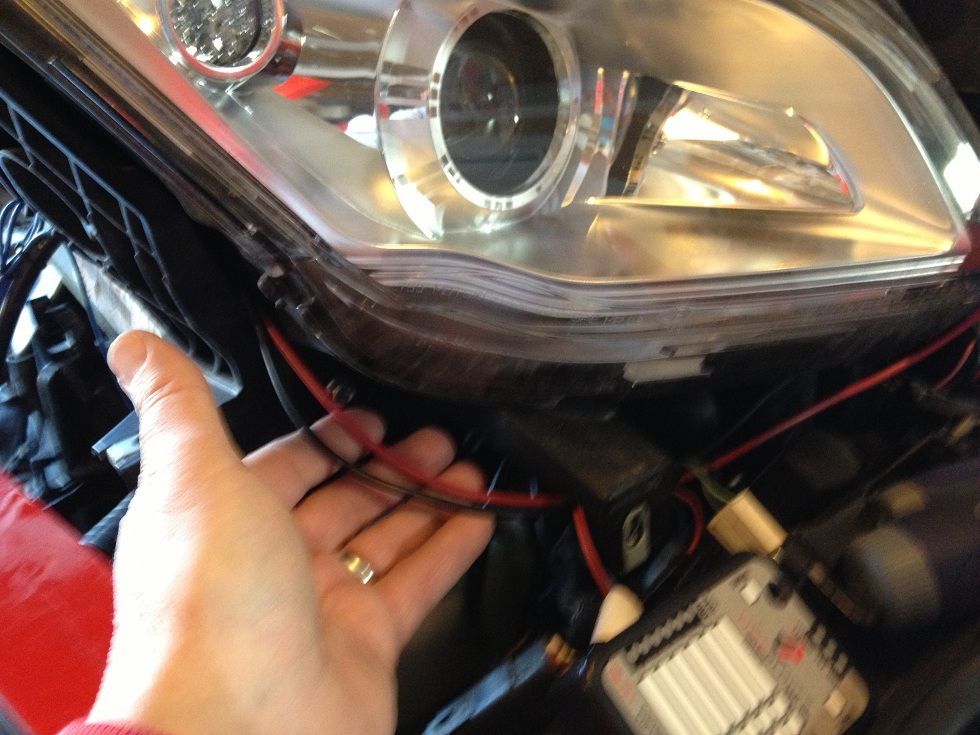
Strip off the ends of your + and - lead wires and route them through, under and around the headlights and front frame work. Ending at the fuse block.

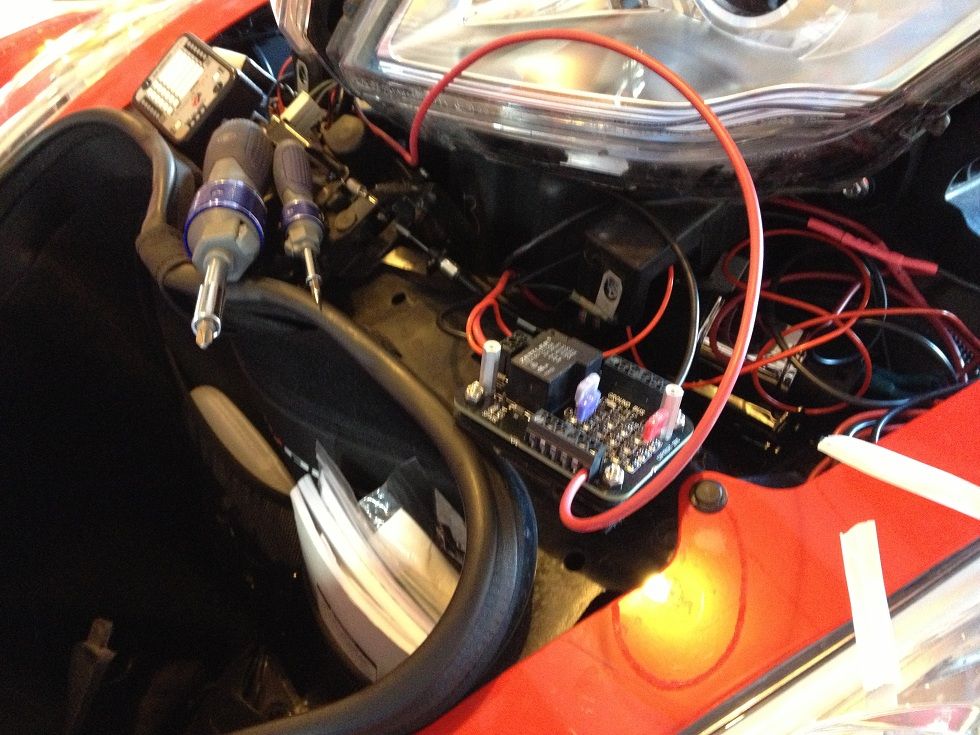
Next, crimp the supplied plug onto the + and - leads coming back from the fuse block or if you opt, a 12G wire with a 10A inline fuse along with the same gauge ground wire. Using the FZ-1, I wired mine into the switched on +12v so that it was only active when the key was turned on. Once you've determined that you did all of the wiring correctly, it's time to put a hole in the speaker grill. This particular model calls for a 1 1/8" hole. I used a corresponding hole saw to do the job. Take care where you put this hole. If you are too close to the tabs it won't click back in. Look at the front and back of the grill very closely to make sure that you don't get it too close to one of the attaching female tab locations. I got it by a mm and I got lucky. I should have paid more attention to the hole location by looking at the back of the grill.
Next, test that it works before you start to button everything back up.
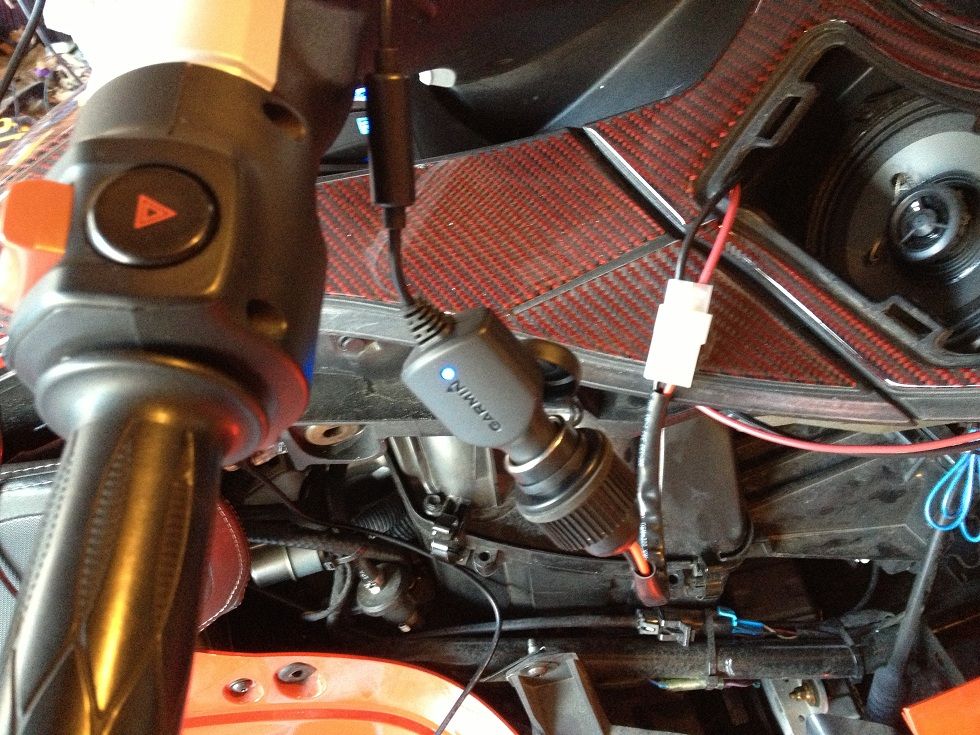
Cool, we have a blue light that shows that it's charging the Garmin.
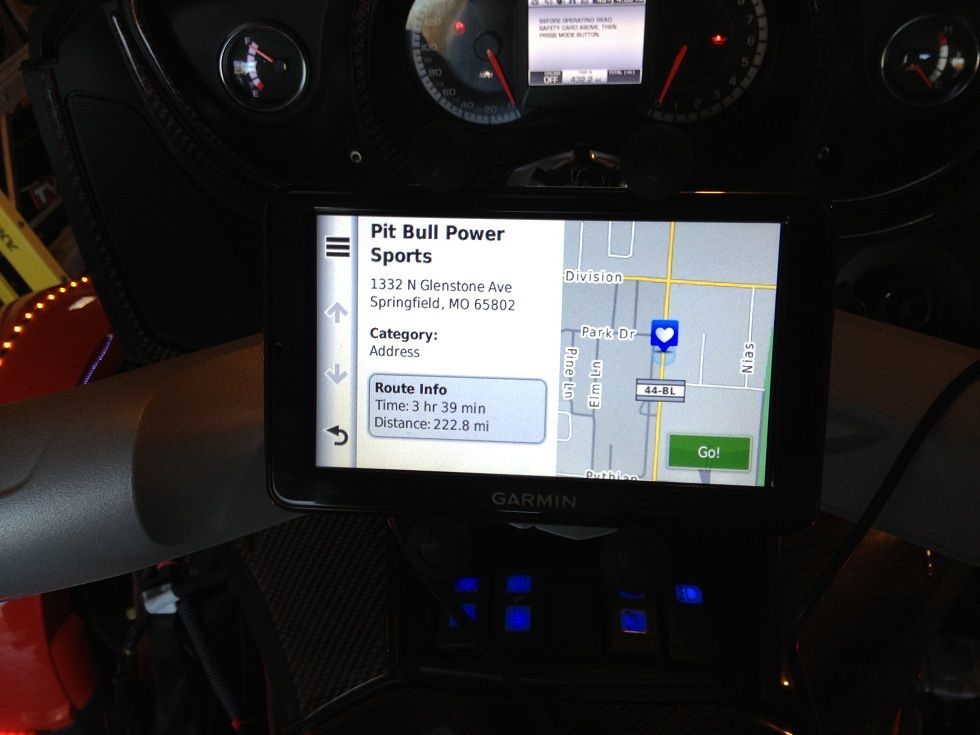
With the Garmin plugged in, we're good! Notice the shameless plug that I put in for Len's new shop? LOL!
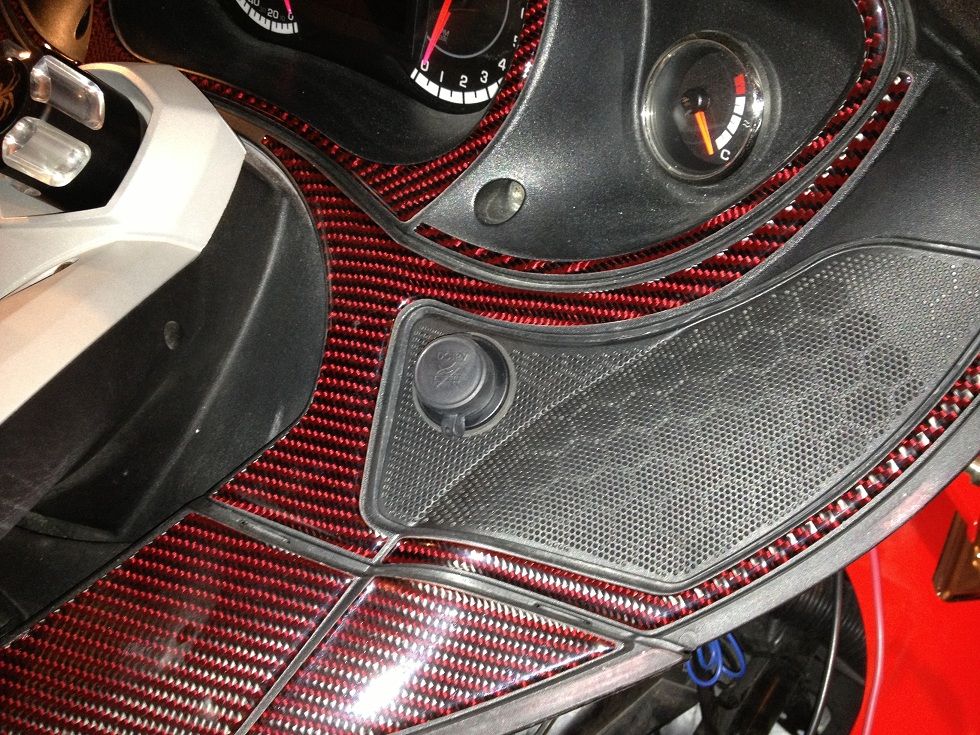
Having done all of that, this is the finished product. A nice and clean install that looks factory. It took me about 6 hours to do all of this, but it also included my taking the Green Filter out and cleaning and reinstalling it.
If you have any questions, please msg me and I'll do my best to help you.
See you at SpyderFest this year!
Kevin
www.spyderlovers.com/forums/showthread.php?40427-How-To-Mount-any-Gizmo-iPhone-Garmin
There are dozens of ways to install a power outlet. You can strap one on to the handle bars or mount one with a RAM BALL mount, but I like a clean install and this was how I did it.
I used these two items and they aren't cheap, but they are the type of quality that you would want on your Spyder. The power outlet came from www.powerlet.com and the secondary fuse block came from Reggy at www.tricled.com
Powerlet has a long proven reputation with motorcycle accessories. Reggy and TricLED has a reputation that's 2nd to none in the Spyder community. The URL's below are linked to the two items that I used.
Powerlet's 12v capped outlet: http://www.powerlet.com/product/panel-mount-cigarette-socket/6
Reggy's TricLED FZ-1 Fuze Block: http://www.tricled.com/TricLed.com/New_Items.html (scroll down to the Fuze Block item)
Although, the Fuze Block is not necessary to do this, you'll probably eventually need it if you plan on modding out your bike, so you might as well do it while you have all of the panels off, because you'll have to do that in the future anyway. It makes any additional lighting or other mods a piece of cake to install at a later date.
This is the complete outlet kit from Powerlet -
This is the full pic set of Reggy's/TricLED's FZ-1 Fuze Block -
Lets get started! You'll have to remove the right speaker grill, mirrors, upper panels, lower panels, the front panel around the headlights, both service panels (the black ones under the frunk lid) and the interior panel on the right side that gives you access to the manifold (only two screws). Fortunately, all of the other screws are the same size, so keep them in a Tupperware container or something similar. The two screws that hold the interior panel are much longer, so keep those separate.
A few of these pics are a little fuzzy. I had bad lighting and used my iPhone to take the shots, but they are clear enough to understand.
Once you pop off the speaker grill, you'll find that there's a lot of room behind it.
Strip off the ends of your + and - lead wires and route them through, under and around the headlights and front frame work. Ending at the fuse block.
Next, crimp the supplied plug onto the + and - leads coming back from the fuse block or if you opt, a 12G wire with a 10A inline fuse along with the same gauge ground wire. Using the FZ-1, I wired mine into the switched on +12v so that it was only active when the key was turned on. Once you've determined that you did all of the wiring correctly, it's time to put a hole in the speaker grill. This particular model calls for a 1 1/8" hole. I used a corresponding hole saw to do the job. Take care where you put this hole. If you are too close to the tabs it won't click back in. Look at the front and back of the grill very closely to make sure that you don't get it too close to one of the attaching female tab locations. I got it by a mm and I got lucky. I should have paid more attention to the hole location by looking at the back of the grill.
Next, test that it works before you start to button everything back up.
Cool, we have a blue light that shows that it's charging the Garmin.
With the Garmin plugged in, we're good! Notice the shameless plug that I put in for Len's new shop? LOL!
Having done all of that, this is the finished product. A nice and clean install that looks factory. It took me about 6 hours to do all of this, but it also included my taking the Green Filter out and cleaning and reinstalling it.
If you have any questions, please msg me and I'll do my best to help you.
See you at SpyderFest this year!
Kevin
Last edited:

") This install looks nice and clean so I really am leaning towards duplicating what Kevin did here.
This install looks nice and clean so I really am leaning towards duplicating what Kevin did here. hyea:
hyea: