bluestratos
New member
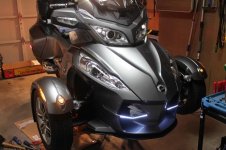
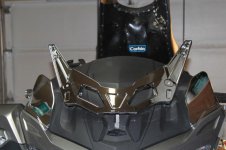
Well, not done yet so no pictures yet but I got the worst side done, the right side foot peg holder and it really was not all that bad. I followed Lamonts video install and it would have been much easier if I was not recovering from back surgery, lol, and if I had a helper. So far I have the muffer chrome, the windshield bracket, the chrome wings on either side of the windshield, the foot pegs and the right foot peg brackets installed in about 3 hours. You have to watch the bolt heads as BRP in their infinite wisdom, lol, decided to intermingle Allan head and Torx so I learned to look carefully after stipping one bolt on the muffler end cap when taking off. Easy fix, drilled the head just a bit, put in my Sears easy out and it backed right out.
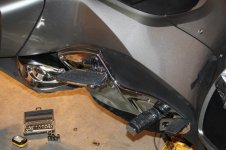
Lamonts method involves leaving the master cylinder in place and this works with a little wiggle and tug but do not allow the metal bushing that is part of the rubber boot on the master cylinder to pull back too much, you will loose break fluid! (Guess how I know, lol). I only lost a teaspoon or less so no harm not foul and I topped everything off after ward.
I used my new harbor frieght motorycyle jack to get it up 16" off the ground so it was not too difficult to get under where required.
I will have all the easy stuff done soon, then I have to do the handle bars but I read the manual and its not bad if you remove the console module and that comes off with just a few bolts (assuming you already have the side panels and misc trim removed at that point).
So I rate this work about a 5 on the mechanic 10 scale of difficulty and that only applies to removing and installing the right side foot peg holder, the rest is much easier.