MrLooney
Senior MOMENTS Member
During assembly, all bolts are given a drop of Loctite. 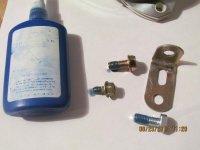
Here you see the horn mounting brackets are being mounted to a sub-frame that I had to drill holes in for the brackets. Note the end wrench behind the sub-frame and ratchet in front.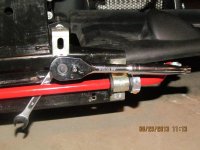
Then install the horn loosely for any adjustments as needed.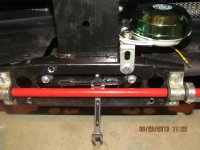
A better view of the horns with mounting brackets. Left is modified bracket and right is the factory stock bracket.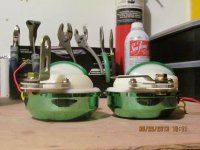
Here we have the horns mounted loosely in place to allow clearance not only in height between the "A" arm movement, but also in swing forward / back to clear the frunk when test fitted before securing the horns in place and connecting the wires. This horn set is a plug and play. Connect the same colored wires together and the remaining red (positive) and blue (negative) wires connect to the Roadster's horn wire harness. Test and re-assemble your Roadster.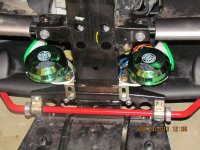

Here you see the horn mounting brackets are being mounted to a sub-frame that I had to drill holes in for the brackets. Note the end wrench behind the sub-frame and ratchet in front.

Then install the horn loosely for any adjustments as needed.

A better view of the horns with mounting brackets. Left is modified bracket and right is the factory stock bracket.

Here we have the horns mounted loosely in place to allow clearance not only in height between the "A" arm movement, but also in swing forward / back to clear the frunk when test fitted before securing the horns in place and connecting the wires. This horn set is a plug and play. Connect the same colored wires together and the remaining red (positive) and blue (negative) wires connect to the Roadster's horn wire harness. Test and re-assemble your Roadster.

Last edited:
