RDWII
New member
I just installed the Rivco peg mounts. It took me till halftime to install ") (radio) but was pretty easy. Solid, well made.
(radio) but was pretty easy. Solid, well made.
The feet position moves out about 6-7 inches and forward about 16 inches.
Recommended. (mine is an 08)
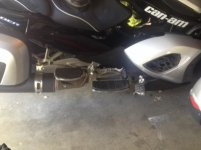
final mount and position

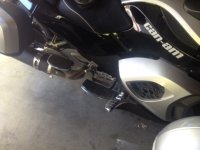
final mount on the right side

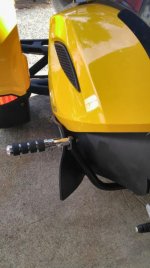
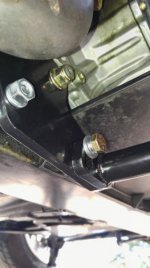
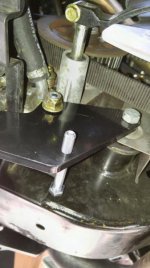
Early mount on the left, longer bolt with no nut is for tilt adjustment.

(radio) but was pretty easy. Solid, well made.The feet position moves out about 6-7 inches and forward about 16 inches.
Recommended. (mine is an 08)
final mount and position
final mount on the right side
Early mount on the left, longer bolt with no nut is for tilt adjustment.
Attachments
Last edited: