-
There were many reasons for the change of the site software, the biggest was security. The age of the old software also meant no server updates for certain programs. There are many benefits to the new software, one of the biggest is the mobile functionality. Ill fix up some stuff in the coming days, we'll also try to get some of the old addons back or the data imported back into the site like the garage. To create a thread or to reply with a post is basically the same as it was in the prior software. The default style of the site is light colored, but i temporarily added a darker colored style, to change you can find a link at the bottom of the site.
You are using an out of date browser. It may not display this or other websites correctly.
You should upgrade or use an alternative browser.
You should upgrade or use an alternative browser.
PWM's 2012 RT-S SE5
- Thread starter pwm
- Start date

Nice, I am getting the same one this week.
I am picking up mine later this week. Same year, make, model and color.
Jeff
Well I finally got to pick it up today. Thanks to everyone who gave me advice. I have not been on a bike since the early 80's as I have been an avid 4-wheeler and SXS owner and rider. I will have PLENTY of questions down the road. I hope to meet and ride with you all very soon.

I am picking up mine later this week. Same year, make, model and color.
Jeff
cyclelover63
Member
Beautiful!!!!!!...I know you will love it!

ARtraveler
R.I.P. Dwayne
:congrats: on the beautiful new ryde. Looking forward to more posts.
SpyderAnn01
Active member
:congrats:
POPEYEART
IF YOUR AN AVID 4 WHEELER, YOU WILL HAVE NO TROUBLE JUMPING RIGHT ON AND GETTING GOING. TO ME IT WAS LIKE ANY OTHER 4 WHEELER EXCEPT ITS NOW ROAD WORTHY. YOU PROBALLY WONT HAVE ANY OF THE SUPPOSED HANDLING PROBLEMS SOME OTHERS EXPERIENCE, YOUR LEARNNIG CURVE WILL BE MUCH SHORTER. YOUR LEAN WILL BE MORE COMFORTABLE YOU MAY NOT HAVE THE ABILITY TO SHIFT IN THE SEAT AS YOU DO ON A 4 WHEELER, BUT YOU WILL HAVE ALL THE BASICS INGRAINED ALREADY. RIDE SAFE, ENJOY:thumbup:
IF YOUR AN AVID 4 WHEELER, YOU WILL HAVE NO TROUBLE JUMPING RIGHT ON AND GETTING GOING. TO ME IT WAS LIKE ANY OTHER 4 WHEELER EXCEPT ITS NOW ROAD WORTHY. YOU PROBALLY WONT HAVE ANY OF THE SUPPOSED HANDLING PROBLEMS SOME OTHERS EXPERIENCE, YOUR LEARNNIG CURVE WILL BE MUCH SHORTER. YOUR LEAN WILL BE MORE COMFORTABLE YOU MAY NOT HAVE THE ABILITY TO SHIFT IN THE SEAT AS YOU DO ON A 4 WHEELER, BUT YOU WILL HAVE ALL THE BASICS INGRAINED ALREADY. RIDE SAFE, ENJOY:thumbup:
Bob Denman
New member
Welcome to the PARTY!!  hyea:hyea:
And I love the color of your bike! :2thumbs:
hyea:hyea:And I love the color of your bike! :2thumbs:
pwm
New member
SpyderPops Install
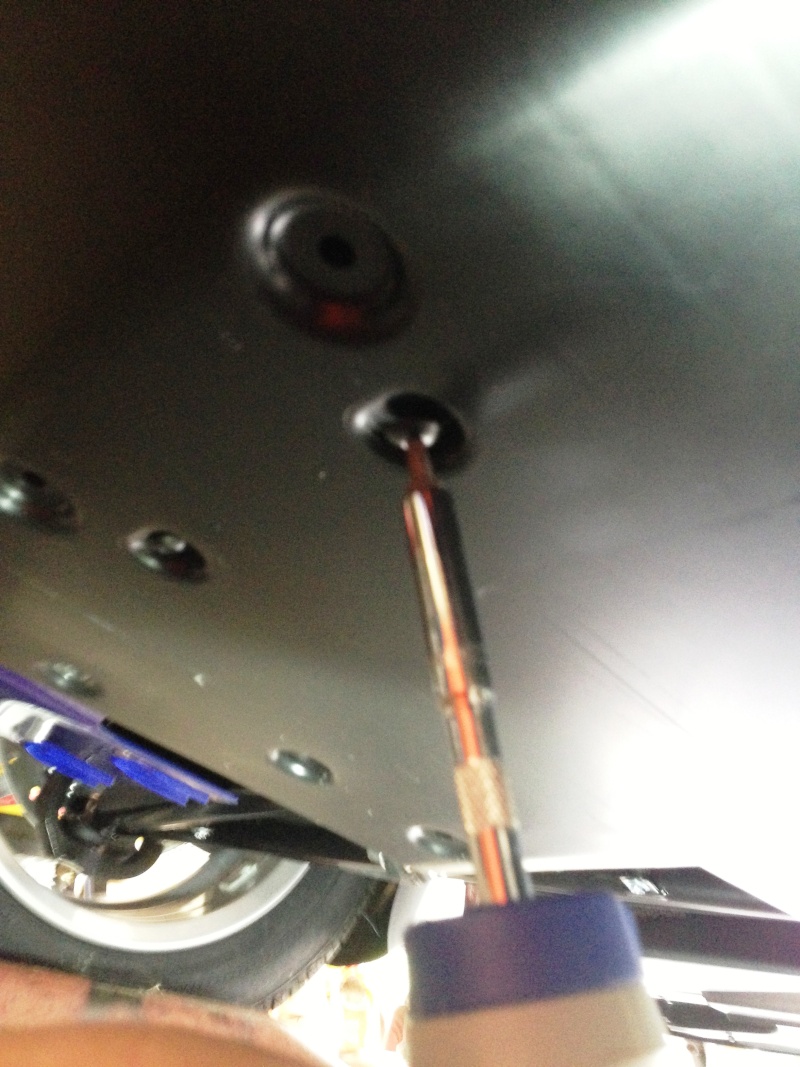
Today I did my first modification to the Spyder by adding a SpyderPops Bump Skid. Installation was very simple. First remove the factory skid plate.
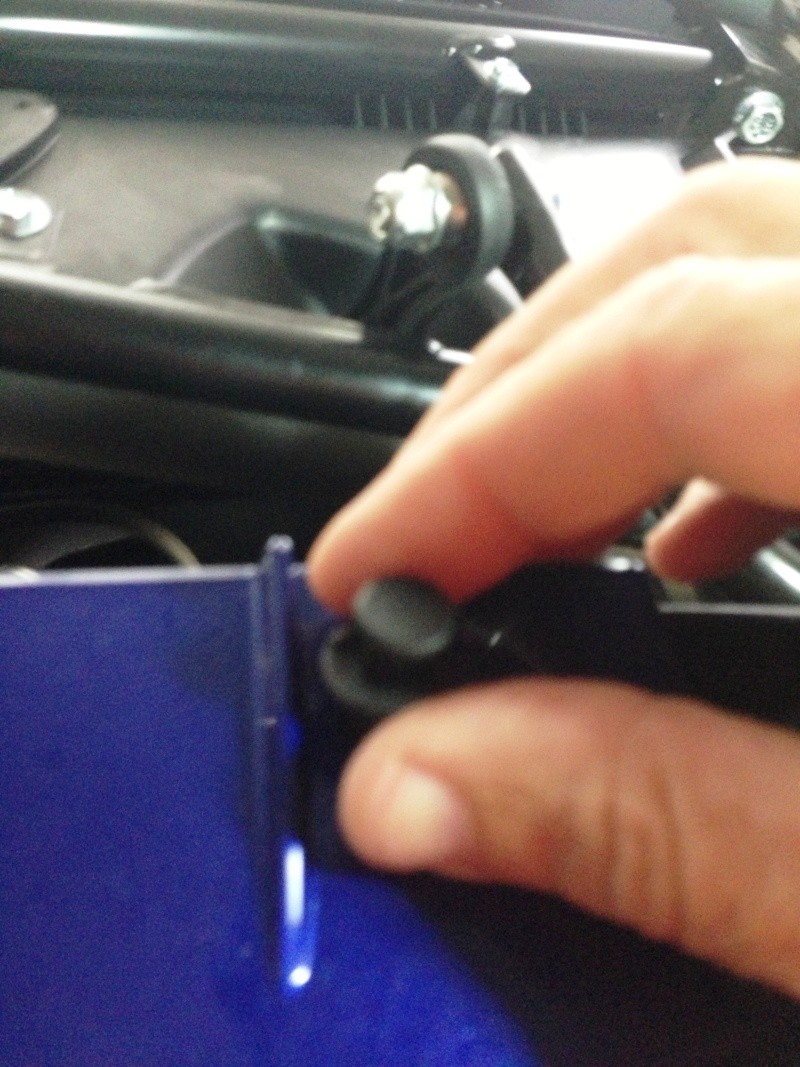
After removing the skid plate, I simply followed the enclosed instructions removing the plastic 4 rivets on the wings.
Here is the difference between stock and SpyderPops skids.

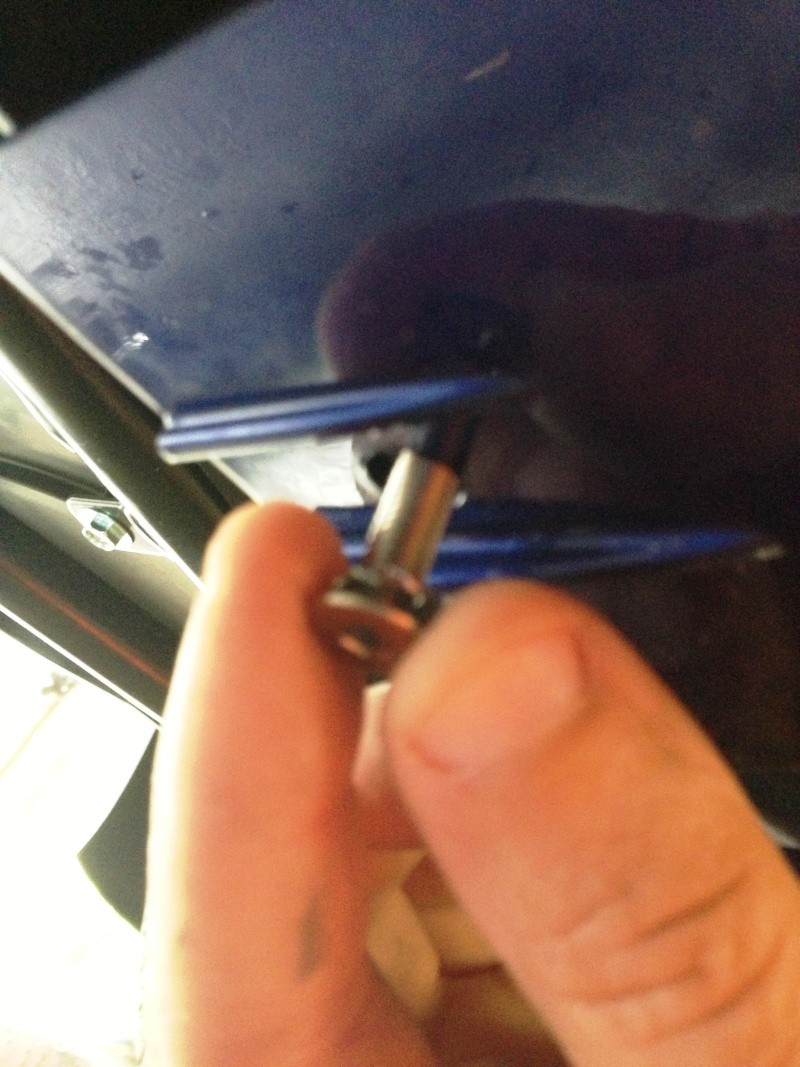
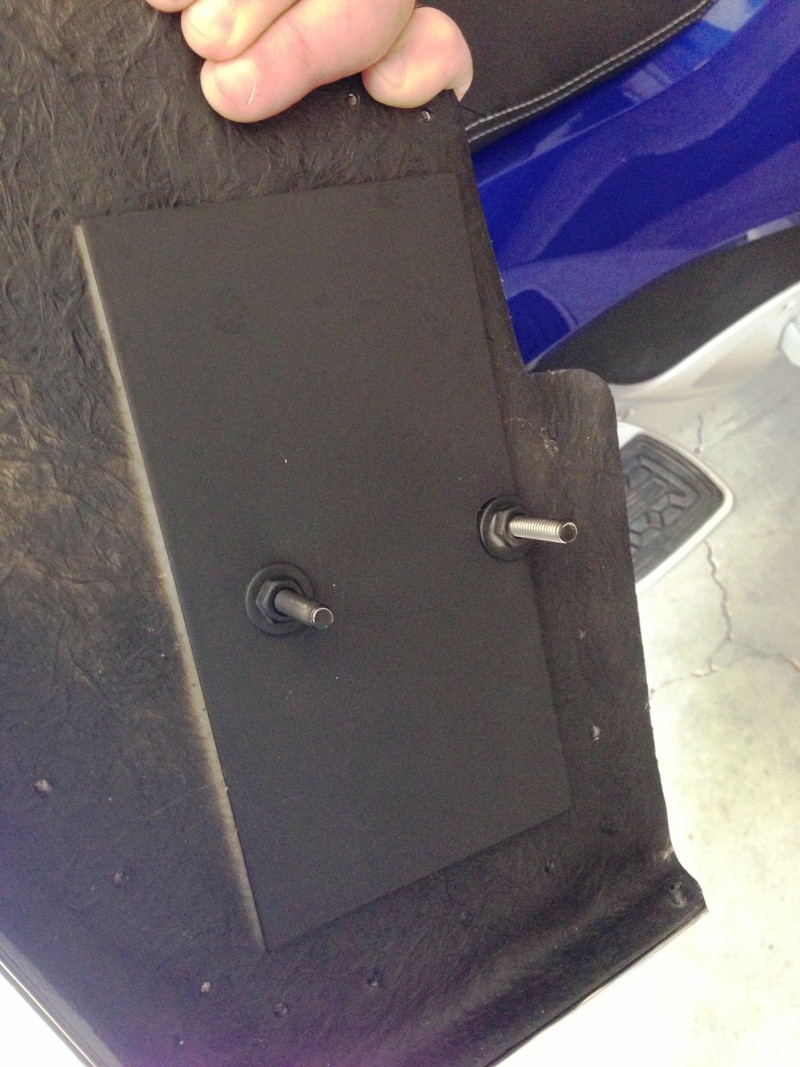
I then added the clips to the 4 holes where the rivets were installed making sure that they were centered in the holes by testing each to make sure the bolts would thread properly.
I installed the bump stop using these 4 holes at the wings and snugged them up so I could use the bump stop as a jig for drilling the 8 - 1/4 inch holes in the front of the bump skid as well as the 2 in the rear.

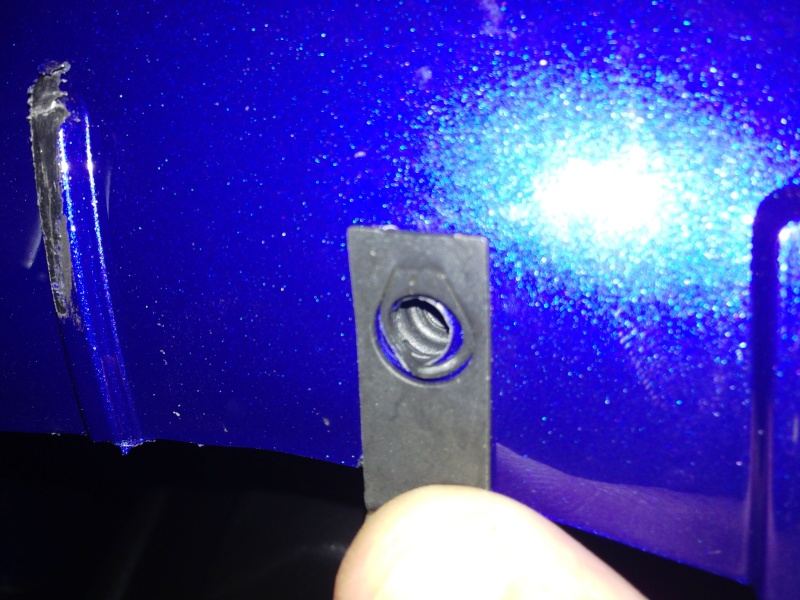
I removed the bump skid and placed the clips over the holes again making sure that each was centered.
I then removed the clear plastic protection film and installed and tightened the bump skid going around in a pattern so that it would fit secure and evenly. (The crack is a reflection of my garage floor..oops)

The fit and finish is awesome. I am glad I chose SpyderPops.
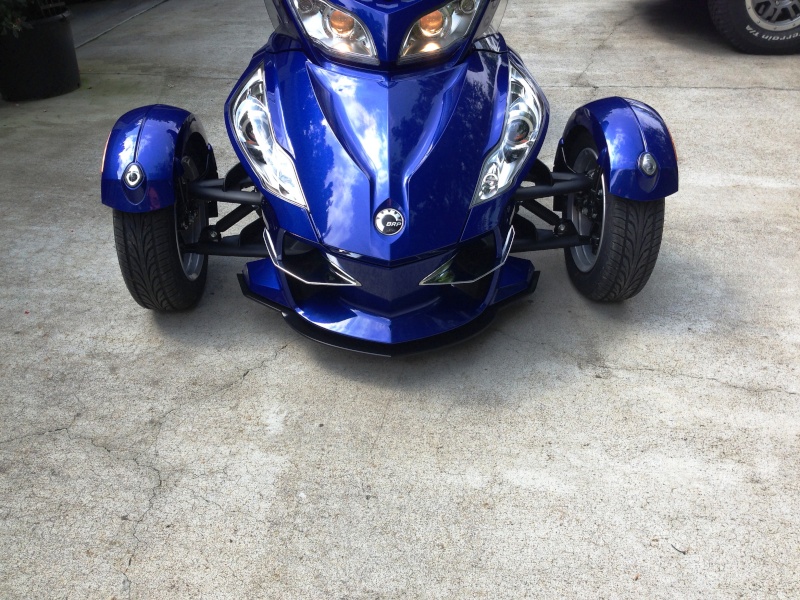
Today I did my first modification to the Spyder by adding a SpyderPops Bump Skid. Installation was very simple. First remove the factory skid plate.
After removing the skid plate, I simply followed the enclosed instructions removing the plastic 4 rivets on the wings.
Here is the difference between stock and SpyderPops skids.
I then added the clips to the 4 holes where the rivets were installed making sure that they were centered in the holes by testing each to make sure the bolts would thread properly.
I installed the bump stop using these 4 holes at the wings and snugged them up so I could use the bump stop as a jig for drilling the 8 - 1/4 inch holes in the front of the bump skid as well as the 2 in the rear.
I removed the bump skid and placed the clips over the holes again making sure that each was centered.
I then removed the clear plastic protection film and installed and tightened the bump skid going around in a pattern so that it would fit secure and evenly. (The crack is a reflection of my garage floor..oops)
The fit and finish is awesome. I am glad I chose SpyderPops.
pwm
New member
Well I have added a few more goodies.
First I had an old iPhone 4 laying around so I mounted a RAM mount in the trunk and plugged it into the iPhone jack for tunes. I also added a 12" tool bag using the Can Am iPod mounting screws.

Then I added a bigger brake pedal from TricLEDS.
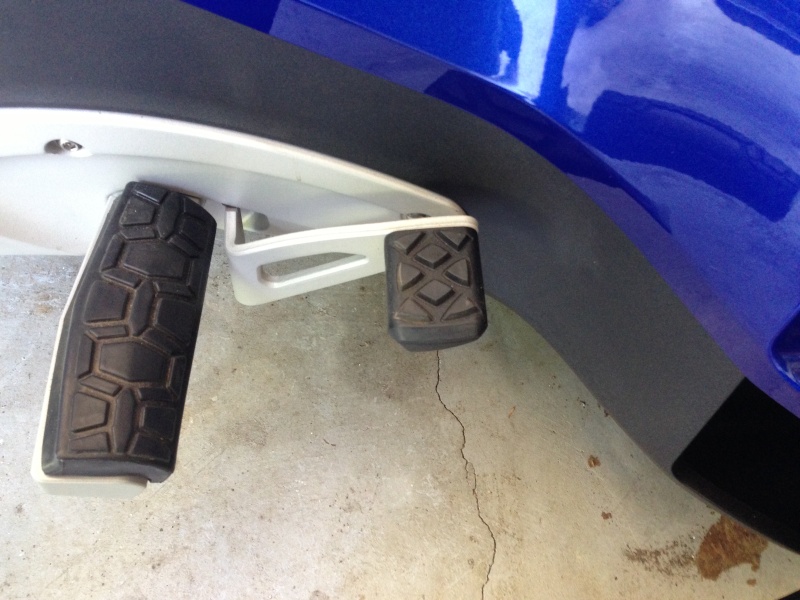

Today I added my Diamond R boards. Installation was simple. After placing the Spyder on ramps, I removed the OEM rubber pads.

I used a 3/8" drill bit to enlarge the existing holes.
I then loosened the motor mounts on each side.
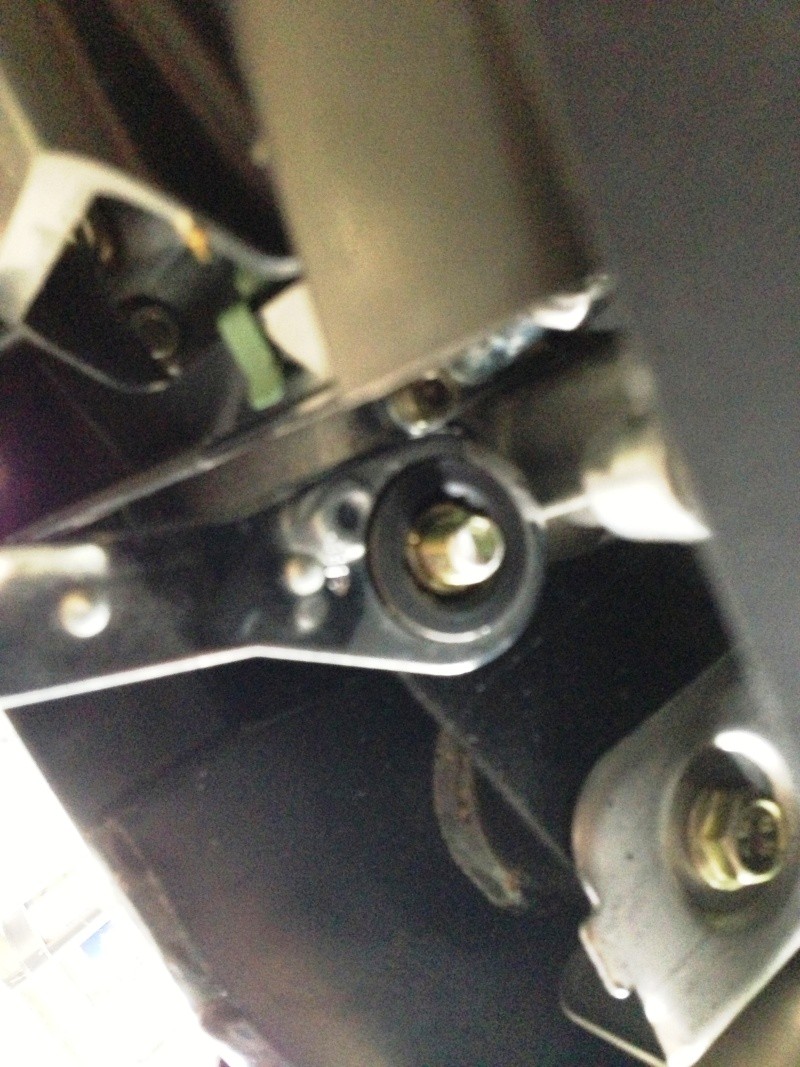
Then I slid the cross brace into place and snugging but not tightening the motor mounts.

I removed the nuts on the back of the boards and installed them loosely into the pre-drilled holes in the boards.
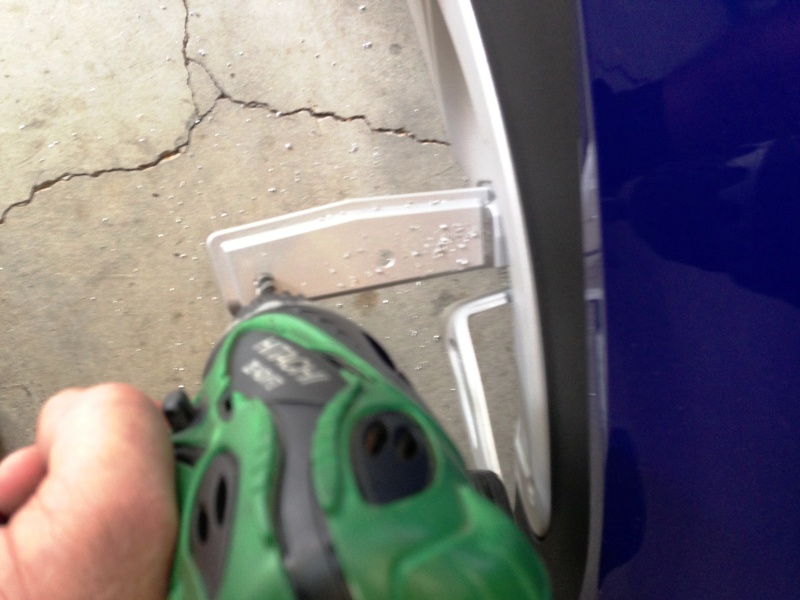
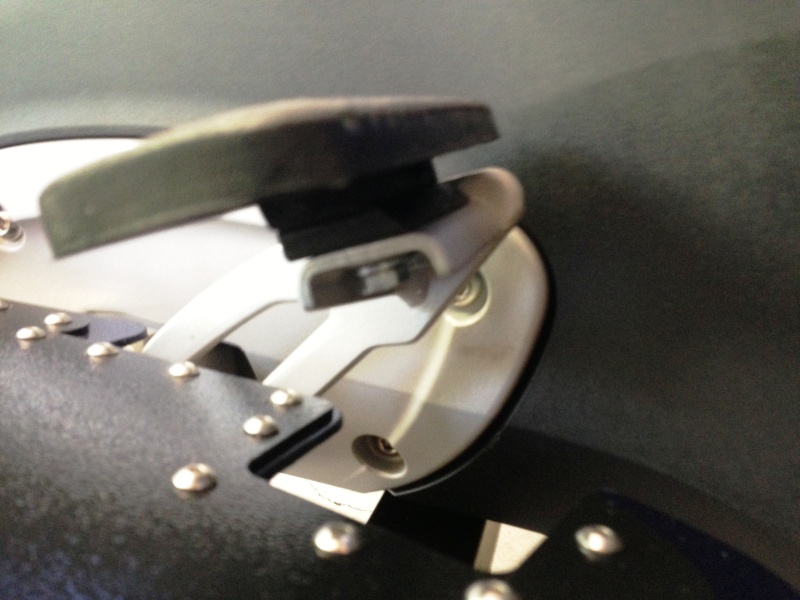
I then took my highway pegs and installed them installing the top bolt first.

I installed the brake pedal spacer making sure everything was clear without any interference.
I tightened all bolts and motor mounts.
The rear boards took a total of 3 minutes to install. Removing the OEM rubber.

Then bolting the new boards on with the supplied bolts.

Now the finished product. All in all I am very happy with the install.

First I had an old iPhone 4 laying around so I mounted a RAM mount in the trunk and plugged it into the iPhone jack for tunes. I also added a 12" tool bag using the Can Am iPod mounting screws.
Then I added a bigger brake pedal from TricLEDS.
Today I added my Diamond R boards. Installation was simple. After placing the Spyder on ramps, I removed the OEM rubber pads.
I used a 3/8" drill bit to enlarge the existing holes.
I then loosened the motor mounts on each side.
Then I slid the cross brace into place and snugging but not tightening the motor mounts.
I removed the nuts on the back of the boards and installed them loosely into the pre-drilled holes in the boards.
I then took my highway pegs and installed them installing the top bolt first.
I installed the brake pedal spacer making sure everything was clear without any interference.
I tightened all bolts and motor mounts.
The rear boards took a total of 3 minutes to install. Removing the OEM rubber.
Then bolting the new boards on with the supplied bolts.
Now the finished product. All in all I am very happy with the install.
Ex-Rocket
Well-known member
I got a question as far as the Bump Skid plate goes. Does this have to be removed when you go about changing your oil? I had the dealership do my first 600 miles oil change so I really don't know what is involved when you change the oil but it would appear to me that the oil wouldn't drain past the Bump Skip plate. Am I correct in making that assumption?
pwm
New member
Good question. I am not 100% sure as I have not hit the 100 mile mark yet as my job keeps me traveling. I do not think it will interfere but when I do my first one I will post and let everyone know.I got a question as far as the Bump Skid plate goes. Does this have to be removed when you go about changing your oil? I had the dealership do my first 600 miles oil change so I really don't know what is involved when you change the oil but it would appear to me that the oil wouldn't drain past the Bump Skip plate. Am I correct in making that assumption?
cjackg
New member
No! The Bumpskid does not change the RT oil change procedure at all & does not have to be removed.Good question. I am not 100% sure as I have not hit the 100 mile mark yet as my job keeps me traveling. I do not think it will interfere but when I do my first one I will post and let everyone know.

Similar threads
- Replies
- 3
- Views
- 764
- Replies
- 2
- Views
- 278
- Replies
- 13
- Views
- 677