cjackg
New member
After reading everything I could find on SpyderLovers about the belt
tensioner plus Capt Jim's Installation Instructions, I started on the tensioner
install on my 2012 RT this morning.
I decided to give it a try without removing any side panels, only the 2
plastic belt guards. After studying the mounting location from underneath the
spyder (on jack stands) I soon found the right location to mount the bracket and
drill the two holes in the frame. After I clamped the bracket in place
with longnose vicegrips, I decided to depart from the instructions and go ahead
and centerpunch & drill the forward hole while the bracket was clamped.
Then I put in the front bolt & nut and tightened them down. Now I was able
to remove the clamp and work on the back hole. Once it was drilled and the bolt
& nut installed I was done with the bracket and never had to move it
again. (It would be very difficult to mark both holes at the same time, so this
approach worked well.)
Now that the scary part was done, the rest was easy and Capt Jim's
instructions were accurate and complete in every aspect. After double checking
the alignment, tracking, and tensioner adjustment, I headed out for a short road
test. After driving just a few miles at speeds from 40 to 70 it was apparent
that the persistent belt related vibrations at various rpms were all gone! I still have
occasional harmonic vibrations from mystery causes but the belt related vibrations were noticeably gone.
Capt Jim's Smooth Spyder (sponsor) belt tensioner is a very high quality item and a significant
spyder performance improvement. It makes you wonder why BRP doesn't include this
as a standard feature on all Spyders since that super long spyder belt is always going to flex
and add vibrations any time you ride.
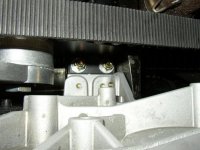
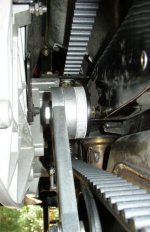
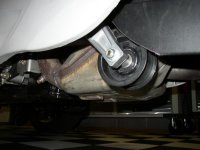
The following are a couple of pics from the install but the first one is from
Phil's install where he had the side panels removed and you can see the full
picture..
![e21762be[1].jpg e21762be[1].jpg](https://www.spyderlovers.com/data/attachments/10/10404-b48cce873e1e8e4d26d0422577ae74d6.jpg?hash=zB3J3NvruV)


Last edited:
