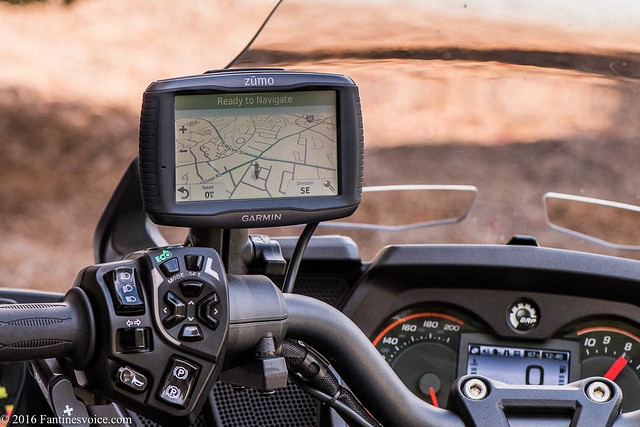
As I have asked many question regarding the Customer Accessory Circuits and how to install a GPS, I thought I would just do it. So, this is how I did the install of a Garmin 595LM (the up to date version of the 590 which is sold by BRP).
I used a handlebar mount, all included with the Garmin except for the long reach RAM Long Double Socket Arm (6"). I mounted the primary attachment using the bolts supplied and attaching it to the base of the left hand Grip/Handlebar clamp. The 6" arm attaches to this, and the Garmin mount for the 595LM, to the top of the arm.
The wiring is the most interesting as I could not identify the middle Customer Accessory Circuit wires until I had removed the left side panel. Then one can see the friction tapped wires hanging down, and once the tape is removed, gosh there they are, a black ground and purple/white hot wire (Hot when engine is running). Here is a photo showing the wire after I placed shrink tubing on the end of the remaining friction tape so as to keep it from unraveling.
 Zumo 595LM Installation_09.11.2016_TFL-2 by Tommie Lauer, on Flickr
As I wanted additional options should I decide to add more powered stuff, I added to plug in ends to this accessory circuit, as shown:
 Zumo 595LM Installation_09.11.2016_TFL-6 by Tommie Lauer, on Flickr
Look carefully and you will see the purple/white hot wire and all the connections.
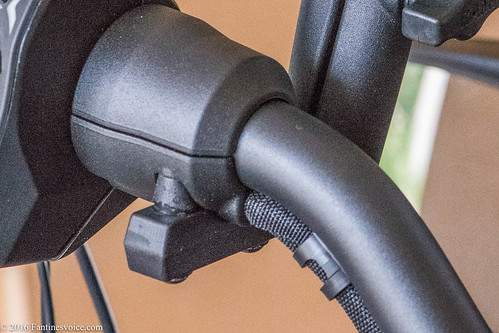
So, what does one do with the huge amount of wires from the Garmin mount? I simply folded them up and tucked them away, Zip tying to a part of the roadster. I did not want to cut any of these at this time.
 Zumo 595LM Installation_09.11.2016_TFL-7 by Tommie Lauer, on Flickr
After all is said and done, the cable from the Garmin mount zip tied in place so as to avoid any chafing when the handlebars are moved, I mounted the Garmin and it actually worked.
 Zumo 595LM Installation_09.11.2016_TFL-8 by Tommie Lauer, on Flickr
Oh, on the handlebar mount some small shaving of the pacers from Garmin was necessary, but no issue for those who do this stuff on a regular basis.
If any questions .... let 'em rip.
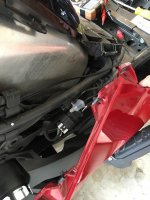
I used a handlebar mount, all included with the Garmin except for the long reach RAM Long Double Socket Arm (6"). I mounted the primary attachment using the bolts supplied and attaching it to the base of the left hand Grip/Handlebar clamp. The 6" arm attaches to this, and the Garmin mount for the 595LM, to the top of the arm.
The wiring is the most interesting as I could not identify the middle Customer Accessory Circuit wires until I had removed the left side panel. Then one can see the friction tapped wires hanging down, and once the tape is removed, gosh there they are, a black ground and purple/white hot wire (Hot when engine is running). Here is a photo showing the wire after I placed shrink tubing on the end of the remaining friction tape so as to keep it from unraveling.
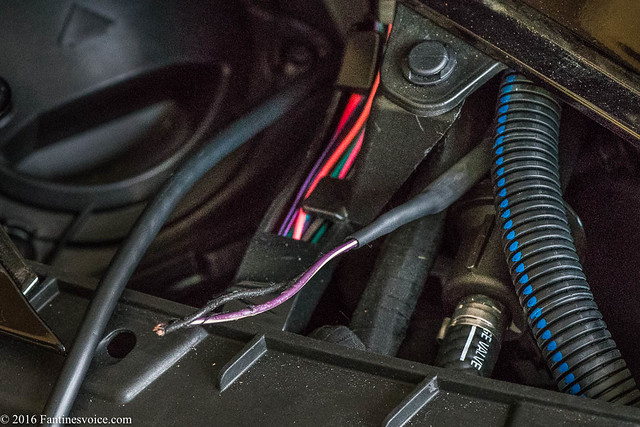
Zumo 595LM Installation_09.11.2016_TFL-2 by Tommie Lauer, on FlickrAs I wanted additional options should I decide to add more powered stuff, I added to plug in ends to this accessory circuit, as shown:
Zumo 595LM Installation_09.11.2016_TFL-6 by Tommie Lauer, on FlickrLook carefully and you will see the purple/white hot wire and all the connections.
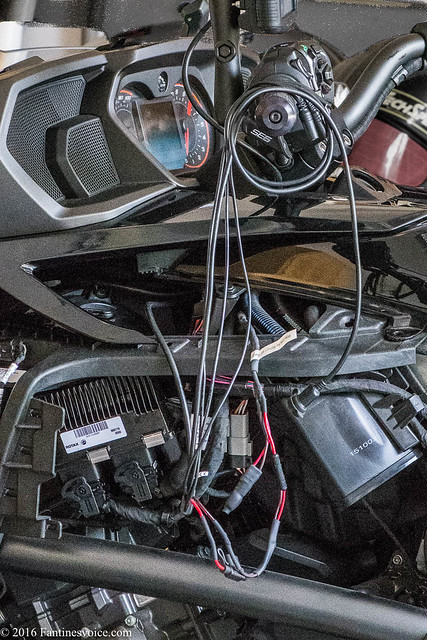
So, what does one do with the huge amount of wires from the Garmin mount? I simply folded them up and tucked them away, Zip tying to a part of the roadster. I did not want to cut any of these at this time.
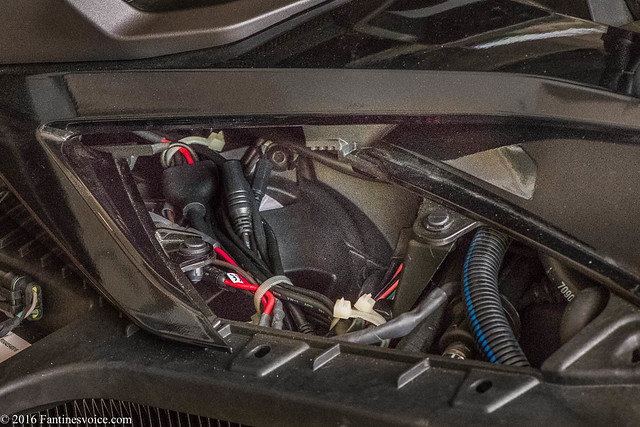
Zumo 595LM Installation_09.11.2016_TFL-7 by Tommie Lauer, on FlickrAfter all is said and done, the cable from the Garmin mount zip tied in place so as to avoid any chafing when the handlebars are moved, I mounted the Garmin and it actually worked.
Zumo 595LM Installation_09.11.2016_TFL-8 by Tommie Lauer, on FlickrOh, on the handlebar mount some small shaving of the pacers from Garmin was necessary, but no issue for those who do this stuff on a regular basis.
If any questions .... let 'em rip.
![part1[1].jpg](https://www.spyderlovers.com/data/attachments/65/65784-f892b555d36f51d242d5c59b2ee1282f.jpg?hash=jTVplEf9eS "part1[1].jpg")