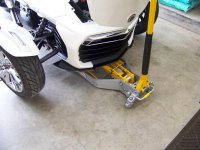
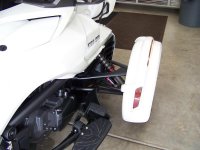
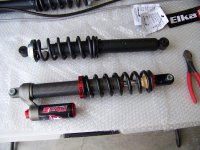
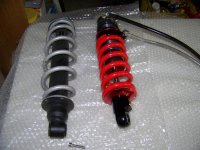
Installed front and rear shocks on the F3 LTD.
The front shocks, bottom bolt is very easy, top bolt can be accessed with the frunk insert removed. Long extension, universal, and a 15mm short socket. Removing/installing the top bolt requires small hands.
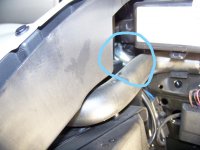
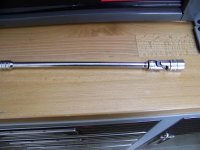
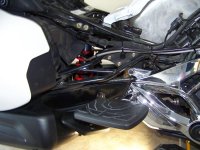
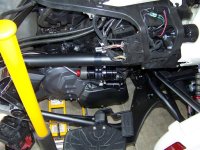
Rear shock the bottom bolt is easy, the top bolt requires 2) 15mm sockets, 2 extensions and 2 ratchets, using one set from either side.
After rear shock was removed, then removed the automatic air ride assembly.
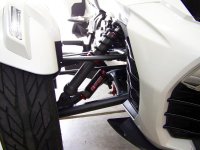
Results, the handling has been improved dramatically.
Suspension is tight and it corners on rails.
Lucky to have Sandia Peak near by to check out the cornering for about 25 miles!!
The front shocks, bottom bolt is very easy, top bolt can be accessed with the frunk insert removed. Long extension, universal, and a 15mm short socket. Removing/installing the top bolt requires small hands.
Rear shock the bottom bolt is easy, the top bolt
requires 2) 15mm sockets, 2 extensions and 2 ratchets, using one set from either side.After rear shock was removed, then removed the automatic air ride assembly.
Results, the handling has been improved dramatically.
Suspension is tight and it corners on rails.
Lucky to have Sandia Peak near by to check out the cornering for about 25 miles!!
Attachments
-
 100_2709.jpg64 KB · Views: 81
 -
 Inked100_2713_LI.jpg52.3 KB · Views: 83
 -
 100_2714.jpg59.9 KB · Views: 79
 -
 100_2715.jpg51.8 KB · Views: 88
 -
 100_2716.jpg52 KB · Views: 79
 -
 100_2717.jpg77.4 KB · Views: 88
 -
 100_2719.jpg71.8 KB · Views: 89
 -
 100_2720.jpg69.4 KB · Views: 88
 -
 100_2721.jpg82.1 KB · Views: 92
 hyea::2excited: