MarkLawson
RT-S PE#0031
WARNING! Read no further if you are quimish...
While following the instructions (the ones that say 1.5 hours labor each) for each the CB & entertainment harness, I have about 10-12 hours in it so far...
(BRP should have listed a 'wrecking ball' as the main tool needed)
Body panels removed:

More parts...

Yes, it is an RT, not a GS...

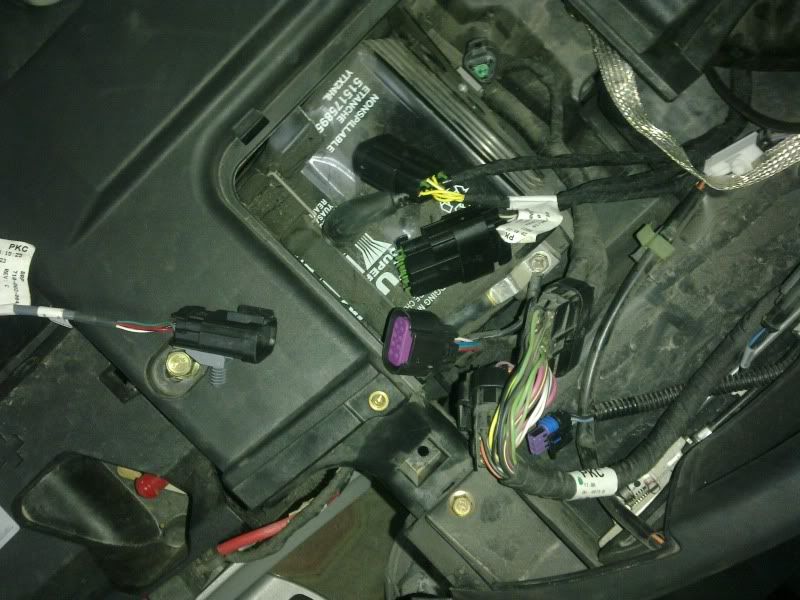
The mess of wires on the battery are a couple of Gerbing leads that I have attached.
(Please ask the children to leave the room for the next few pics)
Horror...

Grizzly debotchery...

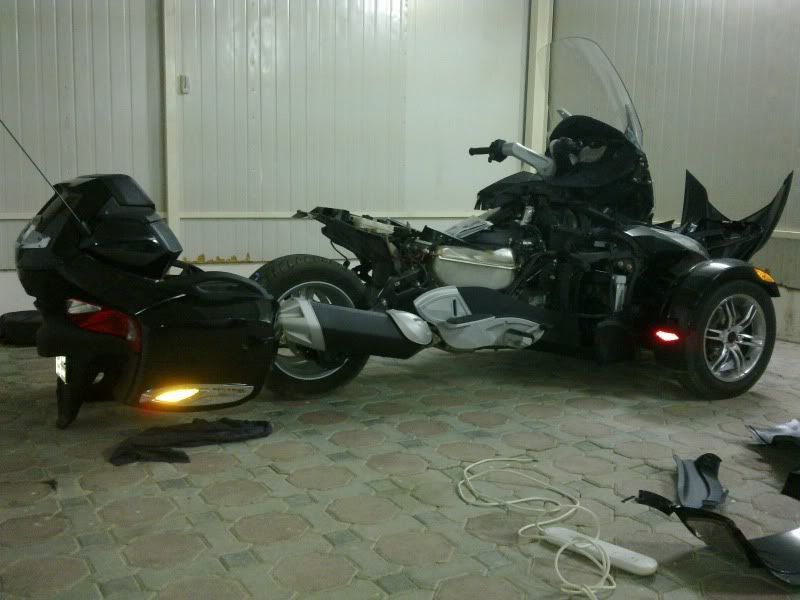
The saddlebag/rear trunk assembly hanging from the ceiling with the bottom side facing the camers. Notice the CB unit is attached to the front side of the right saddlebag. You'll also see a new wiring harness hanging down the left-inside of the fender. That will go across to the left side along side the existing wiring harness & flat braided ground strap.
The other end of the install...

One more pic of the crime scene...

I'm not finished yet. What you see represents most of the disassembly & much of the installation of the new components. The only thing I have left, that I know of, is the CB antenna installation. Then, 'Assemby is the reverse of disassembly'. Yeah, right...
I don't believe I've done this much, but still feel confident in the final outcome... I guess we'll see.
I'll let you know how it turns out.
While following the instructions (the ones that say 1.5 hours labor each) for each the CB & entertainment harness, I have about 10-12 hours in it so far...
(BRP should have listed a 'wrecking ball' as the main tool needed)
Body panels removed:
More parts...
Yes, it is an RT, not a GS...
The mess of wires on the battery are a couple of Gerbing leads that I have attached.
(Please ask the children to leave the room for the next few pics)
Horror...
Grizzly debotchery...
The saddlebag/rear trunk assembly hanging from the ceiling with the bottom side facing the camers. Notice the CB unit is attached to the front side of the right saddlebag. You'll also see a new wiring harness hanging down the left-inside of the fender. That will go across to the left side along side the existing wiring harness & flat braided ground strap.
The other end of the install...
One more pic of the crime scene...
I'm not finished yet. What you see represents most of the disassembly & much of the installation of the new components. The only thing I have left, that I know of, is the CB antenna installation. Then, 'Assemby is the reverse of disassembly'. Yeah, right...
I don't believe I've done this much, but still feel confident in the final outcome... I guess we'll see.
I'll let you know how it turns out.
Last edited:

 opcorn:
 hyea:
hyea:") . You know how it goes. I should not have read the directions, I should have just gone ahead and done the job by your pictures. If you follow the instructions, and take things apart as you go, they do not tell you that you should take everything off BOTH sides of the bike. They, nor you, mention that you have to take the air hose off (but it will come off by itself (not good!) when you remove the rear storage section.:dontknow
. You know how it goes. I should not have read the directions, I should have just gone ahead and done the job by your pictures. If you follow the instructions, and take things apart as you go, they do not tell you that you should take everything off BOTH sides of the bike. They, nor you, mention that you have to take the air hose off (but it will come off by itself (not good!) when you remove the rear storage section.:dontknow")