WEB-WVR
New member
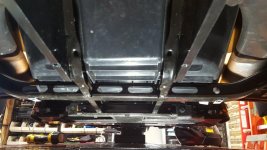
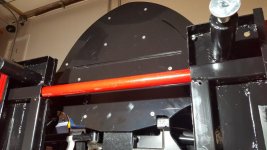
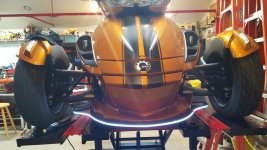
So I ordered the bumpskid some time ago for my 2014 ST-L
A friend was supposed to help me get it installed as I have health issues gettin down low. Of course...months later...he has not shown (you know how that goes).
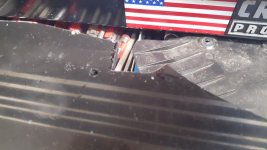
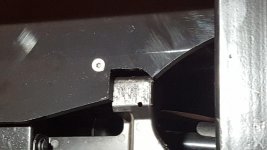
The photos that came are vague as far as where the brackets go. And the photos appear to be from an older model Spyder. As many of these that have been installed here.....I cant believe we dont have a DIY on this product....some good installation, step by step photos. Bracket location I think is what we need the most.
My wife and I may tackle this project this weekend...if not before the Sun comes back. Some better photos or video would be great. Any links ? I cant find any.
If not, we will try to figure it out and take some detailed install photos.
Thanks to the Spyder dudes and dudettes out there ! :clap::thumbup:
A friend was supposed to help me get it installed as I have health issues gettin down low. Of course...months later...he has not shown (you know how that goes).
The photos that came are vague as far as where the brackets go. And the photos appear to be from an older model Spyder. As many of these that have been installed here.....I cant believe we dont have a DIY on this product....some good installation, step by step photos. Bracket location I think is what we need the most.
My wife and I may tackle this project this weekend...if not before the Sun comes back. Some better photos or video would be great. Any links ? I cant find any.
If not, we will try to figure it out and take some detailed install photos.
Thanks to the Spyder dudes and dudettes out there ! :clap::thumbup:
")
")