WilcoJunoHotel
New member
So, as a preface to this, I should point out that since I live in Georgia I did not need heated seats on my base '20 RT but I bought the seats from another forum member with the original intention of sending them to Russell Day Long to have them "do their thing" - the fact that they are heated was a bonus.
So far, I have only installed a gel pad in the drivers seat and I am holding off on the RDL treatment until I can come to a conclusion on the gel pad effectiveness.
But I did go ahead and hook up the heated components and that is what this post is about.
All one needs to do this are the heated seats (of course), 2 switches and one small wire clip. The wiring is already there in the factory wiring harness. There is no factory programming or fuse installation required - you literally plug everything up and it is ready for use.
THIS PDF FILE shows what is required and order the parts from HERE. Note you will have to go to Section 10 Electrical System Side Storage for the rocker switches and Section 10 Electrical System ABS Speed Sensors for the clip.
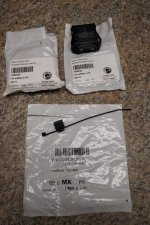
2 rocker switches PN 710006703 @ $39.99 each
1 wire clip PN 710005037 @ $7.29 (You can save yourself $ by using any old wire clip - I chose to use the factory one)
I ordered mine from the BRP website and got them in about 2 weeks. They actually shipped from a Can Am dealer here in the US.
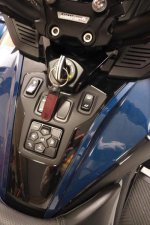
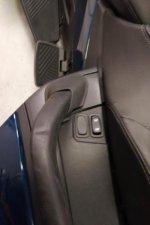
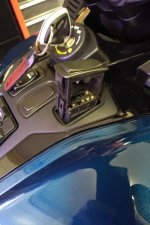
The installation of the switches can be accomplished without removing any tupperware. Simply take a thin metal parting tool and gently pry up the dummy switch - it just snaps out. Be careful when you get it released - you want to make sure you pull out the dummy switch AND the wiring harness that is connected to the dummy switch at the same time. You don't want the wiring harness connector dropping down - then you will need to remove some tupperware or try to fish it out.
I had no issue with the switch up front but I did have a small issue with the rear switch - there wasn't enough slack in the wiring harness and when I pulled the dummy switch out, the harness connector popped free and I had to remove some tupperware to get at it and fish it up through the hole.
Once you have the dummy switches out, just make sure you have the switches and the harness oriented correctly (look at the connectors to match prongs to prongs) and make sure the switch is oriented with high heat forward and low heat backward - like the heated grips switch.
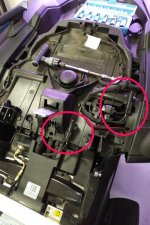
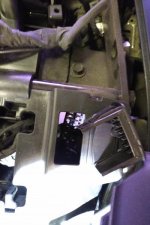
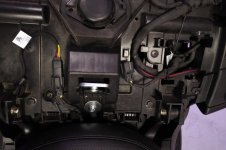
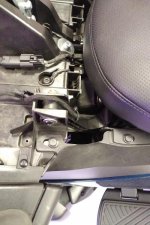
Now, the wiring harness connectors for the seats themselves were sort of stuffed away: The drivers seat connector was down inside the cavity where the backrest bar is mounted and the passenger seat connector was down inside a cavity near the left hand grab rail. See pictures. You will need to remove the cover on each of the connectors.
Then just run these wires and the wires from the seats just like they show in the PDF file above. You will need to zip tie the driver seat wire to the seat hinge and carefully route it as shown so that you don't pinch the wires when you take the passenger seat off and on. Pretty straightforward if you go by those instructions. There are a couple of mounting tabs on the "under seat pan" where the connectors slide which keeps the wires in place (see photos).
I tested them out yesterday and the switches are illuminated at night just like the rest of the switches.
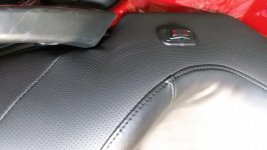
Here are some pics.


