MisterP
New member
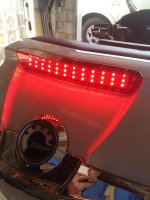
The first thing the Fat White Chick needed was a third brake light. I don't know why Can Am doesn't put them on every unit, but that's what the aftermarket is for.
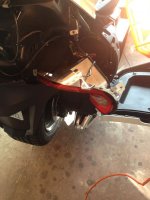
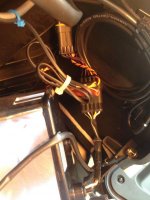
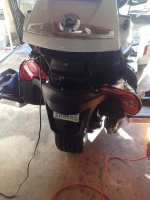
I followed a combination of the printed instructions that came with the unit, and suggestions for removing the right tail light, which on my 2014 was a necessity to get to the wiring harness. There is no slack in that sucker, I assure you.
I took my time, and probably spent a couple of hours. I decided to add heat shrink tubing to the light wiring to protect what comes out of the light, down through the deck hinge and into the innards of the bike. Used about a foot or so, and a hair dryer to shrink it on.
I also decided it leave the #M tape, but when the light was installed I added a very thin beak of white silicone caulk along the top edge, to shed water there and also hide the edge of the gray 3M tape. It all came together nicely.
I have added a few pics of the rear wiring, removal of the tail light, and the final product. Very pleased with the look and brightness of this light
.


