Vinlander
New member
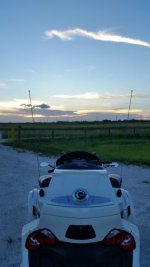
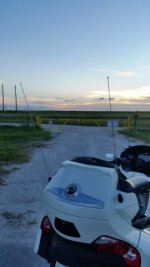
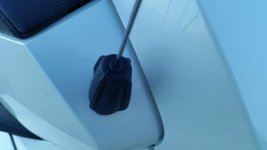
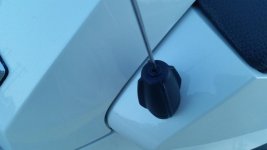
This may be old but i could not find any information on the knock out removal to install an antenna on the left side of my spyder.Changed out the old one for the radio and replaced it with a short one.I would like to add one on the left side only for looks .Any help would be appreciated.
Thank You.
Thank You.