Hi everybody, Recently my right headlight was blown. I search for some help to make the correct replace, but I didn´t find something helpfull, so, I got down to business and did it myself.
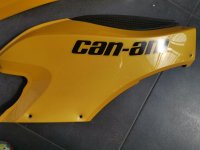
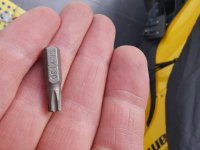
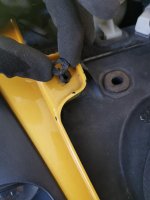
The first step is remove the upper panel, the only tool you need is a torx T30 and a flat screwdriver.
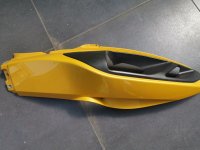
You have to remove this panel, because the middle panel it has a screw behind it.
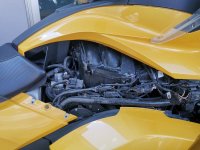
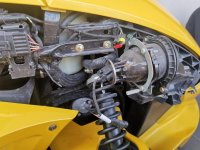
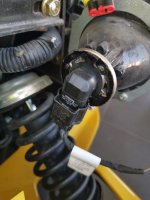
The middle panel is the one that surrounds the headlight unit and you need to move forward in order to remove the panel, and this is all. You have now complete acces to the unit. You only have to remove 2 screws and 3 plastic dowels.
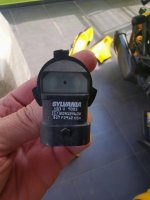
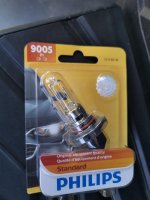
By turning counterclokwise you can remove the lamp. The original model is Sylvania 9005 of 60 Wats.
I replaced it by Philips Standar 9005 B1, from Autozone. The diference is that the original is 60 wats vs 65 wats but, as I see it, there is no difference in brightness.
I hope this information is useful for the whole spyder lovers.
Greeetings from Guadalajara, Jalisco, Mexico.
The first step is remove the upper panel, the only tool you need is a torx T30 and a flat screwdriver.
You have to remove this panel, because the middle panel it has a screw behind it.
The middle panel is the one that surrounds the headlight unit and you need to move forward in order to remove the panel, and this is all. You have now complete acces to the unit. You only have to remove 2 screws and 3 plastic dowels.
By turning counterclokwise you can remove the lamp. The original model is Sylvania 9005 of 60 Wats.
I replaced it by Philips Standar 9005 B1, from Autozone. The diference is that the original is 60 wats vs 65 wats but, as I see it, there is no difference in brightness.
I hope this information is useful for the whole spyder lovers.
Greeetings from Guadalajara, Jalisco, Mexico.
Attachments
-
 IMG_20200616_105534.jpg46.6 KB · Views: 18
 -
 IMG_20200616_105445.jpg24.9 KB · Views: 13
 -
 IMG_20200616_105506.jpg65.1 KB · Views: 18
 -
 IMG_20200616_105509.jpg72.9 KB · Views: 20
 -
 IMG_20200616_105559.jpg31.9 KB · Views: 12
 -
 IMG_20200616_105806.jpg34.2 KB · Views: 16
 -
 IMG_20200616_105924.jpg46.9 KB · Views: 12
 -
 IMG_20200616_111226.jpg47.6 KB · Views: 12
 -
 IMG_20200616_105542.jpg54.8 KB · Views: 13
 -
 IMG_20200616_110301.jpg26.2 KB · Views: 12