HayRog
New member
Been on this forum only a short while and learned a lot. My turn to contribute in a small way.
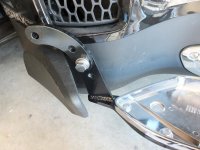
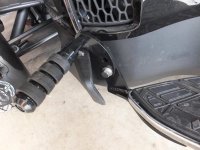
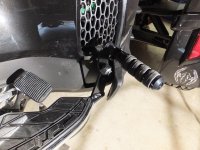
I installed the Rivco Highway Pegs yesterday. A very easy install with no problems at all, and not something which really requires a detailed explanation as the only things removed from the bike were the rubber tops from the floorboards.
Here ya go anyway :-
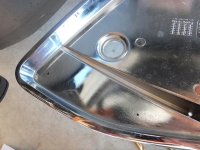
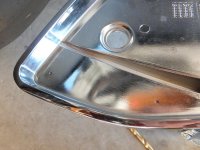
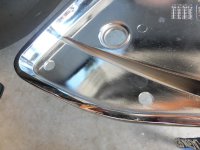
1. Rivco template placed on bare floorboard.
2. Marked with felt tip pen.
3. Center punched pre drilling.
4. 3/8" holes drilled - this is not a "hard" metal at all !!
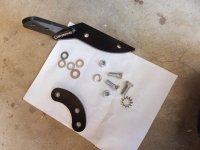
5. Left side parts ready to install.


Last edited:

