• There were many reasons for the change of the site software, the biggest was security. The age of the old software also meant no server updates for certain programs. There are many benefits to the new software, one of the biggest is the mobile functionality. Ill fix up some stuff in the coming days, we'll also try to get some of the old addons back or the data imported back into the site like the garage. To create a thread or to reply with a post is basically the same as it was in the prior software. The default style of the site is light colored, but i temporarily added a darker colored style, to change you can find a link at the bottom of the site.

MY MODS

ahh-cool

Member
I am starting to mod my 2012 RT-S
Some of them are simple and others will be technical. I will try to take plenty of pix before while and after.
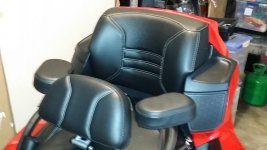
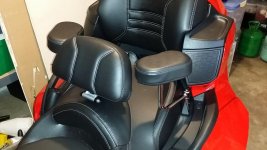
I added arm rests and drivers seat back.
The arm rests in my opinion are too loose at the swivel point. they seam to loosen up every time you move them.
However my wife really likes them. She said they are very comfortable.
The seat back sits a little bit too high and I will figure out how to modify it when I have time. I purchased the larger model thinking this would give me more support. I'm wondering if the smaller model would have been better.20140702_101330.jpg20140702_101345.jpg
I purchased an air hawk comfort air pad. it is going back since It is not as comfortable as my original seat.
 
heat phase 1

I have started to modify the area behind the radiator fan.
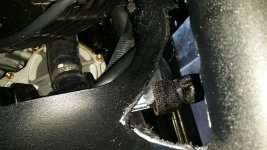
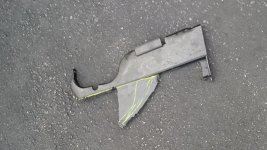
first thing that I did was remove the plastic piece from the bottom of the bike on the right sideView attachment 90928
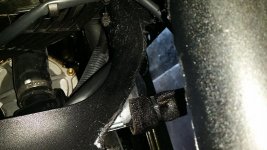
I then marked and cut out an area on the panel directly above this panel. and cut it out with a dremel toolView attachment 9092920140627_172111.jpg
I then sealed the wire that is connected to the bottom of this panel even though it is a waterproof connector20140627_172104.jpg
This is called cork tape. it's a impregnated tar/cork tape.
I then cut the bottom panel that I removed earlier to stiffen the side panel and give the wires a little more protection20140627_171714.jpg
 
heat phase 2

now I'm ready for phase 2 of my heat problem.
I wanted to protect the back wall from the heat since I read where it will effect the fuel tank.
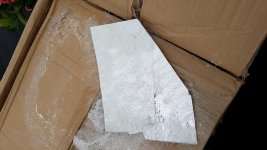
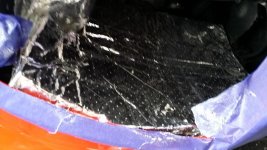
I used a rubber pad and fit that to the inside of the compartment.View attachment 90933View attachment 90934
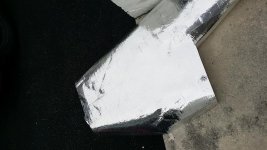
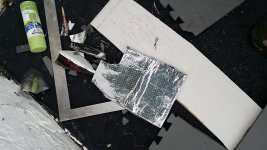
I then covered the foam in radiant barrier20140701_184746.jpg20140701_184741.jpg20140701_184800.jpg
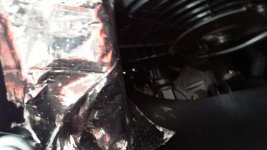
I then covered part of the inside area that the foam is not covering with radiant barrier20140701_184950.jpg
I then glued the foam panel in place.20140701_185436.jpg
That's it for now
 
Nicely done..!!

First two are nice looking and hope you work out the kinks in those. The heat project looks like work but promises to help out quite a bit. Thanks for the visuals which will help others..wgat else...:roflblack::roflblack::popcorn:
 
I'm in the process of making floor boards
I'm installing a hitch
I'm making a cargo rack and install it on the hitch.
ordered led lights
installing an SM10 system to the radio
that's it for this week (only kidding)
 
Back
Top