-
There were many reasons for the change of the site software, the biggest was security. The age of the old software also meant no server updates for certain programs. There are many benefits to the new software, one of the biggest is the mobile functionality. Ill fix up some stuff in the coming days, we'll also try to get some of the old addons back or the data imported back into the site like the garage. To create a thread or to reply with a post is basically the same as it was in the prior software. The default style of the site is light colored, but i temporarily added a darker colored style, to change you can find a link at the bottom of the site.
You are using an out of date browser. It may not display this or other websites correctly.
You should upgrade or use an alternative browser.
You should upgrade or use an alternative browser.
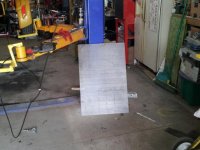
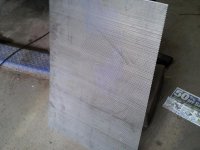
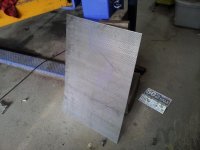
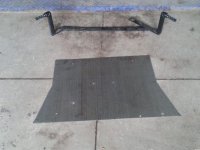
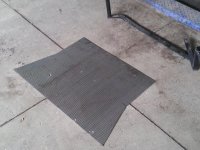
Guess the project!
- Thread starter Roadster Renovations
- Start date
eddieshep999
Active member
My guess
Perforated Stainless Steel sheets for Radiator Covers to replace the OEM Wire guards or to fit in front of those guards if its on a 2014 or 2015 RT
Bob Denman
New member
Bob Denman
New member
I do like the way that you think! :clap: :2thumbs:
:shocked: Oh crap... Now I'm hungry again! :gaah:
:shocked: Oh crap... Now I'm hungry again! :gaah:
BLUEKNIGHT911
Sadly Passed Oct 2024 - RIP
my guess
Kott style grills.....Mike :thumbup:
Kott style grills.....Mike :thumbup:
Roadster Renovations
New member
I'll have another picture to post tomorrow. Somebody will probably get it then!
AppleSpyder
New member
hmmmm how about a cover/lid for the cargo carrier, nope that would make it too heavy....thinking, thinking, hmmm is it gonna be bigger than a bread box? :dontknow::dontknow:
The use of these sheets will depend upon what metal they're made from.
Their appearance is not really a guide as they could be stainless steel, aluminium or
perforated zinc. The size of the perforations being so small, airflow through them
would be very limited so I don't think they're to do with cooling. Maybe a belly pan?
Maybe a cure for the dreaded RT bag lid hinge weakness in the form of a lightweight bracing piece??
Last edited:
Bob Denman
New member
This is "Shark Week"... He's building a shark-proof suit, for watching the "Discovery Channel"! :clap:
SPECTACUALR SPIDERMAN
New member
perforated grille for the '13 heat recall
PMK
Active member
Not sure if the Harbor Freight sale flyer is a clue...
My guess, and not stealing it from the Englishman as I did consider it prior to reading his would be a perforated belly pan, or a belt guard to prevent stones from getting into the belt.
The flow area seems far to little for anything needing airflow, such as radiator guards.
PK
My guess, and not stealing it from the Englishman as I did consider it prior to reading his would be a perforated belly pan, or a belt guard to prevent stones from getting into the belt.
The flow area seems far to little for anything needing airflow, such as radiator guards.
PK
Roadster Renovations
New member
Roadster Renovations
New member
Bump Skid.
Bob
Very, very close!!
Roadster Renovations
New member
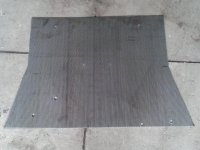
DING! DING! DING! Exactly! We had a few really close guesses also and in fact I think we kinda need to include the "belly pan".Dirt and grit panel for under the engine and other components where the original Bumpskid doesn't cover...
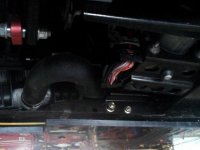
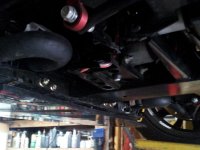
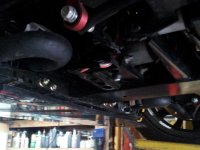
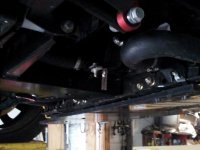
Some of you may remember me posting last year about 3 heavy duty tie-downs in the lane. Since traffic was pretty I was only able to miss two of them. The third one I had to take between the left front tire and the rear tire. It was a good thing I had the Bumpskid or the damage would have been worse. What got me was the pitiful little plastic cover that got destroyed in a split second and all the fragile items that were way too close to the road. The bump skid covers a great deal but stops right at both radiators, exposing the lower radiator hoses on both sides. On the left side there is a harness that has about 20 wires that is also too low for my comfort.
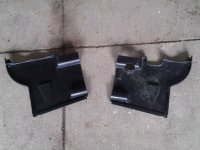
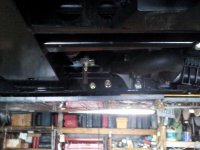
I purchased the left cover that got destroyed with the intention of fabricating them both out of steel, but there are many formed sides and I did not have anyone wanting to tackle it. Anyway, I then decided that if I could have at least the same air flow I could possibly cover the whole area. Since I had created my highway bars the way I did, I decided to use them as my anchor in the back. All I had to do then was to slip the front edge under the bumpskid and tighten it down. I finished it off with 2 self tappers into the gusset area on each side of the main beam.
These are the plastic parts.
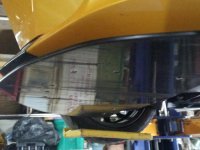
Here are some of the pictures of what is under those little pieces of plastic. First picture shows some of the scrapes we had on the bumpskid. Money well worth it!
Attachments
Bob Denman
New member
:clap: :2thumbs: I think that this is a GREAT idea! :firstplace:
Roadster Renovations
New member
Similar threads
- Replies
- 0
- Views
- 546
- Replies
- 0
- Views
- 328
- Replies
- 18
- Views
- 1K
- Replies
- 29
- Views
- 2K

