MrMagicFingers
Member
Hey all...
A long read but may help someone out...
Well, I have finished up (for now anyhow) on the work I was doing on my wife’s 2010 RTS. I am scared to say this but I think I have resolved the problem. Knock-on-wood!
Last year I replaced the sparkplugs in this bike. It really needed them and I don’t know for sure but I think they were the originals with 63k km’s on them. The bike seemed to run fine afterwards and I did other little bits of housekeeping while I was in there like Vac hoses, LED headlights and such. Nothing major.
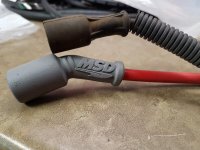
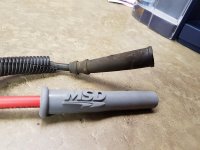
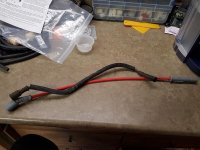
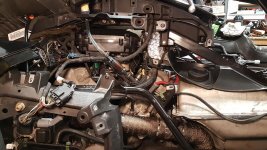
It took me some time to do this as it was my first time tearing into the bike that deep. I could not believe what you had to do to get at the plugs. I thought I should be replacing the plug wires too but I didn’t have time to do so as I was trying to finish the bike up for vacation and it would have taken too long to get a set of BajaRon plug wires up to me. Little did I know I would have another chance to remedy that.
Everything got buttoned up and I had it out on multiple100/200km rides and the bike seemed to work fine. So the first day of vacation came and off we set. It was an extremely warm week here for us with temps in the 35c range. We got to our hotel the first evening and all was well. We stopped many times during the day without issue with the bike. The next morning we got up, and headed out. After about an hour and a half of riding, we stopped to take a break for a good 45 minutes or so. When we got back on the bike wetried to start it and it revved quite high and then quit. No amount of cranking would start the bike. I did get a code (forget it now) and decided to let it sit for a while. After another half hour it started right up as if nothing ever happened.
The same thing happened about 200km down the road when we stopped again. This time it took about 2 hours to let it sort its problems out. We made a Bee-line to our hotel another 100km away without issue.
Next morning it started right up, got gas next door and it would not start up again. The engine was not even up to temp. I only had to move the bike about a 100 meters or so. We had already decided to cancel the rest of our vacation and head home the night before.
We didn’t wait that long and it started up fine. The problem always seemed to be with the starting. However we got down the road and onto the highway and this time it dies on the Trans Canada. At 120kph the damn thing goes into limp home mode. It was like someone pulled a brake. We almost lost control. My riding skills on this are not the best yet as I don’t have a lot of saddle time on it. Scared the crap out of me so bad I almost lost my breakfast. I have never experienced anything like this. We sat there in the blazing sun on side of the road... 2.5 hours and it finally started. Seems you just have to wait it out. We had quite a few people on bikes stop and offer help (no one Harley though). We did make it home but I didn’t even look at the Spyder sideways for 3 months. I was pretty upset.
I eventually looked up the code and it was one that involved the throttle body. I wish I could remember the code number. Basically it said that the throttle position was not where it was supposed to be. It was not the throttle body or the sensor, but the “Throttle body motor”. Apparently our friends at BRP were replacing them until the bugs got worked out of them. It was a known problem. If not under warranty (which it obviously wasn’t) it was going to cost $2000 or better here in Canada for parts. Well, that wasn’t going to happen.
With more and more reading and research , I understood that they were taking the crankcase vent and running it to the air box. There it would get sucked down into the cylinders and get burnt off. Great idea if you have a carburetor system that can keep that sticky, oily film from developing by having fuel right there. This throttle body never stood a chance.
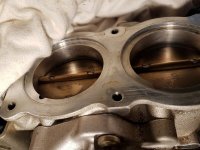
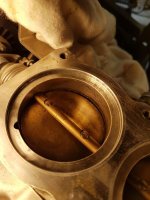
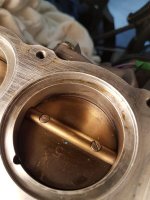
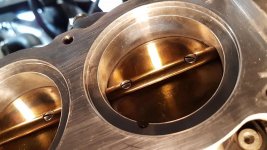
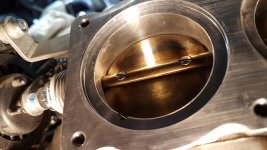
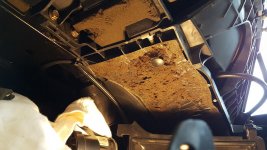
When I got the bike apart this spring and inspected it, I found that the throttle body plates were so sticky and covered with oily sludge and residue that when I forced them open, they would not close on their own. At least with warm engine they would... after a couple of hours. This sticky goo and sludge fought the return spring and won. The plates never returned to their home position until I cleaned them. At first I thought that the motor was responsible for both opening AND CLOSING the throttle plates but realized that there had to be a spring return for safety.
With the plates open under their own accord, I sprayed the throttle body and plates with throttle body cleaner and within 2 or 3 seconds the plated snapped back in place. What a nice feeling! I cleaned the crap out of them. I was so happy, I was on a high! Maybe it was the solvent, maybe the fact that I just got the problems resolved... I don’t know.
We’re going to try some vacation time next week weather permitting. That will convince me one way or another as to whether I have indeed fixed the problem or not. If we have, then I will start a new list of things to do... alignment (have to find someone local other that the local BRP dealer), mount some new tires, BajaRons sway bar, new grips, etc. Right now the handling of this bike is awful. I am also going to add the air scoops (if I can find a set here in Canada) and add all new sound and heat insulation.
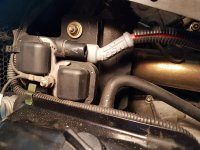
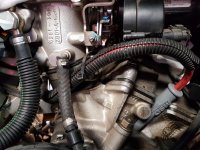
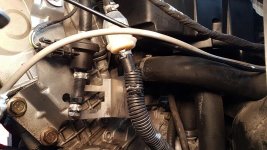
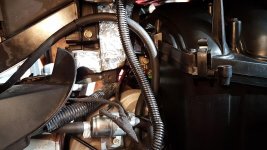
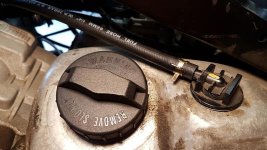
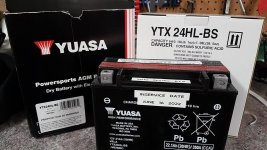
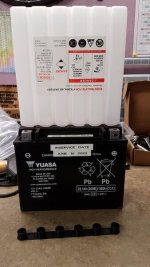
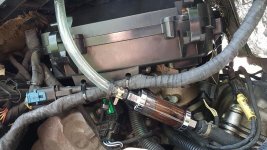
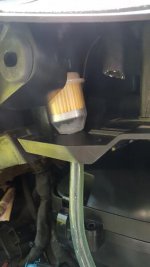
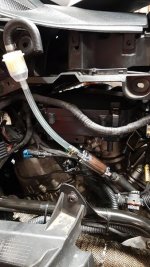
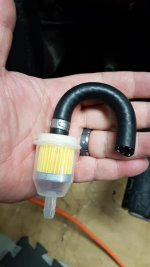
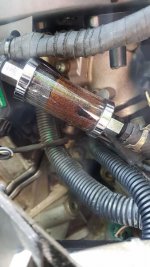
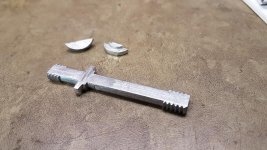
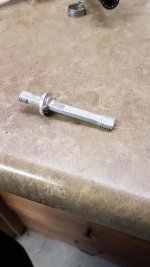
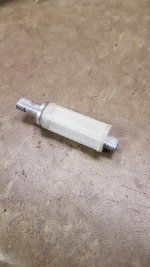
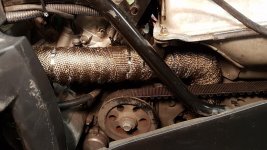
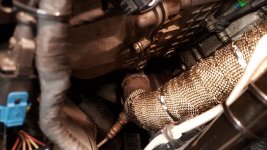
While I had the skin off the bike this time I preformed the following 5 maintenance and preventive maintenance items: (next few posts)
Tim
Attachments
Last edited:

