


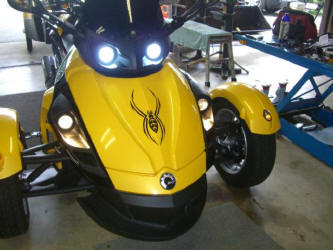
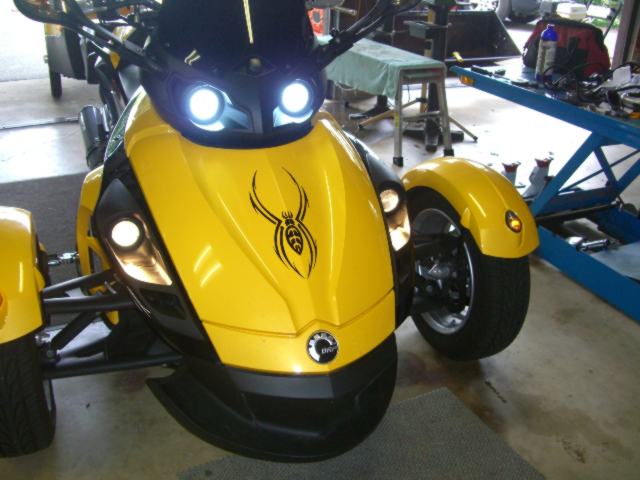
On our ride to Valcourt I was at the front of the pack and as I looked back in my mirrors I could really notice the guys who were running fog lights. They looked great and really made the Spyder standout. At that point I knew I needed to add these to my list of mods.
This is going to be a long read with lots of pictures that you can click on to make bigger. My hope is that I may be able to clear up some grey areas in the instructions that come with the fog lights. This is not a replacement for the instructions, just another tool.
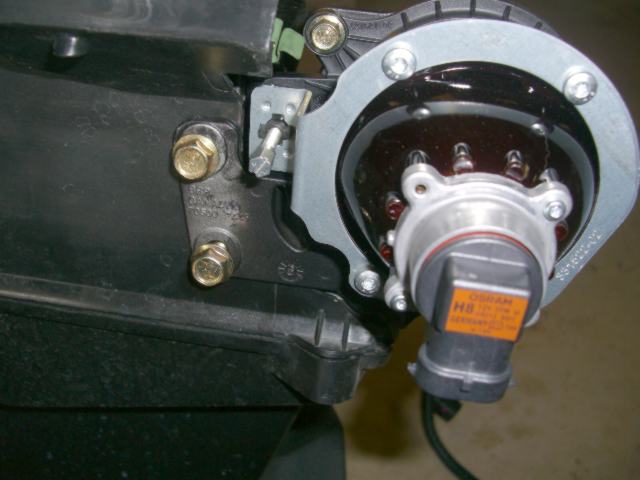
The first thing you're going to read is that you need another $100 wirering harness if you're running the Xenon HID kit from BRP. I thought I would need this harness because I had the No Magic HID kit so I ordered it. Guess what, you don't need it if you have the No Magiic HID kit, you can use the harness that comes with the kit and save yourself a $100 bucks.By the way I have a great deal on a BRP HID wiring harness if you need one.
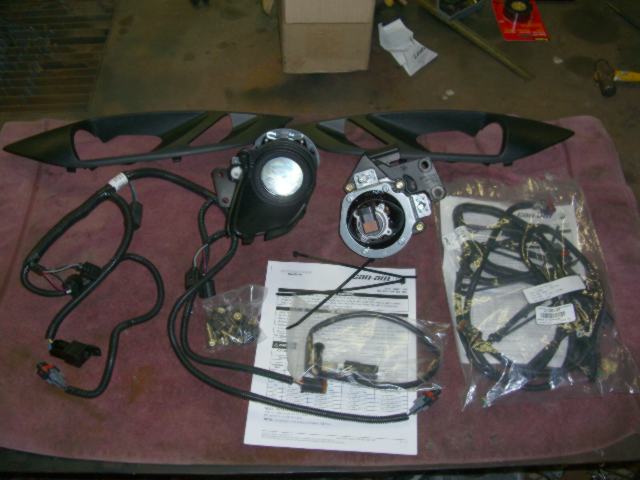
These are the parts that came with the kit plus the harness you don't need.
I'll go though the install just like they did but I may shift things around a bit and change some of the wording.
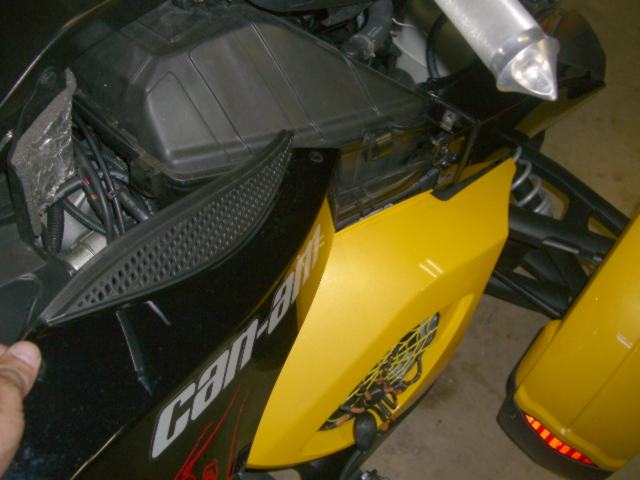
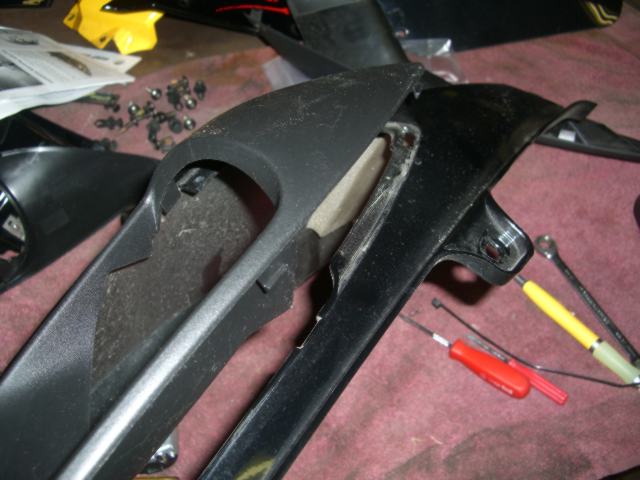
Front Storage Compartment Removal
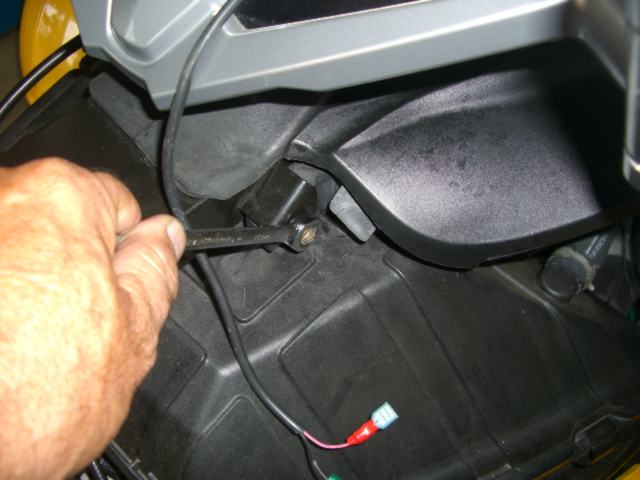
Pop the lid on your trunk and remove the black upper cover so you can get to the diagnostic plug and everything else you're going to need to get to. Remove the plug fron the storage holder.
Now pop your seat and remove the center cover by removing the two plastic rivits in the back and the two screws in the front. Just slide it back now. You got to remove your two side covers too so it may be best to do those first so that the center cover comes off easyer.
Remove both front panels, the ones with the vents in them. I forgot to take a picture of that.There is one screw in the back and two rivits on top and one on the bottom.
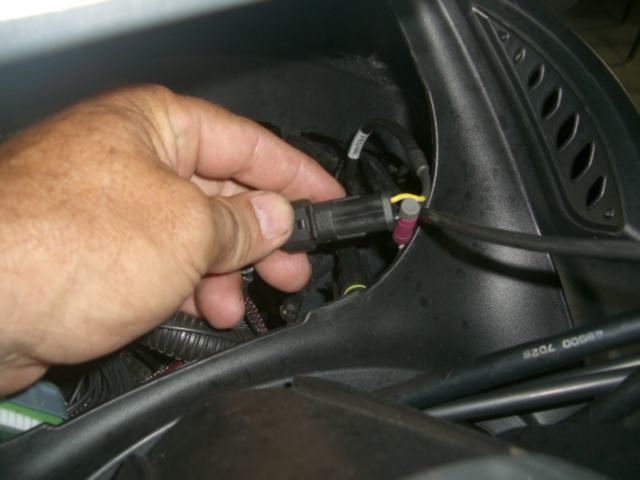
Disconnect the wires going to the horn on the left side and remove the wires from the clips.
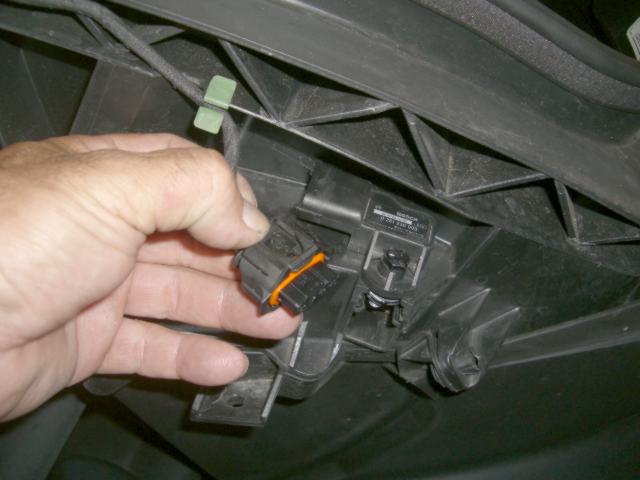
Now look on the right side and disconnect the pressure/temp sensor and wiring.
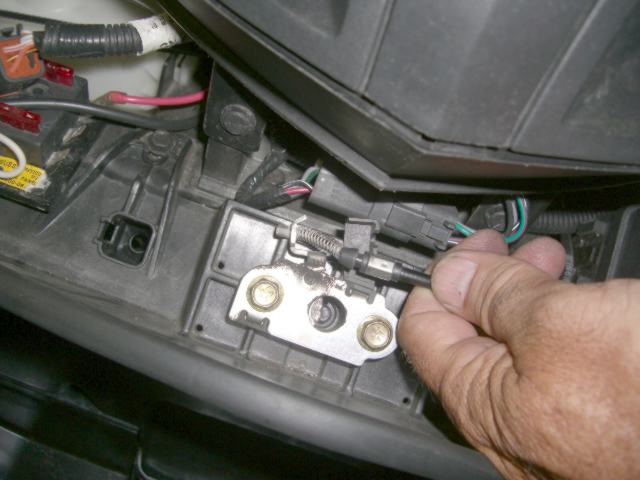
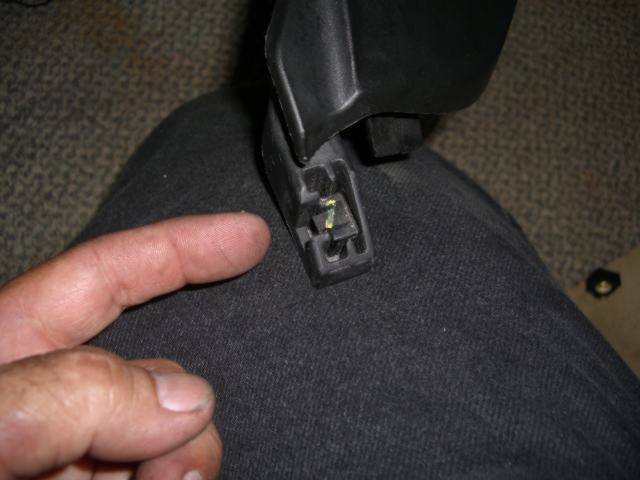
Now remove the cable that goes to the latch. I had to pry the end open a bit with a screwdriver to get the cable out.
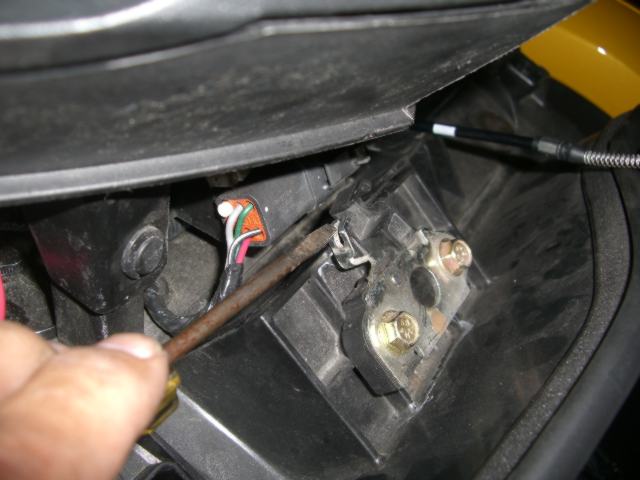
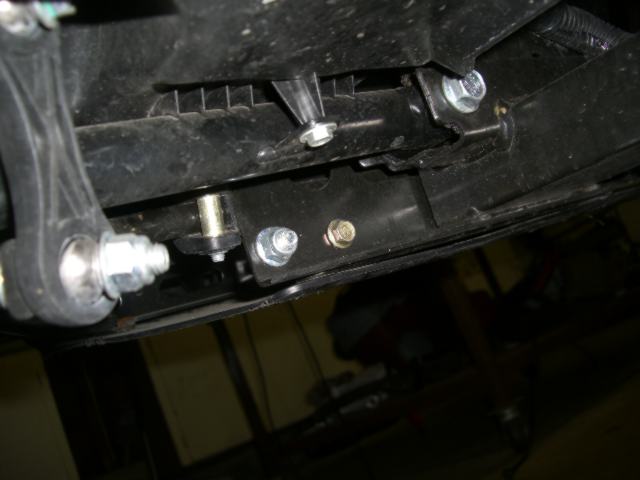
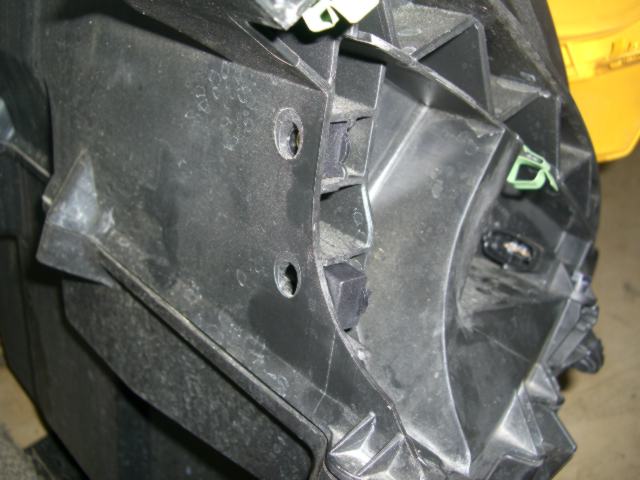
They tell you to remove the top bolts now and then the bottom ones and you can do that because there is a lip that holds the top in place. I didn't know that so I removed the bottom two bolts first.
These are on the back side looking toward the front. It's a good idea to have a lift for this but you can do it without one.
Now you can remove the four top bolts.
Now you can pop the front off by lifting it off of the tabs.
Remove Console Assembly
This is pretty easy deal here. Just insert a small flat screwdriver in the top of the dash and while you apply a little pressure just pull out on the top corner. Do this on both sides and the whole thing just pops out.
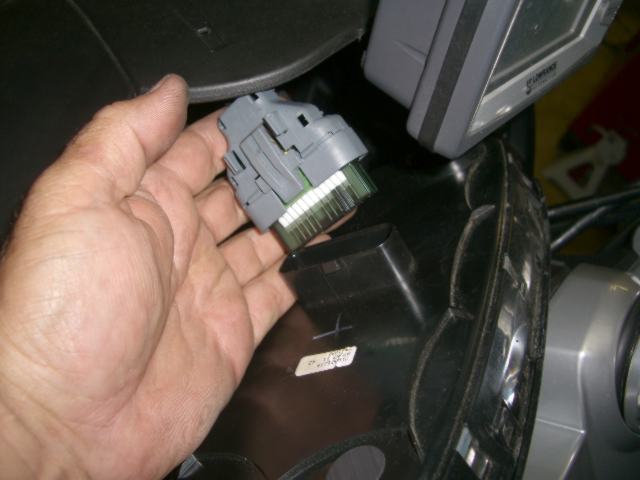
Now unplug the harness from the cluster.
Unplug both turn signals.
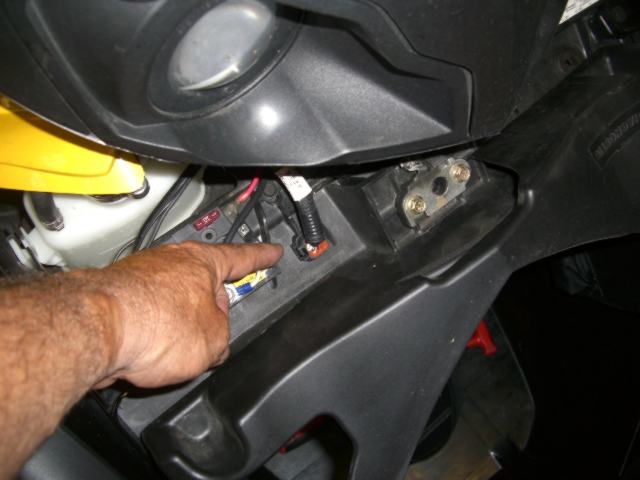
Unplug the main headlight connector and move out of the way so you can take out the two bolts that hold down the center console.
Remove the two bolts at the rear of the console and slide the console forward making sure the nuts don't fall out and into the black hole.
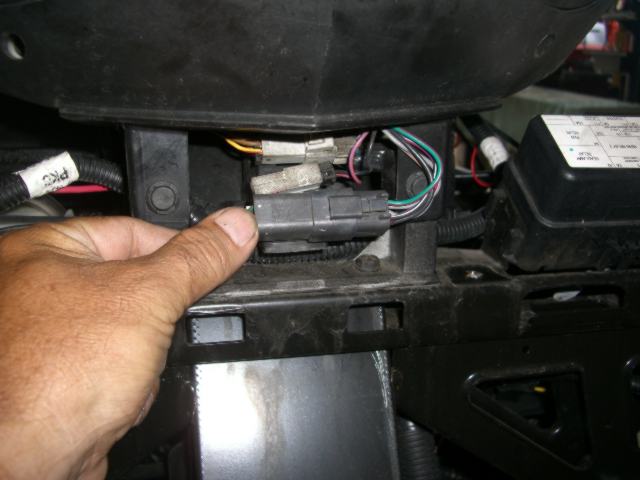
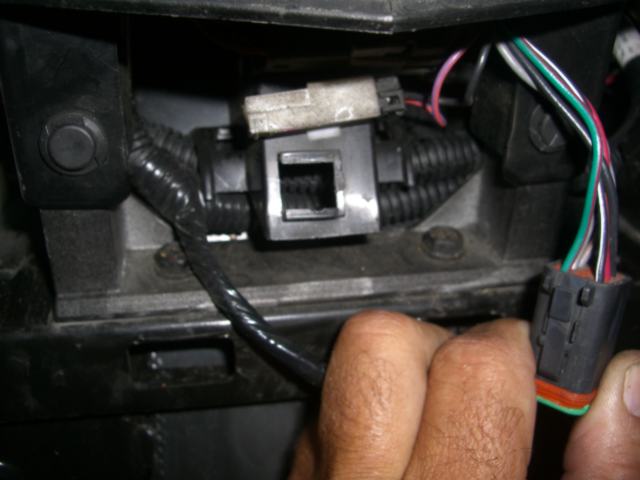
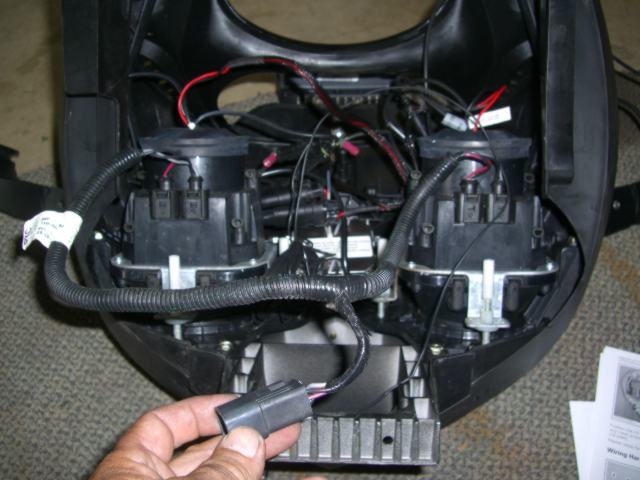
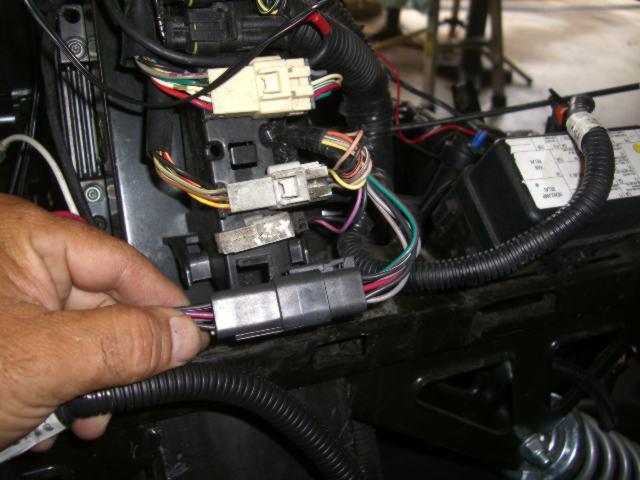
Now you can set your console down on something soft and remove the stock wiring harness.
Fog Light Switch Installation
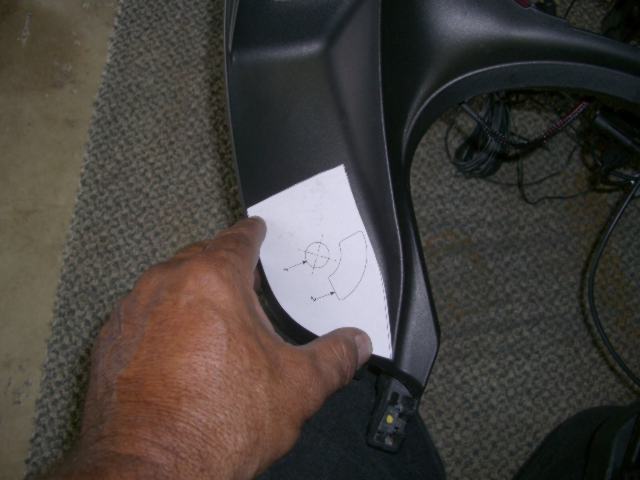
Now you can mount the switch to turn the lights on. On the back of the instructions there is a template to locate the hole for the switch. Cut out the template and place it on the left side and rear of the console and mark the center with something pointed.
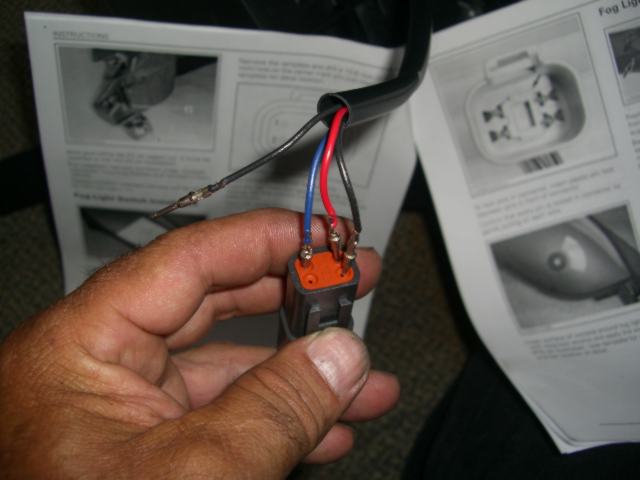
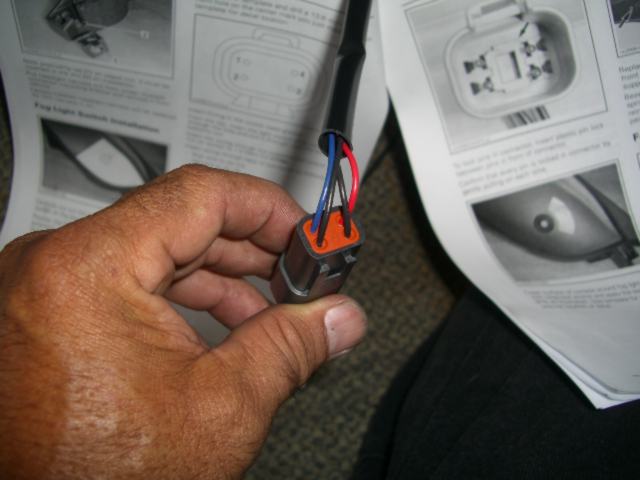
Drill a 17/32" hole real close to 1/2" and mount the switch. If you want you can add the sticker too. Now you can wire the plug. Hold the plug in your hand like I have it and insert the blue wire on top left and the red wire on top right and both blacks on the bottom two holes. Push them in till they lock and then give them a little tug to make sure they are in and locked. on the back side install the green locking tab.
Fog Light Bezel Installation
Pry the little clips off that hold the bezel in place and replace the bezel with the new ones that came in the kit and you can reuse the old clips or use the new ones they give you.
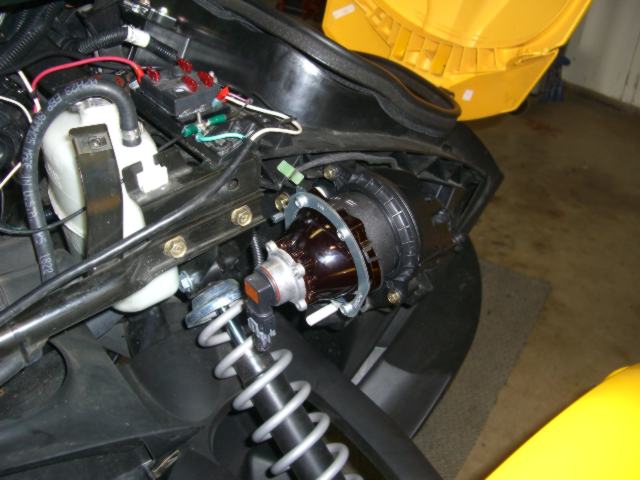
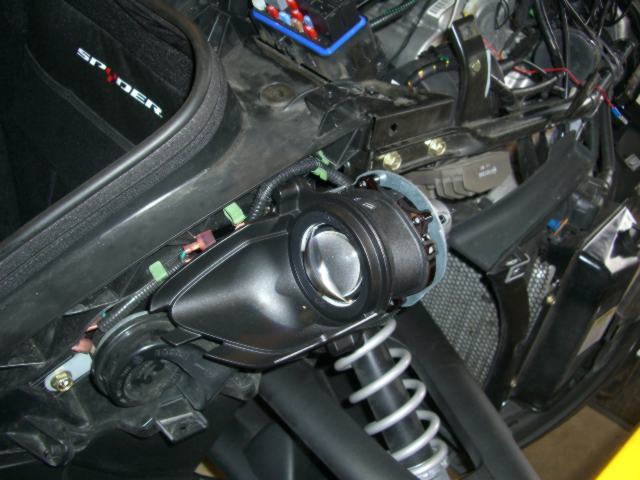
Fog Light Assembly Installation
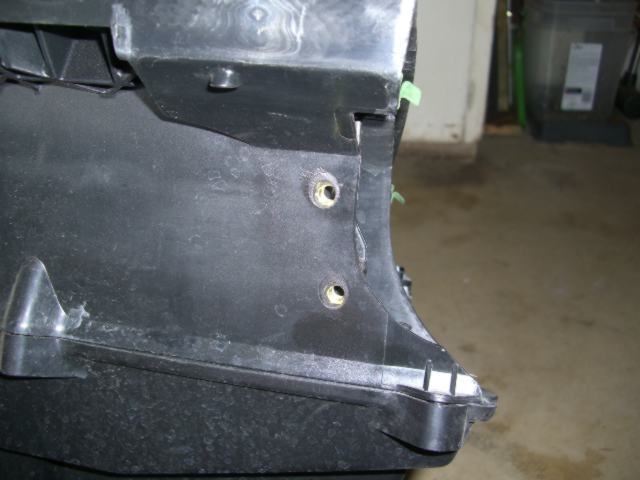
Now it's time to mount the money parts.On the back of the trunk you'll see two holes.
Insert the two caged nuts making sure the tab is pointing out and to the front. It will only line up the right way.
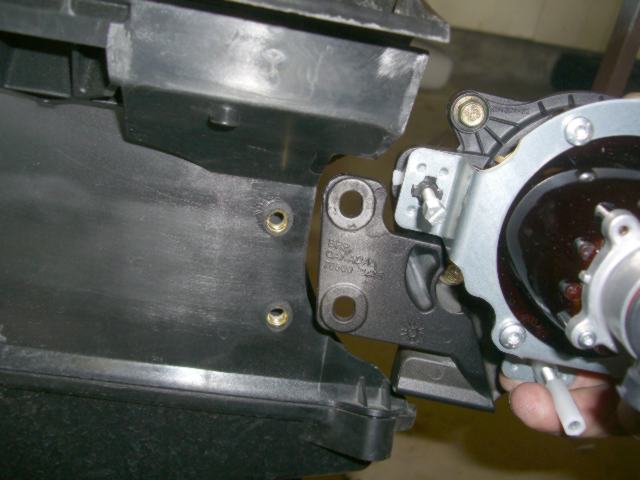
Now tou can mount the lights with the bolts that were provided.
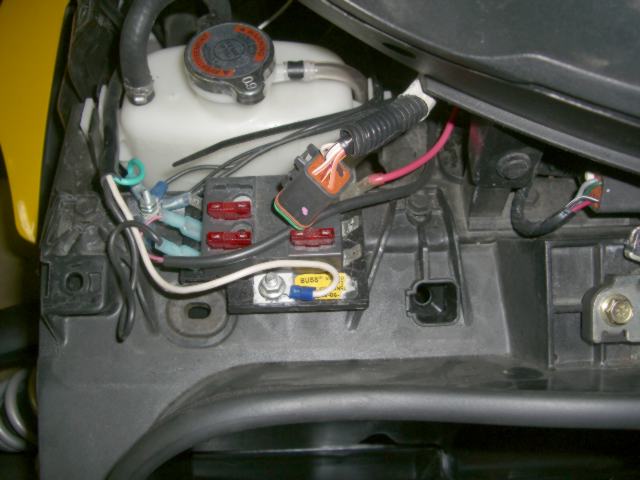
Wiring Harness Installation
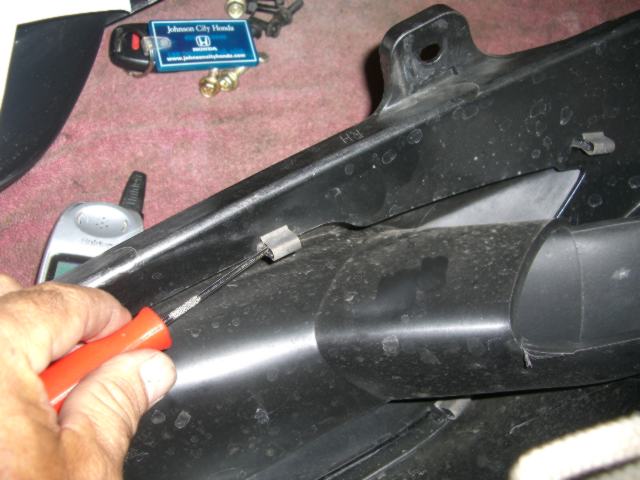
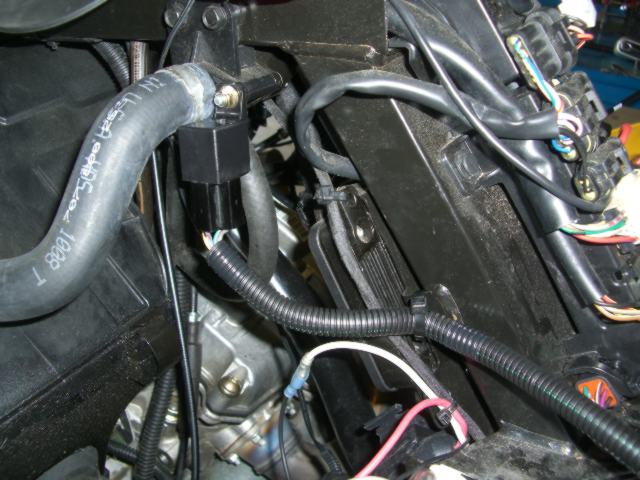
This looks worst than it really is. First thing you want to do is plug the main harness up with the relay on your left facing the front and the plug for the new switch on your right facing the front. I mounted my relay on the water hose mount. Route the rest of the wiring to both sides of the Spyder and out of the way. You can route and tie it all down after you install the trunk back on.
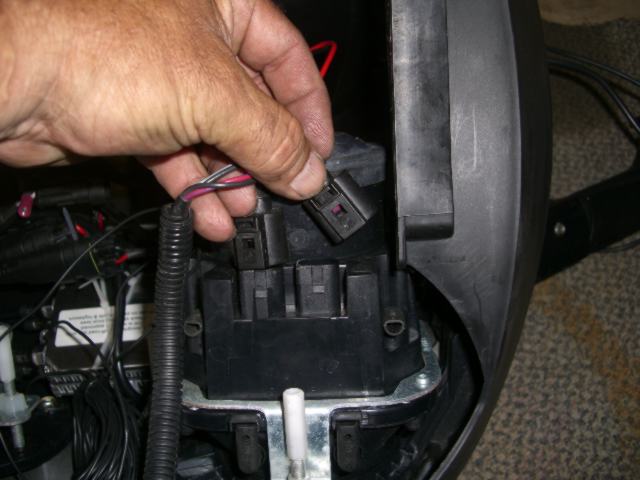
Now you can install the console back on making sure all the wires and cables are free. After it's bolted back in you can plug the headlights back in using the new harness, turn signal and the new switch you instslled in the dash. The plugs will only fit one way so you really can't get it wrong. Go ahead and plug the cluster back in and reinstall in the dash.
Now you can bolt the trunk back in and route the harness to the new lights. Plug your horn back in and temp sensor. Take some time now to make sure you like the way the harness is ran and then tie down any loose wires.
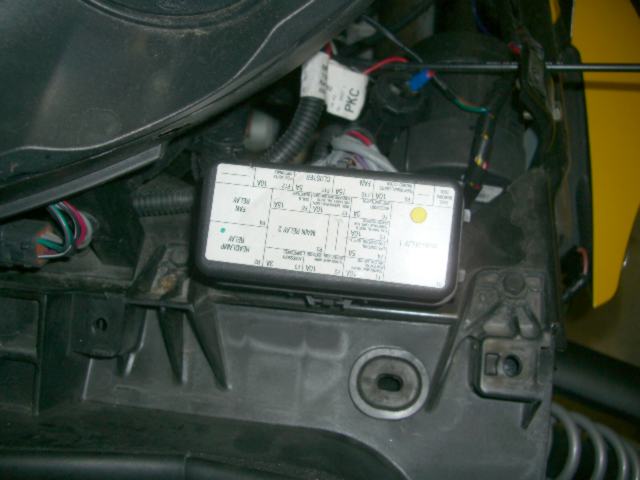
Now you're ready to see if they work. Man I hope so, that was a lot of work.Make sure you have a fuse in the fuse box for the fog lights. If so go ahead and start your Spyder and and test the switch and see if the lights come on. If they do you're good to go. If they don't just check the simple stuff first. Let me know if you need any help.


 Reply With Quote