|
-
 Shifter adjustment, differently Shifter adjustment, differently
A friend I haven't met yet reached out and asked me if I could make a shifter tip replacement (SM6) that's longer than stock so I said I'd take a look. I figured it'd be easy, a couple of round bits welded together with some flat bit in the middle. Turns out the stock shifter tip is splined, which added a whole degree of difficulty. Anyhow, there were 8 splines so I figured I'd give it a shot.
 Untitled by Uncle Grr!, on Flickr Untitled by Uncle Grr!, on Flickr
I made an attachment for my lathe a while ago that allows me to index the chuck to 60 plus 4 points, which gives me a lot of divisors. The plus 4 is what allows me to index by 8. I also made an attachment that lets me mount my cordless drill to the toolpost. This is what I did here.
 Untitled by Uncle Grr!, on Flickr Untitled by Uncle Grr!, on Flickr
This is the end result, a series of 8 holes drilled into the end of a random chunk of steel I had laying around. Note that this took multiple tries of different size drills, different diameter hole patterns, and feeds/speeds.
 Untitled by Uncle Grr!, on Flickr Untitled by Uncle Grr!, on Flickr
After turning to diameter, this is what I'm left with. Splines! If I had any of a number of other tools I could have made them differently, but that's what I had that didn't involve lots of filing or dremel tool work.
 Untitled by Uncle Grr!, on Flickr Untitled by Uncle Grr!, on Flickr
The stock part has a recess in the middle of the splines to allow the locking bolt to positively retain it. Again, other tools would have made this easier but I mounted a 1/4" end mill in my drill rig then turned the lathe on and ground the groove out.
 Untitled by Uncle Grr!, on Flickr Untitled by Uncle Grr!, on Flickr
Proof of concept part, before cleanup and deburring.
 Untitled by Uncle Grr!, on Flickr Untitled by Uncle Grr!, on Flickr
Installed in the shifter.
 Untitled by Uncle Grr!, on Flickr Untitled by Uncle Grr!, on Flickr
Then I milled a slot about a hundred thousandths deep across the center of the top.
 Untitled by Uncle Grr!, on Flickr Untitled by Uncle Grr!, on Flickr
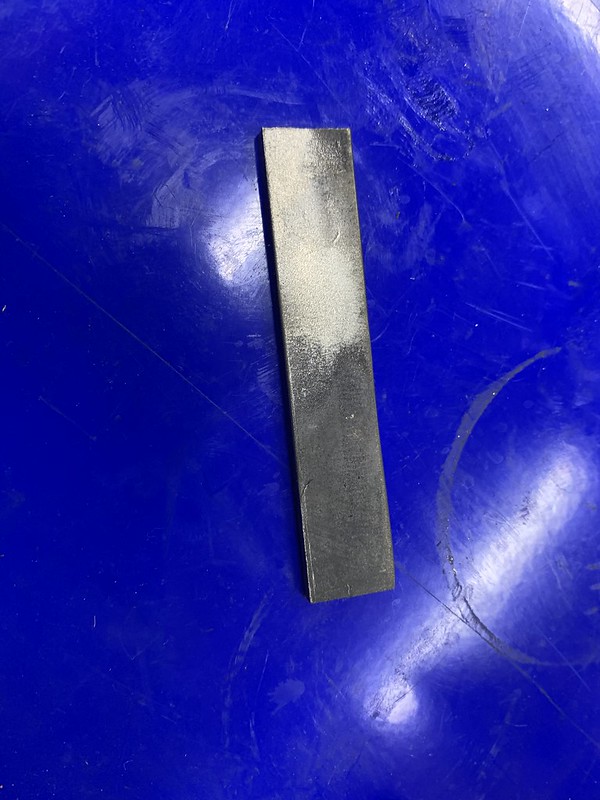
And cut a chunk of scrap 1/8" steel down to the same size as the slot
 Untitled by Uncle Grr!, on Flickr Untitled by Uncle Grr!, on Flickr
So it fits into the slot tightly
 Untitled by Uncle Grr!, on Flickr Untitled by Uncle Grr!, on Flickr
I took an old pin that broke off one of my trailers and turned this piece out of it to size
 Untitled by Uncle Grr!, on Flickr Untitled by Uncle Grr!, on Flickr
Then drilled a matching hole in the flat bar and pressed the turned part in
 Untitled by Uncle Grr!, on Flickr Untitled by Uncle Grr!, on Flickr
The fit was tight enough that I could do a fusion weld from the back. Got a bit hot and melted the edge there, but I'm not awesome at tig welding yet.
 Untitled by Uncle Grr!, on Flickr Untitled by Uncle Grr!, on Flickr
New part next to the stock part. I'm waiting to hear how much longer than stock he wants it before I adjust it to final length and weld it solid.
Edit: I currently have from -.5 to +1.7” adjustment range. Honestly it wouldn’t be all that difficult to make it adjustable too, although I’d have to change the design and redo it all.
-
Active Member

-
Active Member

That was indeed a sneaky way to make splines, very clever!
Nice looking result aswell, thanks for sharing! 
-
-
Active Member
 Posting Permissions
- You may not post new threads
- You may not post replies
- You may not post attachments
- You may not edit your posts
-
Forum Rules
|


 Reply With Quote


