If I run the front wheels up a set of ramps to the back of my pickup bed, will that be high enough to do the install? I figure there would be height and angle. Yes?
Be sure to strap down the ramps. My friends pinned into the hauler bed.
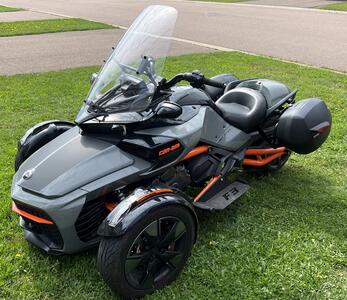
2018 RT Ltd - Asphalt Metallic - East Valley of Phoenix
2018 RT Ltd Chrome - Champagne Metallic - Lake Stevens, Wa
(Champagne/Hooker) Magic Mirrors, 360 LED head lights, BajaRon sway bar, H&R springs and shock adjusters, dash cam, foam grips, third brake light 4 LED strobe for 7 seconds and then on steady, rear LED turn signals/8 ohm 50W resistors, sequential turn signals on front fenders, Vredestein and PPA Orb wheels on front and General out back, and driver backrest.
Things that move between machines: Ikea sheep skins, Zumo XT GPS, and extra tools. Hooker is going to be my summer trike up North; and Hookie my winter trike down South.
(Asphalt/Hookie) Elka shocks on front - BajaRon sway bar, OEM driver's backrest, LED headlights, dual USB with voltmeter, dash cam, foam grips - Magic Mirrors - front tires Vredestein Quatrac SL on PPA ORB Chrome wheels.
If I run the front wheels up a set of ramps to the back of my pickup bed, will that be high enough to do the install? I figure there would be height and angle. Yes?
Yes, this method works very well and many use it. Just remember to strap the ramps to the truck, as mentioned. And I also recommend chalking or blocking the rear wheel. Overkill doesn't hurt.
In terms of the spacers, it was easy for me (not bragging). You push the screw in partly, then put the spacer on by back it up enough to get spacer positioned, then continue pushing the screw all the way thru.
I can't remember if it is the 10mm or the 13mm, but you will need two of them because otherwise the nut on the other side will spin. If I remember correctly, it was the shields near your foot that needs two wrenches. Personally I used a rachet and a wrench of the same size.
The kit does come with "super glue" if you want to set the spacers in place first.
++++++++++++++++++++
Installed the BajaRon swaybar and links yesterday. I removed old links and installed new links with cycle on the ground. I had purchased a 5/16" dowel on the weekend, but my wife was away with the car, and that is where I left the dowel. There was no super glue in my kit, and my wife's e6000 glue had hardened up. I used a nylon zip tie to thread the upper link assembly through and was able to get the bolt through as I slowly pulled out the zip tie. Two 13 mm wrenches used for fasteners, one was a ratchet wrench.
Time for a ride later today.
Rick
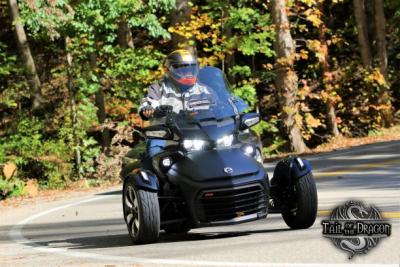
2019 F3 base
Shad saddlebags with Admore led light kit
BajaRon swaybar
Hopnel mini bra
BRP driver's backrest
Madstad windshield
Ultimate floorboards
CanAm Spyder accessories rear shelf with LinQ adapter
You will be happy with this purchase for sure. Welcome to a safer more fun ride. Nice job on the install. let us know what you think when you get a chance.
You will be happy with this purchase for sure. Welcome to a safer more fun ride. Nice job on the install. let us know what you think when you get a chance.
Very pleased with the BajaRon swaybar. There is a number of country roads around here with twisties, and the bike clung to the curves better. I also took in on the highway. I used to slow down on one particular curve, and now, no need. I would have ridden longer this afternoon, but hot outside. Looking forward to getting out again!
I had a technical question, and Ron assisted me. I also called today about another technical matter, and spoke with Daniel, who also was of great help. Great company to do business with.
Rick
Rick
2019 F3 base
Shad saddlebags with Admore led light kit
BajaRon swaybar
Hopnel mini bra
BRP driver's backrest
Madstad windshield
Ultimate floorboards
CanAm Spyder accessories rear shelf with LinQ adapter

Originally Posted by carsong


 Reply With Quote