but due to the season (we got another 6" of snow yesterday, and it's still snowing) I haven't put them on yet.
I bought the dual arm LED's with blinkers
Ray
2017 RT-S
Bump Skid - Spyderpops
Wrap - Wrapmyspyder
swaybar - Bajaron
Sena 20D & SM10
3 PC Mesh Zippered Lid Net Set - TricLED
A arm LED's - Safety LED's - TricLED
Mirror Sequential turn signals
Glo-riders
LED rear turn signals and reverse lights
Front Grills
Third Brake light
Larson Scanner
Light Up - Sue Hopper
I've seen it done, but I prefer to mount them on a firm surface that doesn't move so much.
That is what I would like to do on my RSS. Was the install difficult?, and where did you get the lights from? If you have a video or pictures in a step-by-step format, please post a link.
Thanks,
2021 RTL , brake pedal from "Web Boards" chalk white
That is what I would like to do on my RSS. Was the install difficult?, and where did you get the lights from? If you have a video or pictures in a step-by-step format, please post a link.
I used the existing aux wiring and just reused the dummy plug. More details on the referenced thread. All in all it took me about 3 hours, a lot of it removing and installing bodywork.
I had them installed by the dealer when I purchased the 2014 new. After a year or so, the connections were melted by the "heat" from the radiator. I had to remove them. I installed a Spyderpops lighted bump skid and that has been working well for me.
Currently Owned: 2019 F3 Limited, 2020 F3 Limited: SOLD BOTH LIMITEDS in October of 2023.
After a year or so, the connections were melted by the "heat" from the radiator. I had to remove them.
as I haven't installed mine yet, is there a way you could recommend them to be installed that wouldn't melt the connections? I'll be honest, I haven't even opened the box to look at the "distructions" yet.
Thanks
2017 RT-S
Bump Skid - Spyderpops
Wrap - Wrapmyspyder
swaybar - Bajaron
Sena 20D & SM10
3 PC Mesh Zippered Lid Net Set - TricLED
A arm LED's - Safety LED's - TricLED
Mirror Sequential turn signals
Glo-riders
LED rear turn signals and reverse lights
Front Grills
Third Brake light
Larson Scanner
Light Up - Sue Hopper
as I haven't installed mine yet, is there a way you could recommend them to be installed that wouldn't melt the connections? I'll be honest, I haven't even opened the box to look at the "distructions" yet.
Thanks
The wires closest to the radiator location are the vulnerable ones. I decided to go with the bumpskid since the dealer screwed up the initial installation and I did not want to get into a potential "hassle" situation. Brightness wise, the A arm lights were better. Overall, the bumpskid looks better--IMO. I have the driving lights as well on mine, so checking off the boxes, I am better off now than before.
Currently Owned: 2019 F3 Limited, 2020 F3 Limited: SOLD BOTH LIMITEDS in October of 2023.
Thanks for letting me know. I didn't know the heat was a problem, but now will lake sure it isn't when I install
2017 RT-S
Bump Skid - Spyderpops
Wrap - Wrapmyspyder
swaybar - Bajaron
Sena 20D & SM10
3 PC Mesh Zippered Lid Net Set - TricLED
A arm LED's - Safety LED's - TricLED
Mirror Sequential turn signals
Glo-riders
LED rear turn signals and reverse lights
Front Grills
Third Brake light
Larson Scanner
Light Up - Sue Hopper
Its really no problem to install on the A Arms.
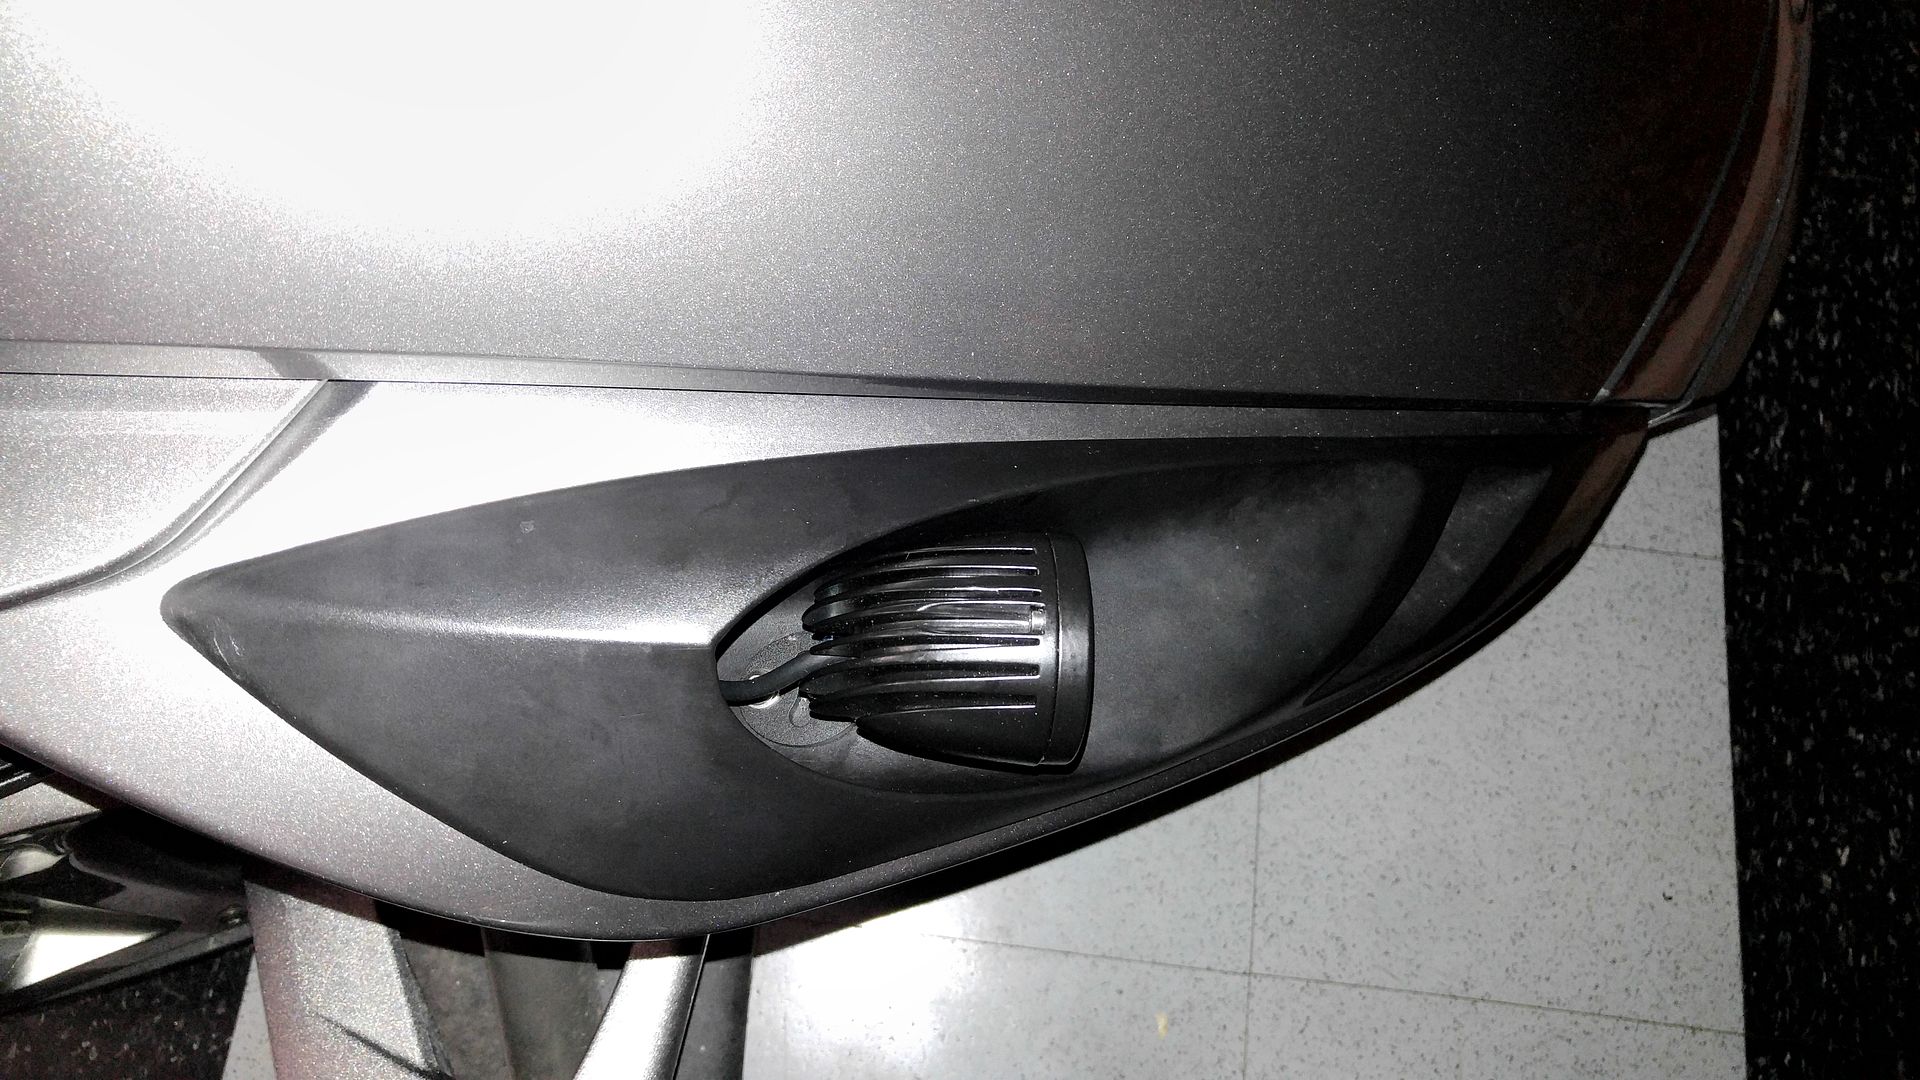
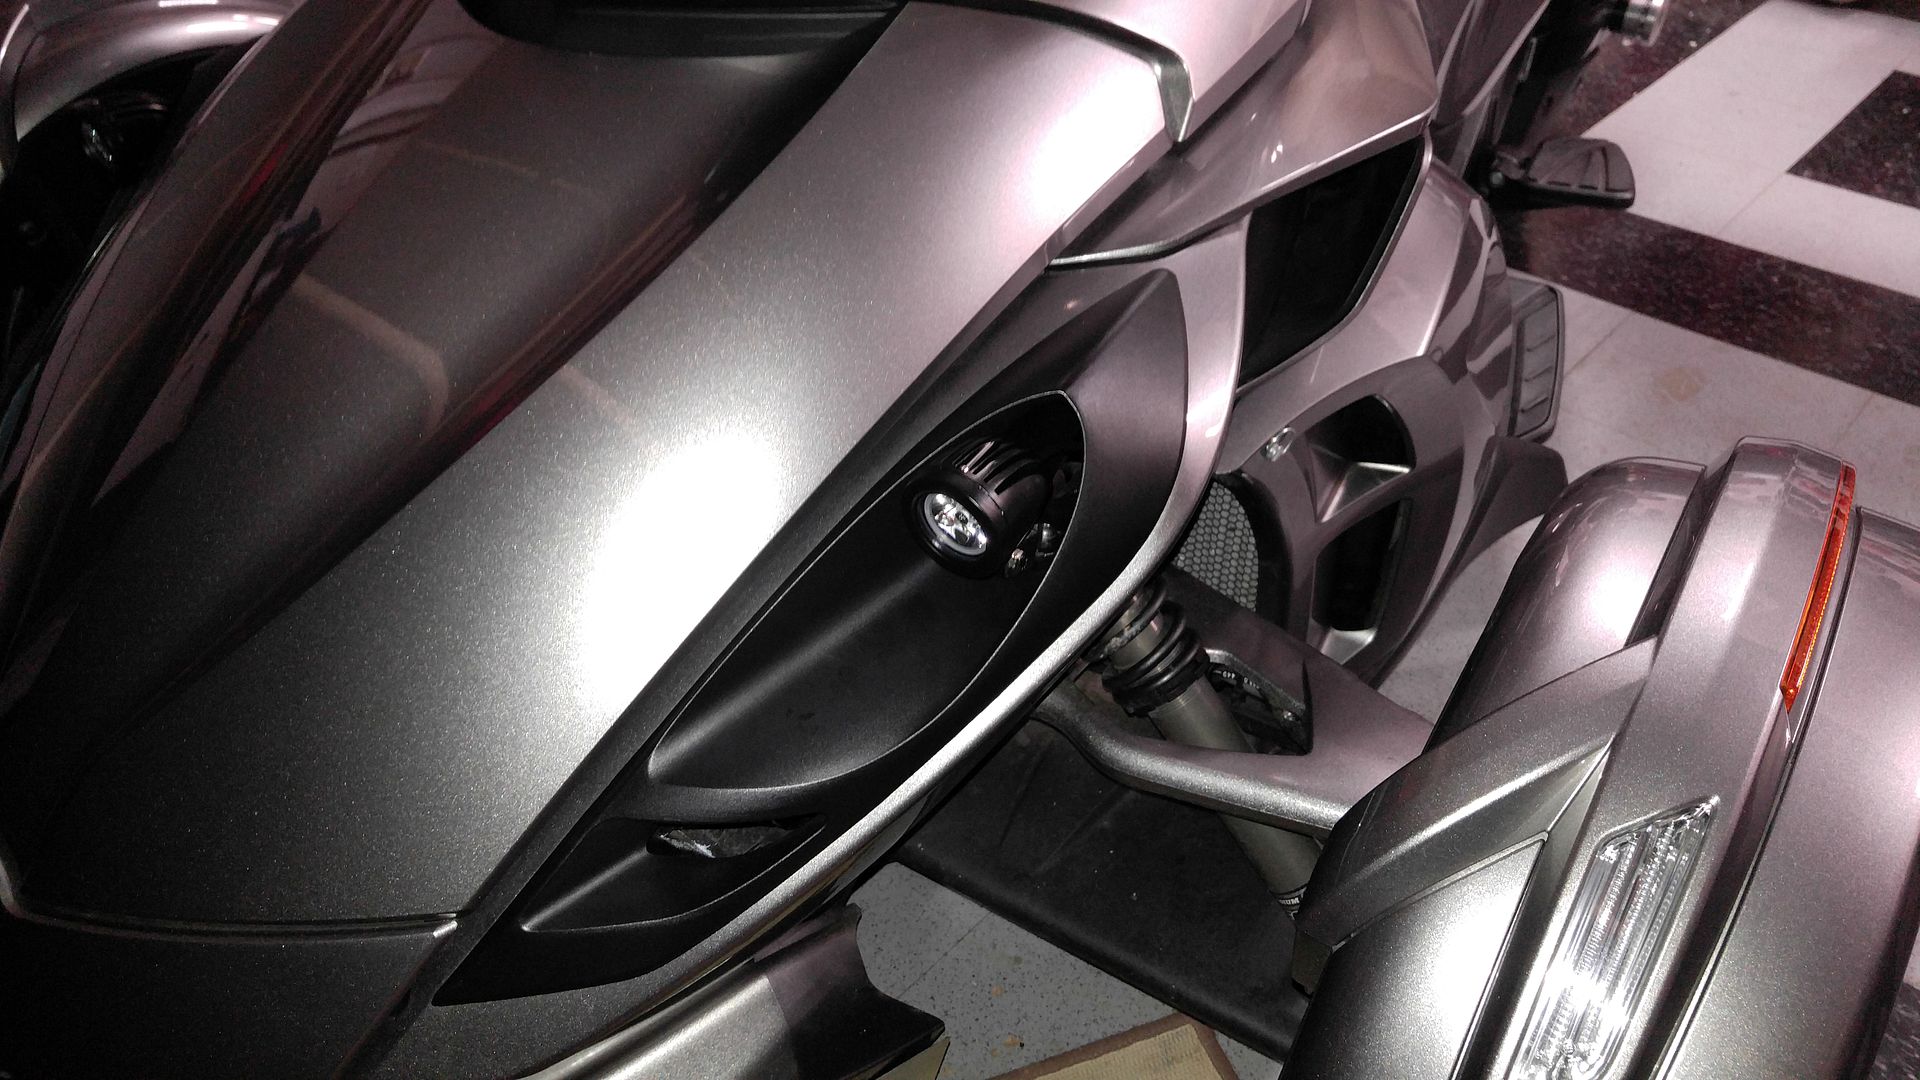
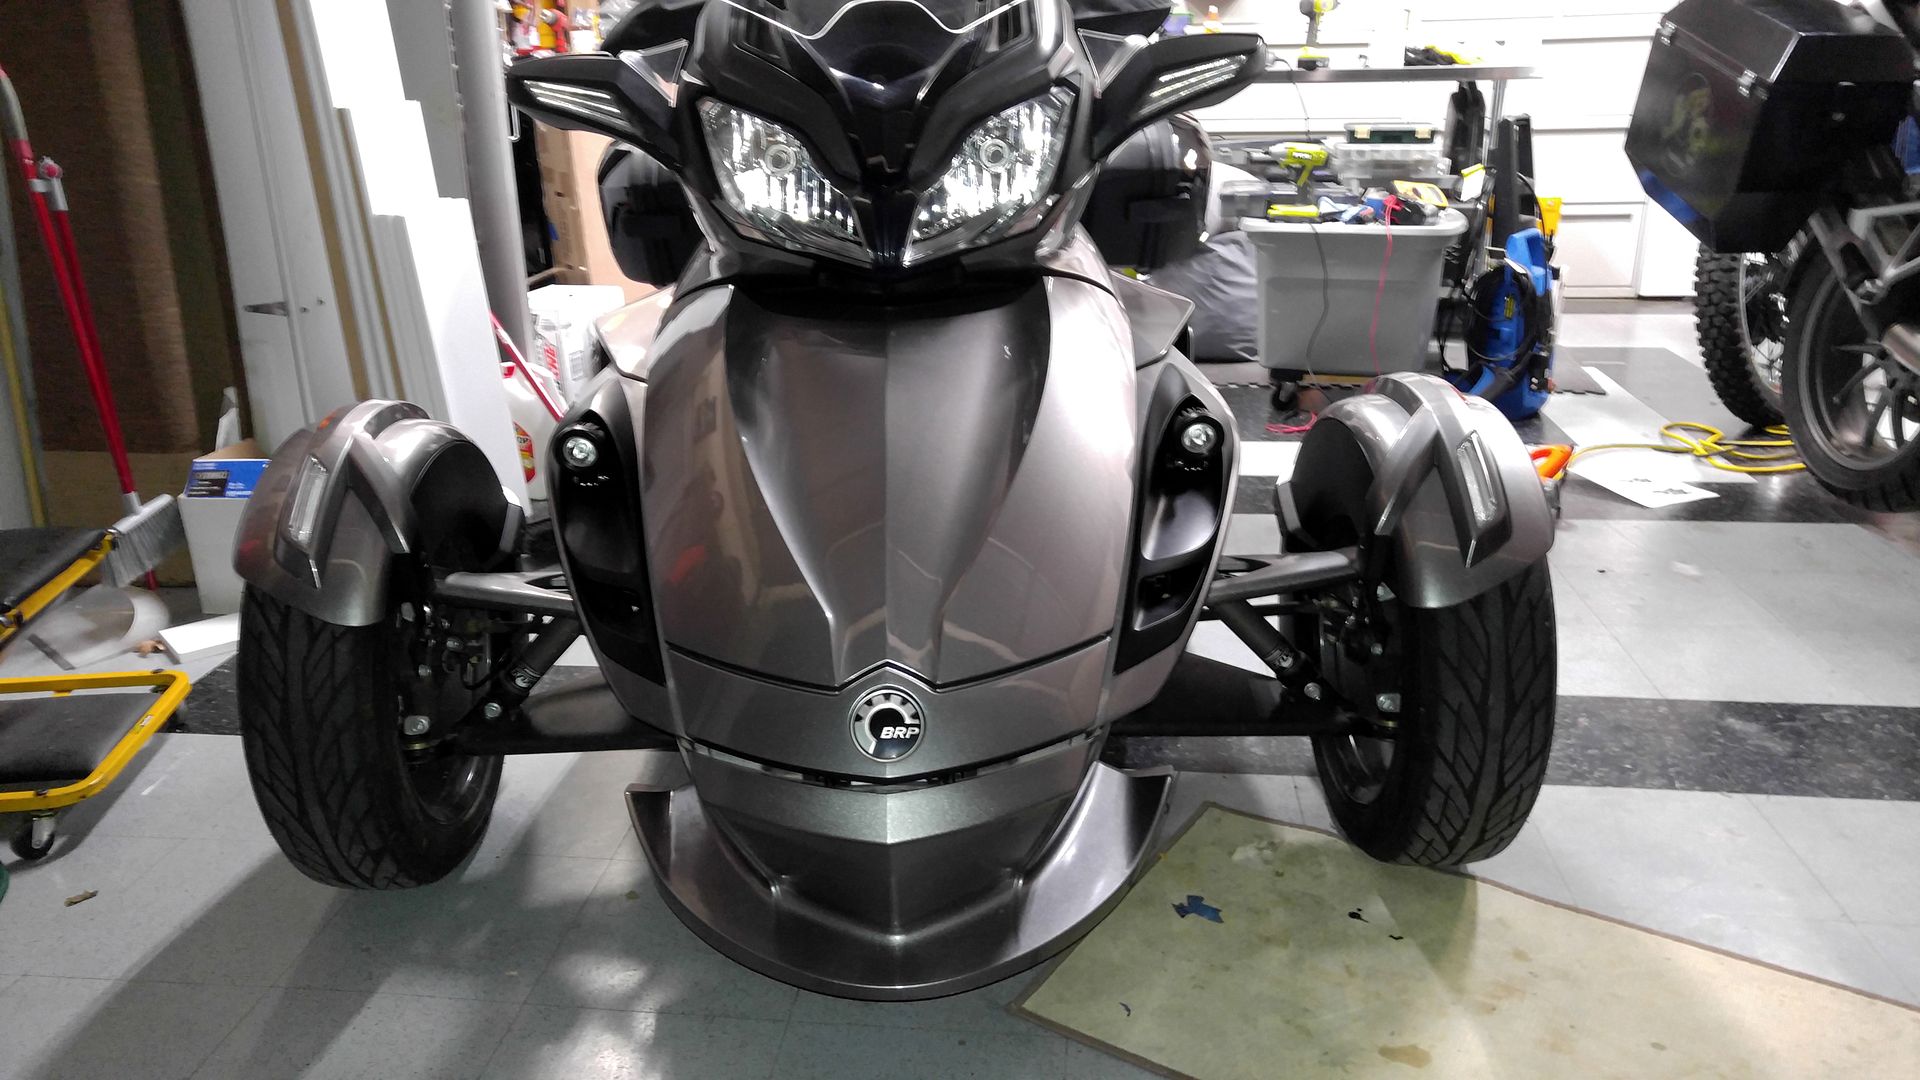
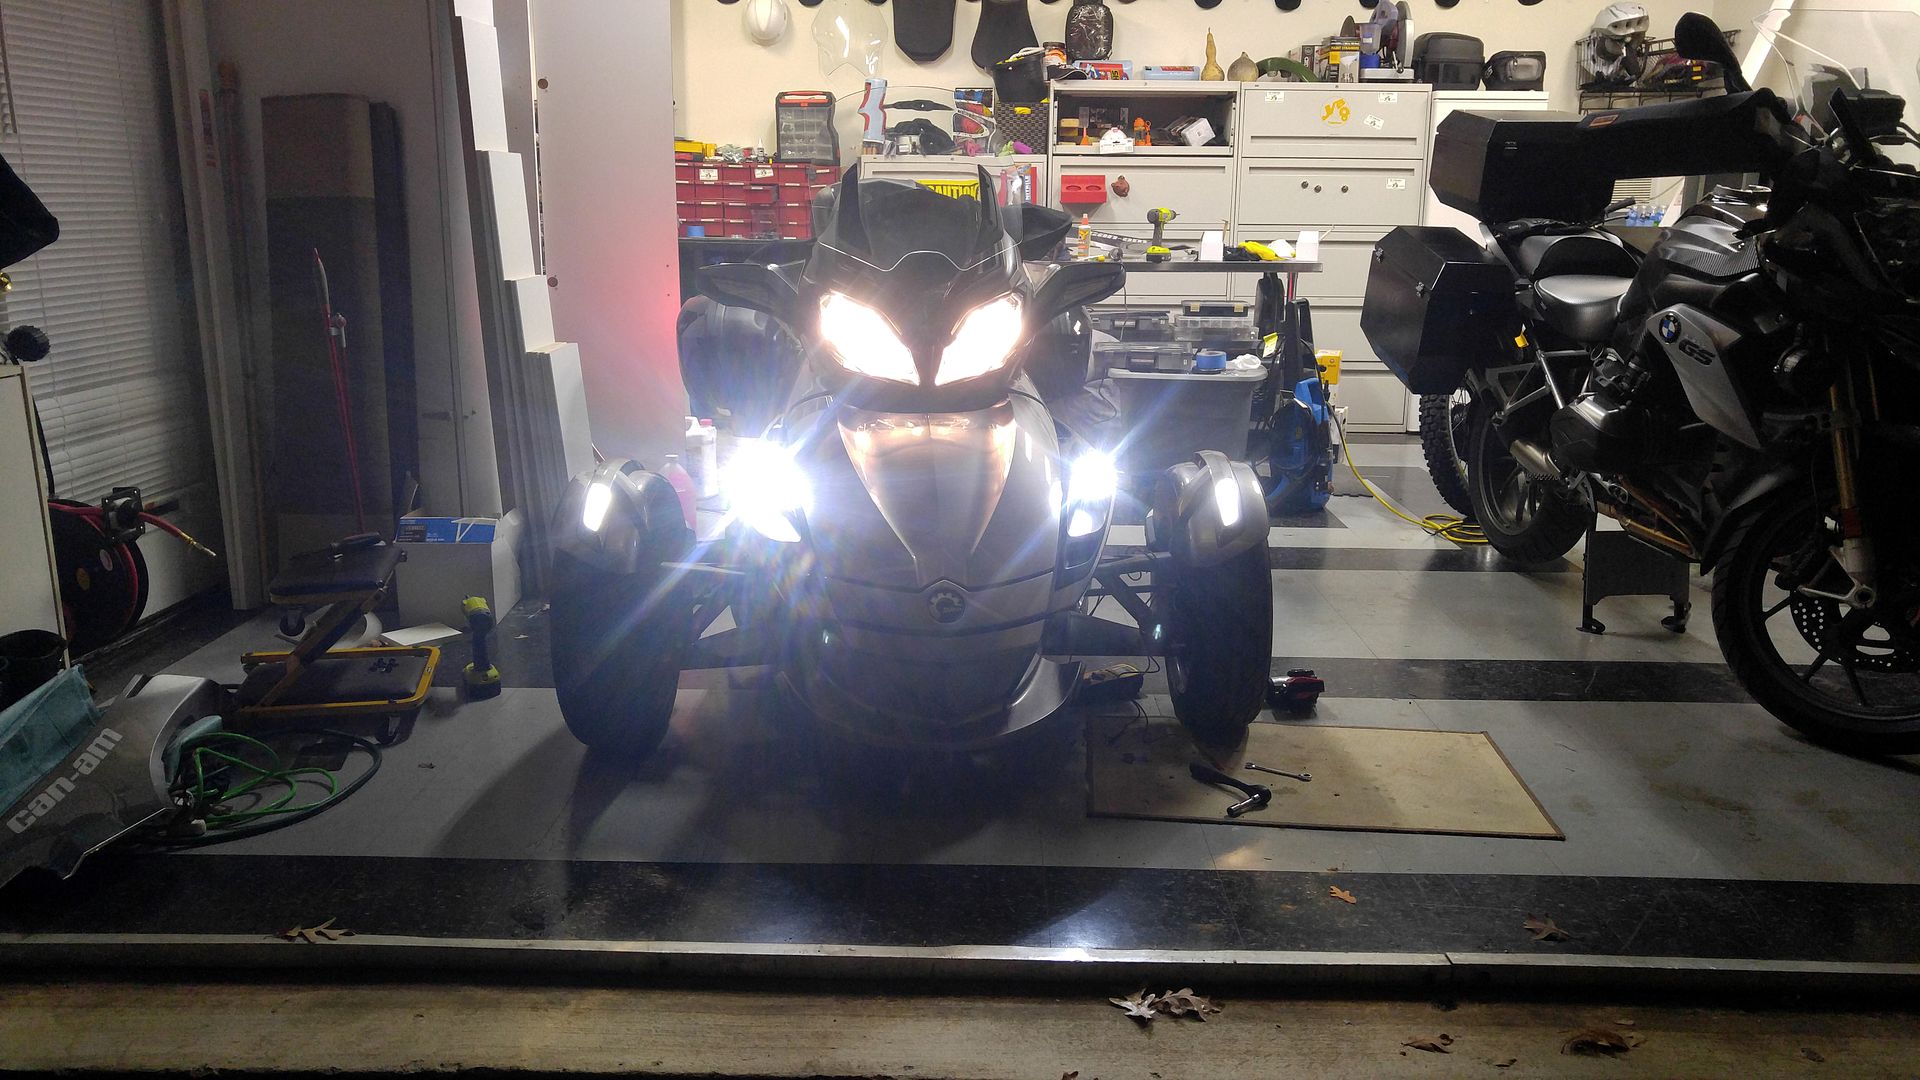
Here is my setup. Have used this setup for 1 year with no issues. Driving lights are from CREE no problems with the lights being waterproof. Mounted on the lower A frames.
Route the wiring on the A Arm with the factory wiring for the fender lights. It will be away from the radiator heat. IMG_0105.jpg
Connection to factory wiring for Driving/Fog lights IMG_0116.jpg
Hi guys I am in the middle of installing driving lights and I am running into some issues. where else do I ground the lights. I ran the harness up the left side .I just bought a relay and the harness just to make sure nothing goes up in flames like the switch.
Hi guys I am in the middle of installing driving lights and I am running into some issues. where else do I ground the lights. I ran the harness up the left side .I just bought a relay and the harness just to make sure nothing goes up in flames like the switch.
?????....What do you mean by ...." where else do I ground " .... if you have grounded the system, it's grounded...... ..... Mike
I bought and installed Driving Lights by Rigid Industries D2 driving lights. I installed them on to of a arms.
I used the plug and play wiring harness complete with waterproof switch.
I wired them into an auxiliary fuse block on the keyed side ,so that I can forget to turn them off when the spyder is not running.
I wire all of the electronic accessories through the auxiliary fuse block.
NICE! Looking mount option, looks like it would give you a great pattern. Did you compare before and after (or with and without) lighting footprint? How did you mount them to the top of the A Arms?
Safe Rides,
David and Sharon Goebel
Both Retired USAF Veterans
2018 Anniversary Edition RT Limited
Baja Ron ultimate swaybar. Vredestein tires, Baja Ron Front Shock Pre-load adjusters, Pedal Box, See my Spyder Garage
IBA 70020
I got cheapy LED cobb lights from ebay and mounted them on the A arms. I spliced into the fender tip lights and have run them for two seasons now with no problems. In this position you get a nice effect from the side because the lights shine thru the wheels and give a strobe effect when moving.
2015 RTS Special Series
Russell Day Long seat
F4 Customs windshield
Sena 20s
I got cheapy LED cobb lights from ebay and mounted them on the A arms. I spliced into the fender tip lights and have run them for two seasons now with no problems. In this position you get a nice effect from the side because the lights shine thru the wheels and give a strobe effect when moving.
Have there been any issues with riding at highway speeds with these? I have a set and wondered if they would handle the speed of 75+ mph
Sent from my SAMSUNG-SM-G920A using Tapatalk
2007 M109R LE - To many MODS to list. Its cheaper that way!!!
HeliBars Handlebars
Brake rubber removed to lower pedal for easier long leg/Size 15 EEEEW boot access.
Ikon (Aussie) shocks all round.
Russell Daylong seat 2 taller than stock (in Sunbrella for Aussie heat & water resistance)
Goodyear Duragrip 165/60 fronts (18psi) - provides extra 1/2 ground clearance.
Kenda Kanine rear.
2021 RT Limited , Brake pedal rubber removed for ease of accessing pedal with size 15 boots. Red
Have there been any issues with riding at highway speeds with these? I have a set and wondered if they would handle the speed of 75+ mph
Sent from my SAMSUNG-SM-G920A using Tapatalk
I used a piece of 1/2 x 1/2 aluminum angle and 1/2 inch 3M double sided tape to mount them and 75+ mph has no effect. When I stuck them on one was off just a bit and I thought no problem I'll just pop it off and reposition it. It wouldn't " pop off " so rather than rip and scrape to get it off I left it. Those puppies are there to stay.
2015 RTS Special Series
Russell Day Long seat
F4 Customs windshield
Sena 20s
I had them installed by the dealer when I purchased the 2014 new. After a year or so, the connections were melted by the "heat" from the radiator. I had to remove them. I installed a Spyderpops lighted bump skid and that has been working well for me.
The
dealer installed them backwards. The connections are out at the wheel hub end, not behind the radiator. I also use a black tywrap around the a arm on the inboard end of the strip. Out of sight but it keeps the adhesive from starting to peel where they get hot from the radiator. I have a number of sets that have been in service for a couple years now and no trouble.
I used a piece of 1/2 x 1/2 aluminum angle and 1/2 inch 3M double sided tape to mount them and 75+ mph has no effect. When I stuck them on one was off just a bit and I thought no problem I'll just pop it off and reposition it. It wouldn't " pop off " so rather than rip and scrape to get it off I left it. Those puppies are there to stay.
Ok, thx.
Sent from my SAMSUNG-SM-G920A using Tapatalk
2007 M109R LE - To many MODS to list. Its cheaper that way!!!


 Reply With Quote
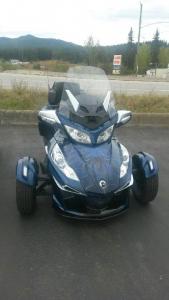


 ..... Mike

